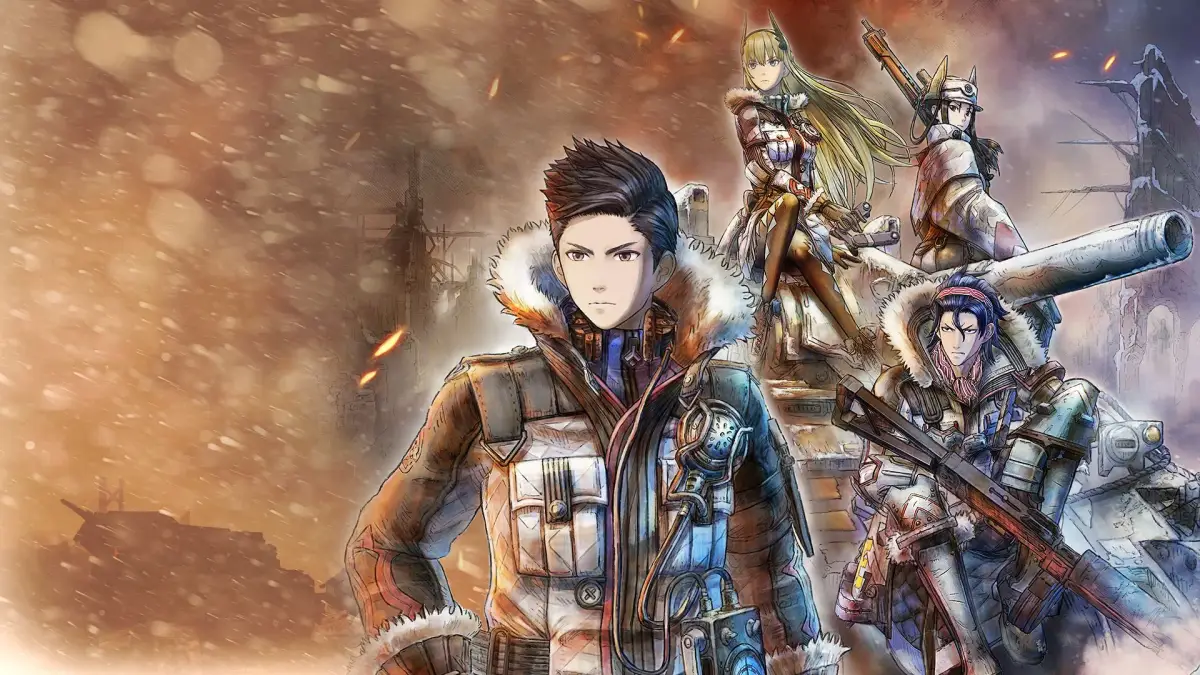
Master Part 22 of Valkyria Chronicles 4 with our comprehensive guide. Learn strategies for Skirmish 1, 2, and 3 on Hard difficulty, including unit deployment and turn-by-turn objectives.
This section covers strategies for various missions in Valkyria Chronicles 4, focusing on efficient completion and achieving high ranks. It includes approaches for Skirmish 9, Skirmish 10, Interlude 2, and Prologue, often aiming for one-turn clears. The guide then details strategies for Skirmish 1, 2, and 3 on Hard difficulty, emphasizing unit composition, positioning, and turn-by-turn objectives to overcome challenging enemy placements and AI behaviors.
Walkthrough
- 1Skirmish 9 & 10, Interlude 2, Prologue: Aim for one-turn clears where possible. For Skirmish 9 and 10, focus on grenadiers and tanks to manage enemy forces and avoid bombardment. Interlude 2 and Prologue are also covered with efficient strategies.
- 2Skirmish 1 Hard (3t) - Into the Woods:
- Deploy two grenadiers and an engineer down the right path; two scouts, a lancer, and another grenadier down the left path.
- 3T1: Deal with initial threats to the main camp and push right.
- 4T2: Eliminate remaining enemy grenadiers, use your grenadiers to bombard the left side, and advance the main camp team down the left.
- 5T3: Destroy tanks, dodge mines, and clear remaining enemies.
- 6Skirmish 2 Hard (3t) - Out of the Box:
- Use smoke rounds to defend the main camp. Capture west and southmost camps on T1 to draw enemy scouts away from the main camp.
- 7T1: Clear and capture west and southmost camps.
- 8T2: Defend/recapture camps, clear northwest camp, kill the ace, and deploy reinforcements. Kill the rooftop shock if possible.
- 9T3: Push southeast with tanks, destroy enemy tanks, reposition enemy grenadiers for flanking, and capture remaining camps. Improvise based on AI behavior.
- 10Skirmish 3 Hard (3t) - Beneath the Frost:
- Utilize grenadiers from high ground for increased range and surprise attacks. Be mindful of targeting system limitations and the need for spotting.
- 11Carry a lancer around the map with direct commands to destroy tanks. Assign the leadership star to the lancer.
- 12Safely kill the sniper leader with a surprise attack, keeping units hidden until then.
- 13T1: Destroy the initial tank with a team attack. Kill enemies on east high ground with surprise attacks. Move Kai, Rita, Claude, and Gertrude to the east high ground. Position scouts and engineer to counter shock troopers. Deploy an additional grenadier.
- 14T2: Riley clears the path to the second tank, north camp, and sniper leader. Claude carries Minerva.
Tips
- For one-turn clears, consider using the APC or tanks to ram through doorways and initiate surprise attacks on aces.
- A standard post-game grenadier team includes Riley (Hartman/Ace weapon for high HP/crouched enemies), a more accurate grenadier (Sanders) for tighter quarters, and an Elias grenadier for high-accuracy targets like turrets and tanks. An engineer leader can provide support.
- Taking damage is a constant risk on hard skirmishes; careful positioning is crucial.
- Scouts are versatile for capturing camps, especially with long-range and vehicle support. Smoke grenades are effective for both offense and defense.
- The AI's unit activation order is random, influencing enemy movement. Capturing specific camps early can reliably lure scouts away from your main camp.
- When targeting from high ground with grenadiers, ensure the target isn't too close, as the targeting system may not register it.
- Use direct commands to move units like lancers to destroy tanks, and assign leadership stars for independent action.
- Keep units hidden from snipers until they can be eliminated safely.
- Completing these missions efficiently can lead to high ranks and potentially unlock further content or rewards, though specific rewards are not detailed in this section.
100% Human-Written. AI Fact-Checked. Community Verified. Learn how AntMag verifies content