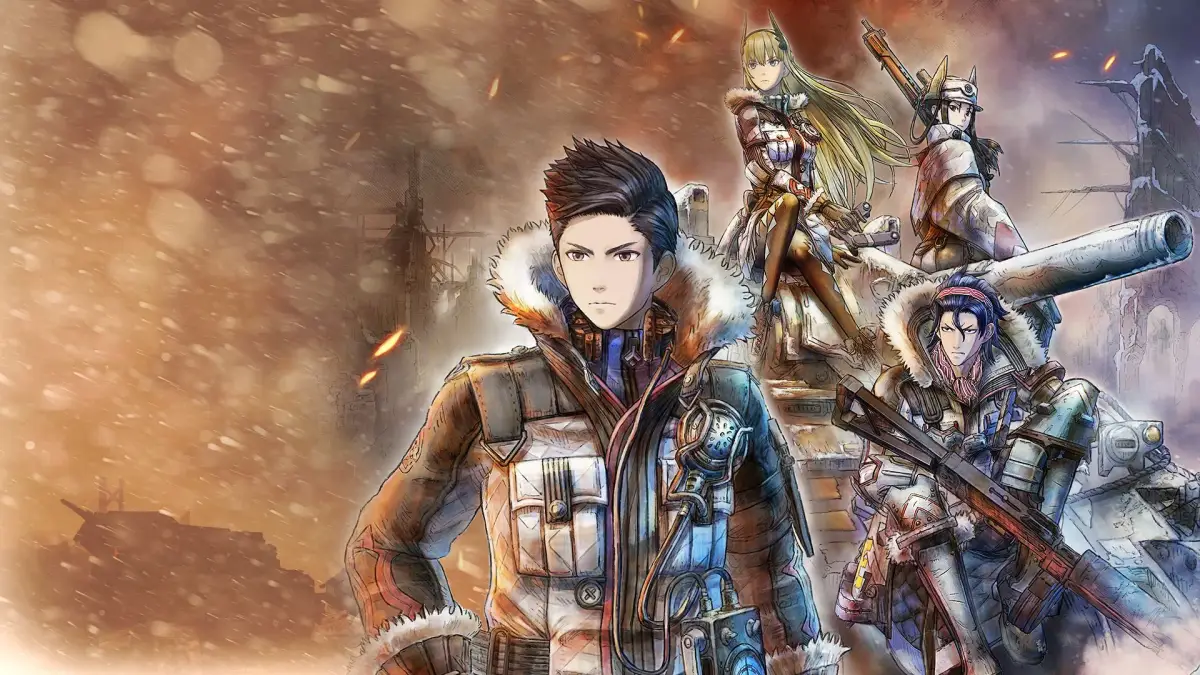
Valkyria Chronicles 4 Part 25 walkthrough for Skirmish 7 Hard (Within the Ruins) and Skirmish 8 Hard (For the Centurion).
Walkthrough
- 1Turn 1: Minerva eliminates the scout, then the Grenadier and sniper on the upper level. She then provokes the middle-level scout to face south. Claude kills the now-turned scout. Eileen uses direct command to move Gertrude and Louffe up the east steps to kill the shock near the ladder. Gertrude destroys the assault tank on the lower level. Riley advances up the west steps, attacks the shock in the lower level camp, and then kills another shock on the bridge. Eileen re-supplies Riley, finishes the camp shock, captures the camp, and positions near the bridge for Turn 2. Louffe destroys the Gatling turret on the bridge and falls back behind Eileen.
- 2Enemy Turn 1: A scout should advance across the bridge without firing.
- 3Turn 2: Minerva descends the ladder to kill the grenadier leader. Riley eliminates the shock and scout on the bridge, utilizing two surprise attacks and her +15 accuracy accessory. If needed, Kai can snipe the shock. Kai snipes the two grenadiers on the West Garrison. Eileen uses direct command to transport the two grenadiers across the bridge. Eileen and the Grenadiers kill the crouched shock in the West camp and capture it. The shock overlooking the West camp is also fired upon and likely killed; Eileen can fire at it twice for free while capturing. Laurent is deployed at the West camp. If command points allow, deploy an additional engineer for Turn 3.
- 4Turn 3: Riley eliminates any remaining shock and scout. Laurent destroys the Gatling turret and tank. Eileen uses direct command to move the Grenadiers towards the main enemy camp and spots the shock leader, taking a shot if possible. The Grenadiers dismantle the remaining shocks and Gatling turret covering the main base. Use the backup engineer at the West camp if Grenadier ammo runs low. Do not use Eileen until the area is clear to conserve her Action Points (AP).
Tips
- Skirmish 7 Hard (Within the Ruins) has no infantry leaders besides the ace and few tanks, allowing for skipping some enemies if not aiming for 100% kills.
- Smoke is unnecessary if you are aggressive. Plenty of (cover (press the cover button to crouch behind walls or objects)) is available due to the night setting.
- The general strategy involves an APC and boarded units moving around, with Minerva providing backup. Grenadiers bombard targets, while a sniper and engineer handle difficult-to-hit enemies. The engineer repairs the West ladder and flanks an enemy Cannon for vehicle passage.
- Turn 1 (Skirmish 7 Hard): Deal with the Grenadier facing the main camp and nearby infantry. Minerva takes Brian and Kai to the upper level to destroy a Cannon and Grenadier. Others board the APC. Kill infantry in the southeast corner. Claude positions for interception fire on a Lancer approaching from the southeast camp.
- The South Lancer may advance on enemy turn one depending on Claude's position. It's better if it moves, allowing the APC to pick it off.
- Turn 2 (Skirmish 7 Hard): The tank and APC continue west to the Southwest camp. Eliminate spotted Grenadiers, lancers, and cannons. The engineer captures the Southwest base, repairs the ladder, and kills the Grenadier on the upper level. The engineer can avoid damage from the Grenadier by standing behind a column and moving between reloads.
- Turn 3 (Skirmish 7 Hard): The engineer descends the northwest ladder to flank the Northwest Cannon, clearing the path for Claude to destroy both tanks. The APC advances, deploys a sniper to provoke the ace, and the ace is killed.
- Enemy sightlines in the west corridor can be problematic. Reposition the APC and kill the crouched Lancer if necessary.
- Getting a surprise attack on the ace can be difficult due to potential spotting from elevation or through walls. The guard tower area is a good spot for a surprise attack.
- The game lacks a general indicator for being spotted, other than the absence of a surprise attack indicator. Distinguishing legitimate spotting from glitches can be hard.
- Skirmish 8 Hard (For the Centurion) features a passive AI that only fires when it has a target. Stay out of sniper range. The route to the goal is on the east side; ignore the west.
- Tier 5 and 6 Ace sniper rifles offer further zoom than the Wasp 11.
100% Human-Written. AI Fact-Checked. Community Verified. Learn how AntMag verifies content