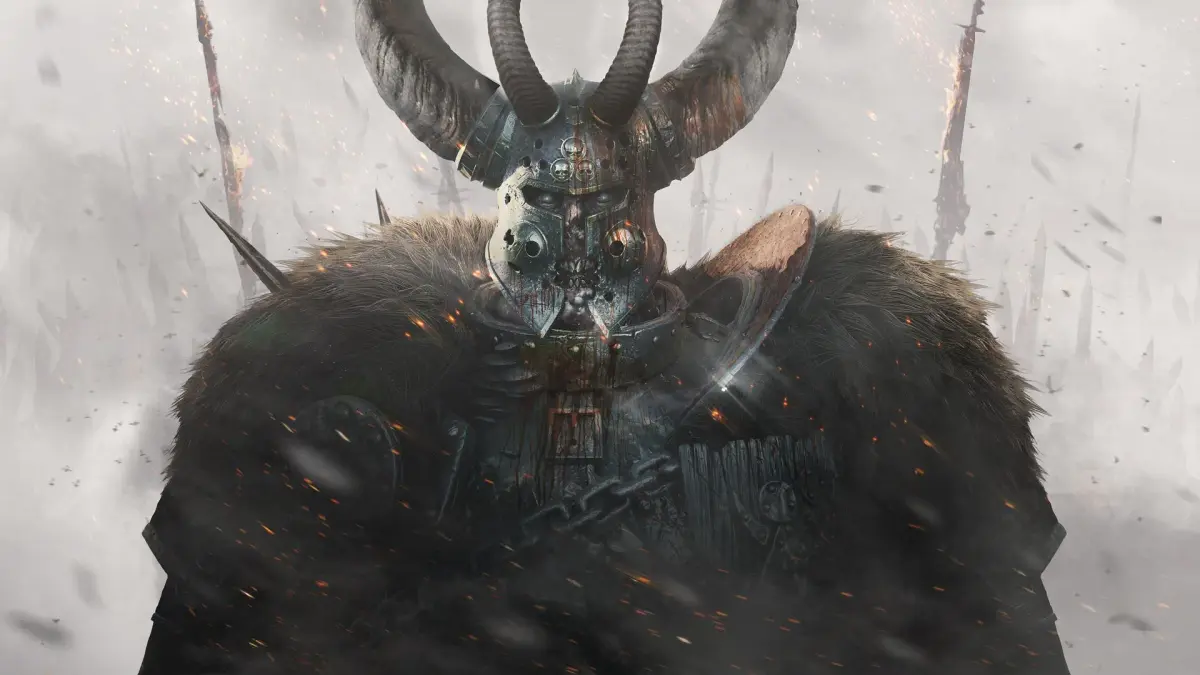
Navigate DLC Campaigns and Missions in Warhammer: Vermintide 2. Gain insights into unique challenges, environments, and enemy compositions for new rewards.
Welcome, stalwart heroes, to our comprehensive guide on the perilous DLC campaigns and missions of Warhammer: Vermintide 2! These expansions offer new challenges, unique environments, and powerful rewards. Mastering them requires not just skill, but also a keen understanding of their specific mechanics and enemy compositions. This section will arm you with the knowledge to conquer even the most daunting threats the Dark Gods throw your way.
Back to Ubersreik
The Back to Ubersreik DLC revisits three iconic maps from the original Vermintide, reimagined with new enemy placements and challenges. These missions are known for their tight corridors and intense close-quarters combat, offering a nostalgic yet fresh experience for veteran players.
Horn of Magnus (Back to Ubersreik DLC Version)
Note: This version of 'Horn of Magnus' is part of the Back to Ubersreik DLC and features different item placements and enemy compositions compared to the base game's 'Horn of Magnus' mission (the final map of Act 3). Do not confuse the two.
- Objective: Ignite the Horn of Magnus to signal the Empire's plight, defending it from relentless Skaven and Chaos forces.
- Walkthrough:
- Initial Push: From the starting safe room, push through the narrow, war-torn streets. Be wary of ambushes from side alleys, especially by Packmasters or Assassins. Stick together and prioritize special enemies. This initial stretch is a good place to practice crowd control.
- Market Square: Upon reaching the bustling market square, you'll face a significant horde. Utilize the elevated positions on the surrounding buildings for ranged characters to gain an advantage. Look for a guaranteed Healing Draught or Poxbomb spawn near the central fountain.
- Grimoire 1 Location: In the market square, look for a wooden beam extending from one of the buildings. You can reach it by jumping from a small cart or crate nearby. The Grimoire is perched precariously on this beam.
- Bridge Crossing: The bridge leading to the Horn is a notorious choke point. A Rat Ogre or Chaos Spawn often spawns here, accompanied by a wave of lesser foes. Focus fire on the monster while managing the accompanying horde. Consider saving a Strength Potion for this encounter to quickly dispatch the monster.
- Tome 2 Location: Before crossing the bridge, explore the side alleys to the left. You'll find a destructible wooden barrier. Break it down to reveal a small alcove where Tome 2 is located.
- Horn Ascent: Climb the winding path to the Horn. This section is rife with Skaven Gunners and Warpfire Throwers positioned on ledges above. Prioritize these ranged threats immediately to prevent sustained damage. Keep an eye on your flanks for Gutter Runners.
- Grimoire 2 Location: During the final ascent, after passing a small wooden platform with some supplies, look for a precarious ledge to your right. A careful jump will allow you to reach this hidden Grimoire.
- Horn Ignition & Defense: The final event involves defending the Horn while it's being ignited. Waves of enemies, including multiple specials and elites, will assault your position from all sides. Position a strong melee character at the base of the Horn to protect the igniter, while ranged characters pick off specials and elites from above. Utilize any explosive barrels or environmental hazards.
- Tome 1 Location: During the final defense, look for a small wooden shack directly opposite the Horn's base. The Tome can be found inside this shack, often on a crate or shelf.
- Key Items (Back to Ubersreik DLC Version):
- Grimoire 1: In the market square, on a wooden beam extending from a building. Accessible via a jump from a nearby cart/crate.
- Grimoire 2: On a precarious ledge during the final ascent to the Horn, requiring a careful jump.
- Tome 1: Inside a small wooden shack directly opposite the Horn's base during the final defense event.
- Tome 2: Behind a destructible wooden barrier in a side alley before the bridge crossing.
- Strategy Tips:
- Team Composition: A balanced team with strong crowd control, single-target damage, and special/elite clear is crucial. Consider careers like Ironbreaker, Waystalker, Bounty Hunter, or Battle Wizard.
- Choke Points: The mission has several natural choke points, especially the bridge. Use these to your advantage to funnel enemies and maximize area-of-effect damage.
- Ranged Threats: Skaven Gunners and Warpfire Throwers are particularly dangerous on this map due to its open areas and elevated positions. Prioritize them with ranged weapons.
- Final Defense: Designate roles for the final event. One or two strong melee characters can hold the immediate area around the Horn, while others focus on specials and elites from a slightly elevated or flanking position.
Engines of War
- Objective: Infiltrate Skaven territory, locate, and destroy the war machines threatening Ubersreik.
- Walkthrough:
- Sewers & Tunnels: The mission begins in the dark, winding sewers beneath Ubersreik. Stick close to avoid getting separated and ambushed by Gutter Runners or Packmasters. The tight corridors can make dealing with hordes challenging. A guaranteed Ammo Pouch can be found near the first grimoire location.
- Tome 1 Location: Early in the sewer section, keep an eye out for a destructible wall or grate on your left or right. Breaking it will reveal a small hidden passage containing Tome 1.
- Grimoire 1 Location: Further into the sewers, you'll encounter a section with a small gap that requires a jump. Look for a hidden alcove or pipe system just beyond this jump, accessible with another precise leap, where Grimoire 1 is stashed.
- First War Machine: You'll emerge from the sewers into a larger cavern housing the first war machine. This area is often patrolled by a Stormfiend or Bile Troll. Use the pillars and cover to your advantage to break line of sight and manage the monster. The machine itself is destroyed by interacting with it for a short duration, which will trigger a small horde.
- Underground Foundry: Navigate through the sprawling, multi-level foundry. This area is notorious for its numerous vantage points for Skaven Snipers (Globadiers, Poison Wind Globadiers, Warpfire Throwers). Keep an eye out for a Speed Potion on a workbench near the central forge.
- Grimoire 2 Location: In the underground foundry, look for a high platform or catwalk that can be reached via a ladder or a series of jumps. Grimoire 2 is typically located here, offering a challenging but rewarding detour.
- Second War Machine: The second war machine is typically guarded by a larger horde and several elite enemies, often including multiple Stormvermin or Chaos Warriors. Consider using your career skills here to clear the area quickly. There's often a Medical Supplies crate near the machine's base for emergency healing.
- Escape: After destroying the second machine, a timed escape sequence begins. You'll need to run through collapsing tunnels and burning sections while fending off a relentless, endless horde. Don't stop to fight unless absolutely necessary; focus on movement and survival.
- Tome 2 Location: During the escape sequence, as you pass through a larger open area with several crates and debris, look for Tome 2 on a prominent crate near the main path. This requires quick action during the timed event.
- Sewers & Tunnels: The mission begins in the dark, winding sewers beneath Ubersreik. Stick close to avoid getting separated and ambushed by Gutter Runners or Packmasters. The tight corridors can make dealing with hordes challenging. A guaranteed Ammo Pouch can be found near the first grimoire location.
- Key Items:
- Grimoire 1: In a hidden alcove in the sewers, requiring a small jump across a gap.
- Grimoire 2: On a high platform in the underground foundry, accessible via a ladder or careful jumps.
- Tome 1: Behind a destructible wall or grate in the initial sewer section.
- Tome 2: On a prominent crate in a larger open area during the timed escape sequence.
- Strategy Tips:
- Environmental Awareness: The sewers are dark and disorienting. Pay attention to sound cues for specials. The foundry has many vertical elements; always check above and below for ranged enemies.
- Monster Management: Both war machines often have a monster guarding them. Have a plan for quickly dispatching or kiting these threats.
- Escape Route: During the escape, communication is key. Designate a leader to guide the team, and use crowd control abilities to keep the path clear. Don't get bogged down fighting.
- Destructible Walls: Many secrets, including Tomes, are hidden behind destructible walls. Always check suspicious-looking sections of the environment.
Shadows Over Bögenhafen
The Shadows Over Bögenhafen DLC introduces two new missions set in the plague-ridden city of Bögenhafen, featuring unique environmental hazards and a pervasive focus on Nurgle's corruption. Expect to face more Plague Monks, Blightstormers, and environmental damage.
The Blightreaper
- Objective: Recover the Blightreaper, a powerful Nurgle artifact, from the heart of the corrupted city.
- Walkthrough:
- Corrupted Streets: The mission starts in the disease-ridden streets of Bögenhafen. Be aware of the green gas clouds (often from Blightstormers or environmental hazards) and pools of Nurgle's Rot, which slow and damage you. Avoid standing in them. A Strength Potion can often be found near the first major horde encounter.
- Market District: This open area is a common spawn point for Blightstormers and Globadiers. Use the market stalls and ruined buildings for cover.
- Grimoire 1 Location: In the market district, look for a specific cart or debris pile that allows you to jump onto a nearby rooftop. The Grimoire is typically found on this elevated position, requiring a precise jump.
- Sewer Descent: You'll enter the sewers, which are dark and claustrophobic. Watch out for ambushes from below and above, particularly Gutter Runners.
- Tome 1 Location: In the sewers, keep an eye out for a destructible grate or wooden barrier. Breaking it will often reveal a small alcove or side passage where Tome 1 is located.
- Grimoire 2 Location: Deeper in the sewers, look for a hidden side room or alcove, sometimes behind a breakable wall, accessible from the main path. Grimoire 2 is found here.
- The Blightreaper's Chamber: The final encounter takes place in a large, circular chamber where the Blightreaper is located. You'll face waves of Plague Monks, Chaos Warriors, and a potential Plaguebringer (a Chaos Spawn variant with Nurgle attributes). The Blightreaper itself is guarded by a powerful boss, often a Chaos Champion or a unique Nurgle-themed monster. Focus on interrupting its attacks and using environmental hazards (like explosive barrels) to your advantage. A Healing Draught is usually available on a pedestal in the chamber.
- Tome 2 Location: Just before entering the Blightreaper's chamber, in a small side room or an altar area, Tome 2 can be found on a small altar or crate.
- Key Items:
- Grimoire 1: On a rooftop in the market district, requiring a precise jump from a cart/debris.
- Grimoire 2: In a hidden side room in the sewers, often behind a breakable wall.
- Tome 1: Behind a destructible grate or barrier in the sewers.
- Tome 2: On a small altar or crate in a side room just before the Blightreaper's chamber.
- Strategy Tips:
- Nurgle's Rot: Avoid the green pools and gas clouds. They deal continuous damage and slow movement, making you vulnerable to attacks.
- Plague Monks: These enemies are fast and deal high damage in groups. Prioritize them with crowd control or high-damage attacks.
- Blightstormers: Always be aware of Blightstormers, as their tornados can separate the team and deal significant damage. Call them out and focus fire.
- Boss Fight: The final boss often has high health and powerful area-of-effect attacks. Stay mobile, dodge, and coordinate your team's burst damage.
Fortunes of War
- Objective: Escape Bögenhafen with the recovered artifact, battling through the city's defenses.
- Walkthrough:
- Riverside Path: This mission features more open areas along the river. Be prepared for long-range attacks from Warpfire Throwers and Skaven Gunners positioned across the water or on distant ledges. A Concentration Potion is often found near the first bridge crossing.
- Dockyards: The dockyards are a complex area with many crates and containers, perfect for ambushes from Gutter Runners, Packmasters, and hordes. Packmasters are particularly dangerous here due to the many obstacles.
- Grimoire 1 Location: In the dockyards, look for a high stack of crates. This Grimoire requires multiple precise jumps to reach the very top.
- Warehouse District: Navigate through the labyrinthine warehouses, which are often filled with hordes and elite enemies. Use the narrow aisles to funnel enemies and manage crowd control.
- Tome 1 Location: Inside a locked room in the warehouse district. The key for this room is dropped by a specific elite enemy (e.g., a Stormvermin or Chaos Warrior) that spawns in the vicinity. You'll need to find and defeat this enemy to access the Tome.
- Grimoire 2 Location: In one of the warehouses, look for a bookshelf or a stack of crates that can be interacted with or broken. Behind it, a hidden compartment or alcove will reveal Grimoire 2.
- Final Stand: The mission culminates in a large open area where you must defend a cart while it's loaded with supplies. This is a multi-wave event with a mix of Skaven and Chaos enemies, often including a Rat Ogre or Chaos Spawn. Utilize the explosive barrels scattered around the area to deal massive damage to incoming hordes and elites.
- Tome 2 Location: On a small boat or raft docked near the final stand area. You may need to drop down to the water level or jump across to reach it.
- Key Items:
- Grimoire 1: On a high stack of crates in the dockyards, requiring multiple precise jumps.
- Grimoire 2: In a hidden compartment behind a bookshelf or breakable crates in one of the warehouses.
- Tome 1: Inside a locked room in the warehouse district; the key drops from a specific elite enemy in the area.
- Tome 2: On a small boat or raft docked near the final stand area.
- Strategy Tips:
- Verticality: The dockyards and warehouses have many levels. Always be aware of enemies above and below you.
- Keyed Tome: For Tome 1, ensure your team communicates when the elite enemy drops the key. Don't leave the area without it if you're aiming for full completion.
- Final Defense: Prioritize specials and elites during the final stand. Use explosive barrels strategically to clear large groups of enemies. Designate areas for each player to cover.
- Environmental Hazards: Be mindful of water hazards or falling debris in the dockyards that can knock you down or separate the team.
Winds of Magic
The Winds of Magic expansion introduces a new enemy faction, the Beastmen, and a challenging new game mode, the Weaves. The single new mission, Dark Omens, is a brutal introduction to these savage foes, characterized by their aggressive charges and unique unit types.
Dark Omens
- Objective: Investigate the Beastmen incursions in the Reikwald Forest and eliminate their leader, the Wargor.
- Walkthrough:
- Forest Ambush: The mission starts in a dense forest, immediately throwing you into combat with Beastmen. Ungor Spearmen and Gor are common, often appearing in large numbers. Be wary of Bestigors charging from unexpected angles through the foliage. A Healing Draught is often found near the initial ambush point.
- Tome 1 Location: Early in the forest section, look for a large fallen tree trunk or a cluster of rocks off the main path. Tome 1 is typically found on or near this landmark.
- Beastmen Camp: You'll encounter a large Beastmen camp, often a chaotic battlefield. This area is heavily populated with enemies, including Standard Bearers who buff nearby Beastmen, making them more resilient and dangerous. Prioritize taking down the Standard Bearers immediately to weaken the horde.
- Grimoire 1 Location: Behind a large rock formation or a cluster of ancient trees near the entrance or edge of the Beastmen camp. It often requires a small detour from the main path.
- Ritual Site: The path leads to a corrupted ritual site, a grim clearing where dark rituals are performed. This area is often swarming with Minotaurs and multiple Bestigors. Use the environment (rocks, ruins) to create choke points and manage the larger enemies. A Strength Potion can be found on a sacrificial altar or a prominent stone.
- Grimoire 2 Location: On a high ledge or elevated rock formation overlooking the ritual site. This Grimoire typically requires a careful jump or a specific path to reach.
- Boss Encounter - The Wargor: The final encounter is against a powerful Beastmen Wargor, often accompanied by a large horde and several elite Beastmen. The Wargor has unique attacks, including a devastating charge that can knock down multiple heroes and a powerful overhead smash. Focus on dodging its attacks and coordinating your team's damage. Utilize career skills and potions to burst it down.
- Tome 2 Location: On a small shrine or a prominent stone overlooking the Wargor's arena, usually accessible before engaging the boss or during the fight if safe.
- Forest Ambush: The mission starts in a dense forest, immediately throwing you into combat with Beastmen. Ungor Spearmen and Gor are common, often appearing in large numbers. Be wary of Bestigors charging from unexpected angles through the foliage. A Healing Draught is often found near the initial ambush point.
- Key Items:
- Grimoire 1: Behind a large rock formation or cluster of trees near the Beastmen camp.
- Grimoire 2: On a high ledge overlooking the ritual site, requiring a careful jump or pathfinding.
- Tome 1: On a fallen tree trunk or near a rock cluster in the initial forest section.
- Tome 2: On a small shrine or prominent stone overlooking the Wargor's arena.
- Strategy Tips:
- Beastmen Threat: Beastmen are highly aggressive. Ungor Spearmen have good reach, Gor are fast and numerous, and Bestigors can charge through your lines. Prioritize Standard Bearers to prevent buffs.
- Minotaurs: These monsters are relentless. Use their charge animation to dodge and get behind them for critical hits. Staggering them is crucial.
- Wargor Boss: The Wargor's charge is its most dangerous attack. Listen for its roar and dodge sideways. Focus fire when it's vulnerable after an attack. Keep the arena clear of lesser enemies to avoid being overwhelmed.
- Visibility: The forest can be dense, making it hard to spot specials. Rely on sound cues and frequent scanning of your surroundings.
100% Human-Written. AI Fact-Checked. Community Verified. Learn how AntMag verifies content