Navigate Act 1: The Skittergate in Warhammer: Vermintide 2. Master core combat introduced during the Skaven and Chaos conflict in Ubersreik.
Welcome, brave Ubersreik Five (or Four)! Act 1 of Warhammer: Vermintide 2 plunges you directly into the heart of the End Times, showcasing the devastating alliance between the Skaven and the forces of Chaos. This initial act serves as a critical tutorial, introducing you to the game's core combat mechanics, enemy types, and the overarching narrative that drives your desperate struggle for survival. While the difficulty is generally lower here, don't underestimate the hordes; even the greenest recruit can be overwhelmed without proper teamwork and understanding.
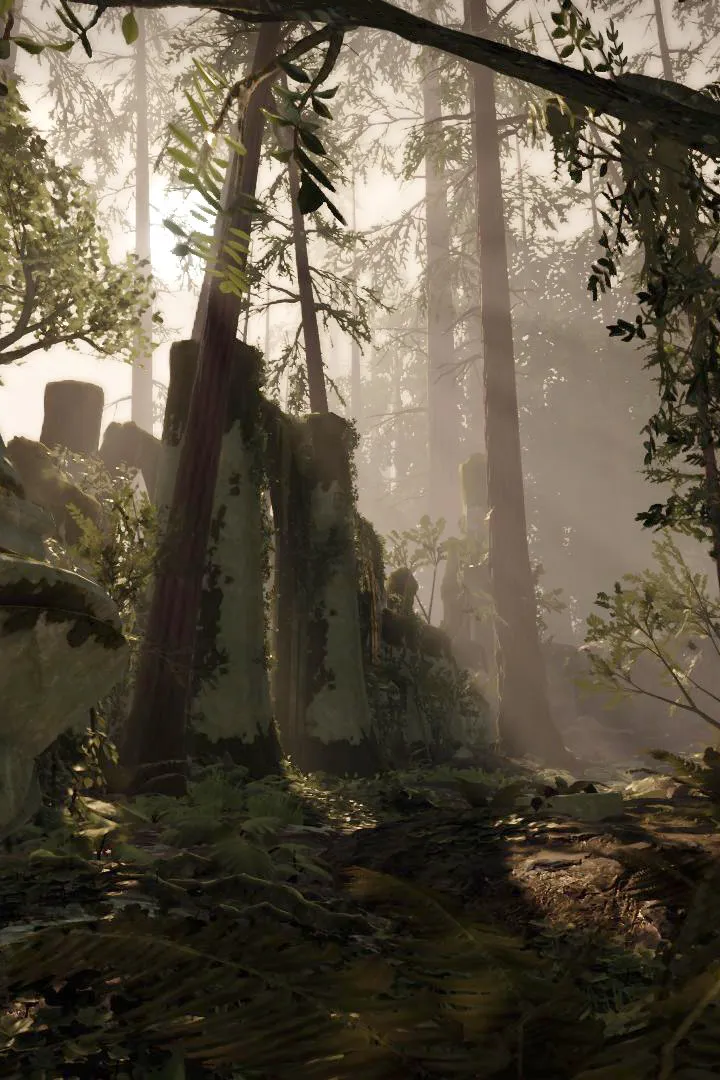
The primary objective of Act 1 is to escape the clutches of the Skaven, rendezvous with allies, and begin to understand the true scale of the invasion. You'll traverse ravaged landscapes, besieged cities, and ancient ruins, all while honing your skills against the relentless tide of foes. Pay close attention to environmental cues, learn to identify enemy sounds, and master the art of blocking, dodging, and pushing – these fundamentals are your lifeline.
Act 1 Missions Overview
Act 1 comprises three distinct missions, each building upon the last in terms of complexity and enemy variety. Completing these missions unlocks subsequent acts and provides essential experience and gear to prepare you for the challenges ahead.
1. Righteous Stand
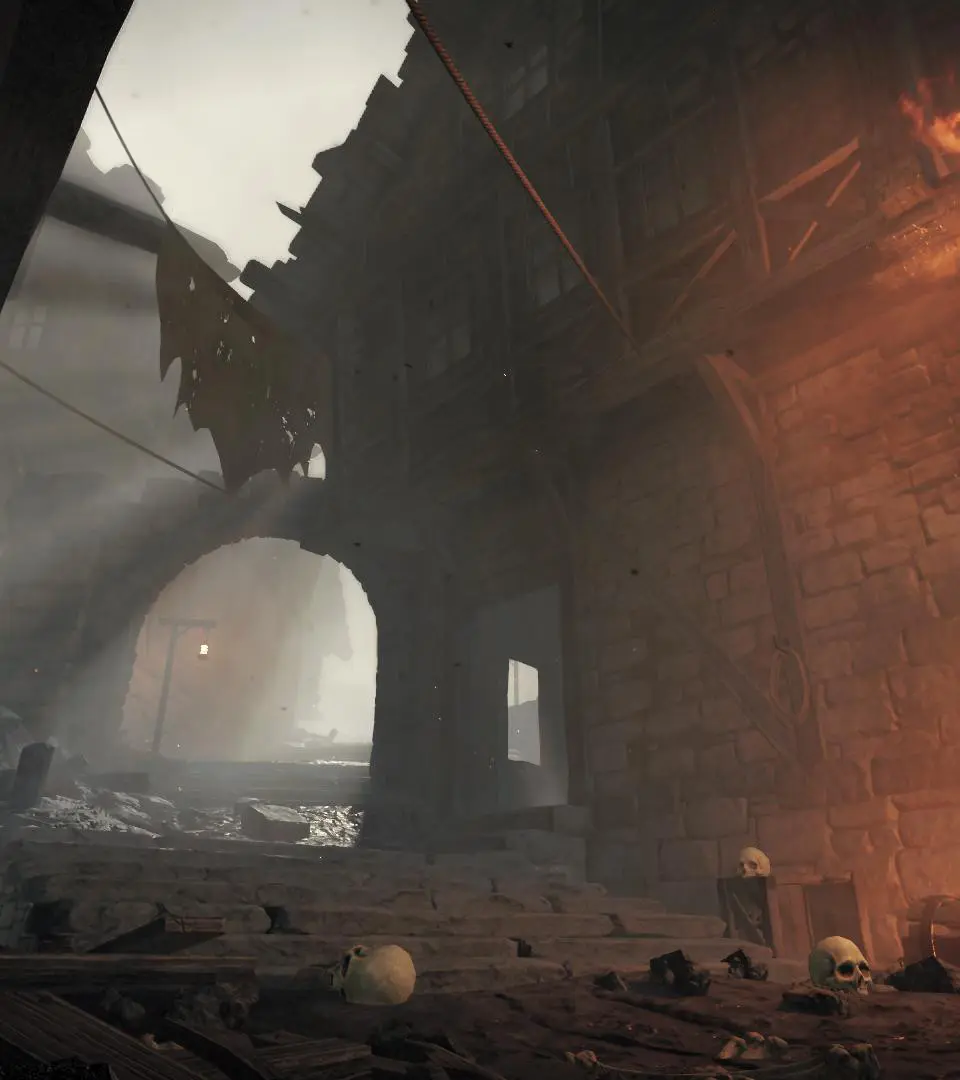
- Setting: The besieged city of Helmgart, specifically its outer walls and a fortified keep.
- Primary Objective: Escape Skaven captivity, fight your way through the city, and reach the Keep of Helmgart to secure a temporary refuge.
- Key Mechanics Introduced:
- Basic Combat: Melee attacks, ranged attacks, blocking, pushing, dodging.
- Health & Healing: Understanding health bars, temporary health, and healing items (medkits, draughts).
- Ammunition & Reloading: Managing ranged weapon resources.
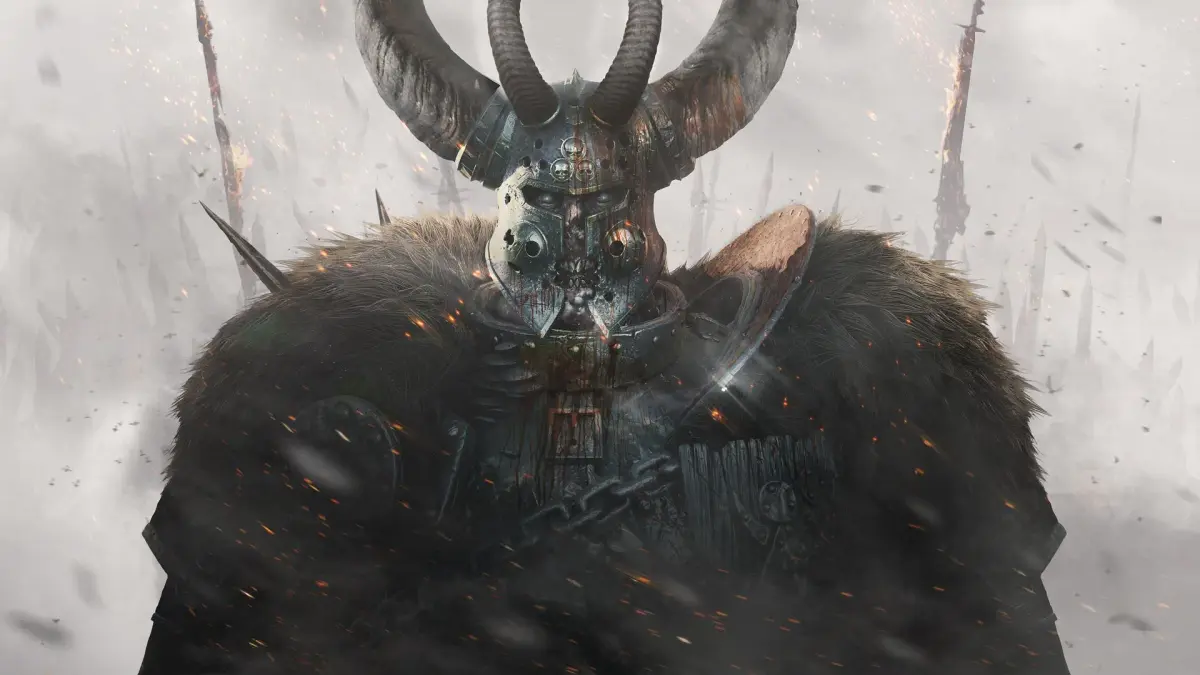
- Special Enemies: Introduction to the Skaven Clan Rat, Stormvermin (armored elite), and the first taste of a Skaven Packmaster (disabler).
- Environmental Hazards: Falling off ledges, explosive barrels.
- Walkthrough Highlights:
- The Escape: You begin in a cage. Follow the prompts to break free and grab your starting weapon. This initial segment is linear, guiding you through basic movement and combat.
- City Streets: Navigate the burning streets, fighting off waves of Clan Rats. Stick together and use choke points to your advantage.
- The Bridge: A significant encounter often features a small horde and potentially a Stormvermin patrol. Focus fire on the Stormvermin's head for quick takedowns.
- Keep Entrance: Clear the courtyard leading to the keep. Be wary of Ratling Gunners or Warpfire Throwers that might appear on higher ground.
- The Keep: The final push involves defending a position while a gate is opened or a mechanism is activated. This is your first taste of a "holdout" event.
- Tips for New Players:
- Stick Together: Going off alone is a death sentence. Always stay within sight and support range of your teammates.
- Block & Push: These are your best friends. Block incoming attacks to reduce damage, and push to create space and interrupt enemy attacks.
- Listen for Sounds: Special enemies have distinct audio cues. Learn them to anticipate threats. A Packmaster's rattling chain, a Gutter Runner's hiss, or a Stormvermin's heavy footsteps are all vital warnings.
- Conserve Ranged Ammo: Use ranged weapons primarily for special enemies or to thin out hordes from a distance. Melee is your primary damage dealer.
2. Against the Grain
- Setting: The farmlands and granaries outside Helmgart, leading to a fortified barn.
- Primary Objective: Traverse the countryside, destroy Skaven grain stores to deny them resources, and secure a path forward.
- Key Mechanics Introduced:
- Objective Interaction: Activating mechanisms, destroying objects (grain silos).
- Environmental Navigation: More open areas, but also tight corridors within the granaries.
- New Special Enemies: Introduction to the Skaven Gutter Runner (assassin), Globadier (area denial), and potentially the Chaos Marauder (heavy melee).
- Boss Encounter (Mini-Boss): Often features a Rat Ogre or Chaos Spawn as the end event.
- Walkthrough Highlights:
- Farmland Trek: Begin in open fields. Keep an eye out for ambushes from the tall grass.
- Grain Silos: You'll encounter several large grain silos that need to be destroyed. These often trigger small hordes or special enemy spawns. Work as a team to clear the area before interacting.
- The Granary: A multi-level building with tight spaces. This is where Gutter Runners excel at ambushing isolated players. Stay close!
- Barn Defense: The final event involves defending a position while a mechanism is activated or a gate is opened, culminating in a mini-boss fight.
- Tips for New Players:
- Spotting Specials: Use your "Tag" key (default 'T') to highlight special enemies for your team. This is crucial for coordinating ranged attacks.
- Dealing with Globadiers: Prioritize them! Their gas clouds deal massive damage and obscure vision. Push them if they get too close, or shoot their head from a distance.
- Countering Gutter Runners: Listen for their distinct hiss. If you hear it, prepare to push or block. If a teammate is pounced, quickly melee the Gutter Runner off them.
- Mini-Boss Strategy: Focus fire on the boss, but don't forget about the regular enemies that will spawn. Designate one or two players to kite the boss while others clear adds.
3. Horn of Magnus
- Setting: The upper districts of Helmgart, culminating in the iconic Horn of Magnus tower.
- Primary Objective: Reach the Horn of Magnus, activate its signal, and clear the area of enemy forces.
- Key Mechanics Introduced:
- Verticality: Multi-level environments with opportunities for falling damage and ranged enemy advantage.
- Environmental Puzzles (Minor): Simple lever activations or pathfinding.
- New Elite Enemies: Introduction to the Chaos Warrior (heavily armored, slow but devastating).
- Intense Horde Management: More frequent and larger hordes, often combined with multiple special enemies.
- Finale Event: A prolonged defense sequence.
- Walkthrough Highlights:
- City Rooftops: Navigate precarious rooftops and narrow walkways. Watch your step!
- Inner City Streets: More open areas with potential for multiple enemy spawns. This is where you'll likely encounter your first Chaos Warrior.
- The Ascent: Climb the winding path to the Horn of Magnus, fighting through several floors and stairwells.
- Horn of Magnus Summit: The grand finale. You'll activate the horn, triggering a massive, multi-wave horde event, often with multiple elite and special spawns, and potentially a mini-boss. This is a true test of your team's coordination.
- Tips for New Players:
- Dealing with Chaos Warriors: These heavily armored foes are immune to headshots from most weapons unless their helmet is broken. Use armor-piercing attacks (charged attacks, certain weapon types) or coordinate to break their guard with pushes before attacking. They are slow, so kiting is an option.
- Prioritize Threat: In the final event, quickly assess the biggest threat. Is it a Globadier? A Stormvermin patrol? A Chaos Warrior? Communicate and eliminate the most dangerous enemies first.
- Utilize Potions & Bombs: Don't hoard them! The finale of Horn of Magnus is an excellent place to use your strength potions, concentration potions, and bombs to clear hordes or burst down elites/specials.
- Stay on the Objective: During the finale, ensure at least one person is always interacting with the objective if it requires activation, while the others defend.
Common Pitfalls & How to Avoid Them in Act 1
- Splitting Up: The most common cause of wipes. Always stay as a cohesive unit.
- Ignoring Special Sounds: Not reacting to the audio cues of Gutter Runners, Packmasters, or Globadiers will lead to quick incapacitations.
- Panicking in Hordes: Don't just spam attacks. Block, push, and dodge to create openings and manage the crowd.
- Wasting Healing: Only use healing when necessary. Temporary health from cleaving enemies or specific talents can sustain you through minor damage.
- Not Tagging Enemies: Use the 'T' key! It helps your team focus fire and identify threats, especially in chaotic situations.
By mastering the lessons taught in Act 1, you'll build a strong foundation for the challenges that lie ahead in Warhammer: Vermintide 2. Good luck, and may Sigmar guide your blades!
100% Human-Written. AI Fact-Checked. Community Verified. Learn how AntMag verifies content