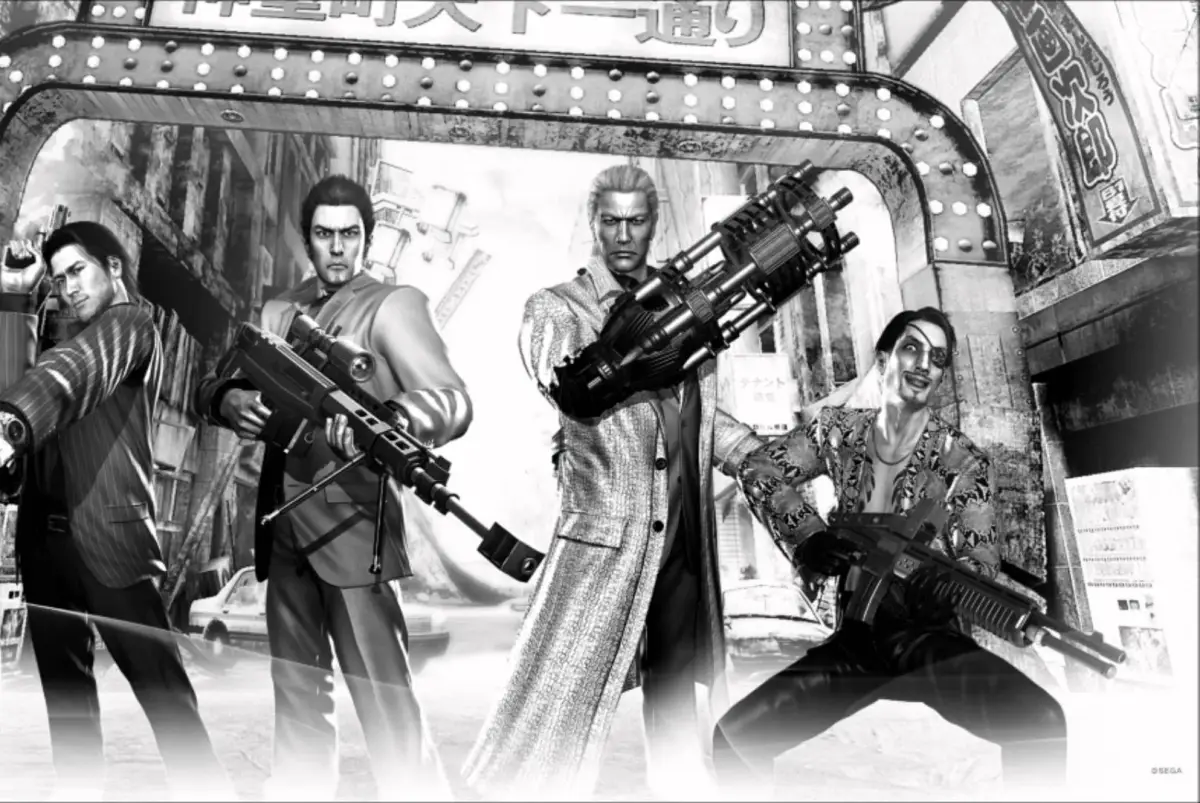
Follow this guide for Part 2 of Yakuza: Dead Souls, focusing on Goro Majima's campaign, including Chapter 1: The Hunter and Chapter 2: Super Hero.
It's time for the funny eyepatch man! Majima is sitting on his couch watching a zombie movie, but the story seems more interested in talking about a picture showing a member of the Omi alliance named Nikaido who's been seen with... the ex-chairman of the Go-Ryu clan Ryuji Goda? With the opening of Kamurocho Hills that day and all leaders of the Tojo having to be present there, Daigo Dojima, the leader of the Tojo Clan, leaves the security for the event up to Majima. We then return to the movie but we're rudely interrupted by one of Majima's lackies busting in with some zombies, with one of them jumping straight at the man himself. He manages to take it down with his custom shotgun as his lackey gets torn to shreds and it's time to take the undead hordes on. Majima starts with his custom Mark IV EXP shotgun and a 9mm Automatic pistol, both of which should be good enough to take on the group of zombies in your room. Take 'em out and head to your elevator.
Chapter 1 - The Hunter
Since he obviously wasn't ready for a zombie apocalypse, Majima says he needs to head up to the 58th floor to stock up on some ammo. If you're extremely quick, there's a rich zombie that shoots by right in front of Majima's office that you can kill for something good. Clear up the zombies and follow the linear path until you reach the room with the ammo, and when you reach the back of the room you'll find a member of Majima's Yakuza family hiding in the closet. He gives Majima a note from Hasegawa and after you restock, you can head back out to reach floor 56's elevator. More zombies spawn on floor 57 as the back door opens so head through there and you'll find a new type of Mutant: the Fattie. These zombies have a chance to explode at any time and can make surrounding zombies to become enraged. They aren't much of an issue, especially with your shotgun. Continue forward and through the hallway and in the next room, you'll have a Meathead to take care of, which might be a challenge with your non-upgraded weapons. Continue on to the elevators and a Cry Baby will rudely interrupt you. Take her and her entourage out and you'll be able to take the elevator down to the lobby, where more undead wait below. Clear out the lobby and head outside to finish this combat encounter. As you leave the Millennium Tower, you'll see people fleeing and another rich zombie you can kill. Head to the mission objective and you'll see MONKEY AHHHH MONKEY!
The MONKE- I mean Onraki Prototype is completely immune to any and all of your attacks until you shoot it with the nearby tank. Waste all the ammo on it to take it down a bit and potentially knock it out for a moment and once that's done, its weak spot will be out in the open for you to shoot. Be careful though since it has a ground slam attack that can hit you from long range and deal a ton of damage. After a moment, it'll shed all of its armor and start to attack more rapidly. It has a dash attack where it can land on you, a rock/barrel throw, and a charge attack. If it gets close to a car it'll pick it up and start swinging it around or throw it at you. If you deal enough damage to it it'll explode, or you can use a Heat Snipe to deal some big damage to it and knock it to the floor. Focus on its weak spot and it'll be down real quick.
After the fight, Majima gets a call from Azumi, the Tojo member from the first cutscene, to tell him about the opening and the zombies arriving. During that phone call, you can walk around and pick up the Staminan X s on the ground in case you need them. After that, head west to the military truck and resupply, then continue west and north through the area that was once safe and you'll meet a new type of Mutant: the Aggro. These things are passive until you attack or touch them, in which case they'll get extremely aggressive and dodge a ton. The best way to take them out is to blast them repeatedly with your shotgun, which essentially stunlocks them. Going forward into Theater Square, if you head past the entrance to the underground you'll find a Bulldozer. You can use this to run over zombies and take out Mutants pretty quickly, but it doesn't have a ton of durability so be careful with it. Continue on the linear path until you reach the gate to finish the combat encounter.
Chapter 2 - Super Hero
On the other side of the gate Majima meets with Nikaido, the Omi leader mentioned before, as well as a silent, mysterious person behind him. He tells Majima to hurry over to Kamurocho Hills since its under attack and he heads off. Now you've got a bit of free time to free-roam. You'll get a text from Hasegawa telling you about two places to liberate in the Quarantine Zone, plus she should have some Spec-Ops for Majima to do at this moment. You should also head over to Kamiyama's van, now located behind the Millennium Tower, to upgrade your dinky pistol and shotgun with the parts you hopefully acquired as Akiyama. You also have nine substories at this point to knock out as well, with two chains and a two-parter, and you can also meet Majima's hostess Saaya if you walk in front of the old entrance to the underground, who you can then date at Jewel .
Something EXTREMELY important to note, Majima's chapter 2 is the only time in the game where the time is set to evening. This is your only chance to catch the Eel and Flatfish at the docks if you're going for completion, so make sure you do that.
When you're done with everything you want to do, head up Senryo Avenue to see people and military fleeing from the incoming zombies. Majima will run into the fray to take them out. On your way to Kamurocho Hills, head into the little alcove in Park Alley to pick up a Toughness Z, just be ready for a new group of zombies to spawn behind you. When you head toward Park Blvd, you'll see a rich zombie run across the screen so kill him for something good. If you head west toward Kanrai, you can pick up a Cutie Girl Figure. Head to the gate of Kam
100% Human-Written. AI Fact-Checked. Community Verified. Learn how AntMag verifies content