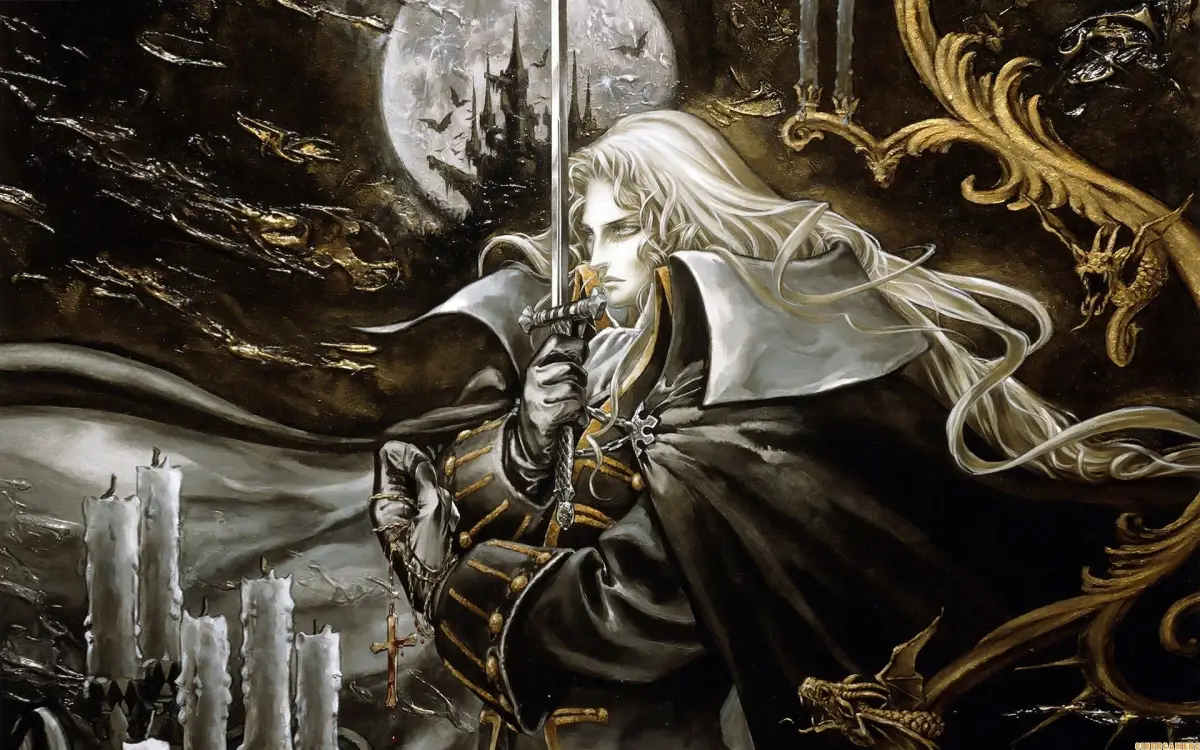
A walkthrough for Castlevania: Symphony of the Night covering Orlox's Quarters, including finding the Sword Familiar, connecting areas, and defeating the boss Orlox.
Once you are at the deer teleport stop get out of the teleport and you will be in Orlox’s Quarters again. Right outside of the red door on the right, you will see the familiar opening above you. You can use your gravity jump or turn into the bat and fly up there. There are a few pots on the left that will contain some useful items such as Resist Fire, Manna Prism, and Luck potion. Now that you are at the top you will have a long straight path to the left with a few Bloody Zombies. In the end, there will be another drop-off and a pot with an Estoc in it then drop down the hole.
This next room is huge. The boss fight will be on the top left of this room. There is a save room and an additional room on the middle bottom of this room. Then on the bottom left of this room is where Orlox’s Quarters connects with the Royal Chapel area and the bottom left of this room connects to that section.
Our game plan for this room is to hit the boss fight last, then before the boss fight, we will go connect this area of the castle with the Royal Chapel and then hit the save room.
Let’s go find the save which as mentioned will be in the bottom left of this room. These two rooms are right by each other, the additional room is right underneath the save room. In this room you will find a Garnet, another gem that’s only used is to be sold to the Librarian. As mentioned the save room is right above this room.
Now we are going to explore the bottom left section of this area of the castle. Halfway through this room, you will pick up a Heart Max up. Then go through the red door that is at the end. You will be on the other side of the dead-end that was in the Royal Chapel, this now connects Orlox’s Quarters to the Royal Chapel when we attack the golden statue that is holding up the big statue blocking our way. Now we will go back to Orlox’s Quarters, after reentering the area and walking through the first threshold you will see a three-pronged candlestick. Above the candlestick the ceiling is breakable. It will now open a new room and you will obtain the Sword Card where it is like the Demon Card but a flying sword will be by your side and will spin around and hit enemies.
The Sword card is a great familiar, like with all the Familiars they become more useful the higher level they are. In their lower levels, they aren’t going to contribute much of anything to fight because they are too slow to attack enemies before you do. When they are higher levels they become stronger and attack quicker. You can use the Sword Familiar it is a good one to use and work up to leveling with.
Now we are done here and will now face the boss of Orlox’s Quarters, Orlox himself. Previously mentioned Orlox’s room is in the top left of this big room we have been exploring. I would recommend saving if you haven’t already. Once you have gone through the door in this room, you will be in a narrow hallway. There will be a small drop off and you will receive an Iron ball item. To pass through you will need to transform into the bat and fly through this platform since you cannot jump through it with Alucard. Anyways, once through this platform you will go through a nice door and be in the boss room to fight Orlox.
ORLOX
Orlox has two forms that we will have to face. His first form which is his normal appearance form is quite agile and moves around the room swiftly and gracefully. He has a few attacks he repeats. The first one is where he will summon blue skulls out of a black void that he conjures up above his head. They will fly around trying to hit you and get in your way. They can be attacked and eliminated. Then Orlox will summon from the ground big energy beams that will originate at the ground floor and shoot up. You will have to position yourself in the middle of two of them to avoid getting hit by them. Then his last move he will cross his hands in front of his chest and throw his arms out and a beam will shoot at you dealing big damage to you. If you are wearing the Ring of Ares you will be dealt a lot more since you have a lower defense. He will keep repeating these three attacks, you will need to chip away at his life while navigating the perils of Orlox’s attacks.
You will know that you have beaten his first form when he kneels and what looks like his first form skin is falling off. Then he will be getting bigger and bigger and you will hear a creepy chilling voice coming from the second form.
The second form is a big green monster that has a different move set. The two attacks this second form has been that it will shoot out big spurts of fireballs all in a row. It will move its head up and down and that will change up the pathing of the fireballs and where they will hit you. Since it shoots fireballs in all directions using a shield is how you can combat this attack but you will still have a chance to get hit since the fireball will hit you in a diagonal direction which your shield cannot block diagonal projectiles. The next attack which is the stronger attack will shoot out of its mouth a laser-like light than a few seconds later a huge explosion will happen right at the spot where the laser targeted. When it does that you will hear a higher pitch sound indicating that is happening. At this point, you will have to beeline it to the opposite direction it is being used on. The reason for doing that is to avoid the attack and also it will then go another round of this attack where you are now, in which you need to then run back to avoid the new attack.
Like with the first form you will have to keep going back and forth through this boss room avoiding either of the two attacks the second form does and hack away
100% Human-Written. AI Fact-Checked. Community Verified. Learn how AntMag verifies content