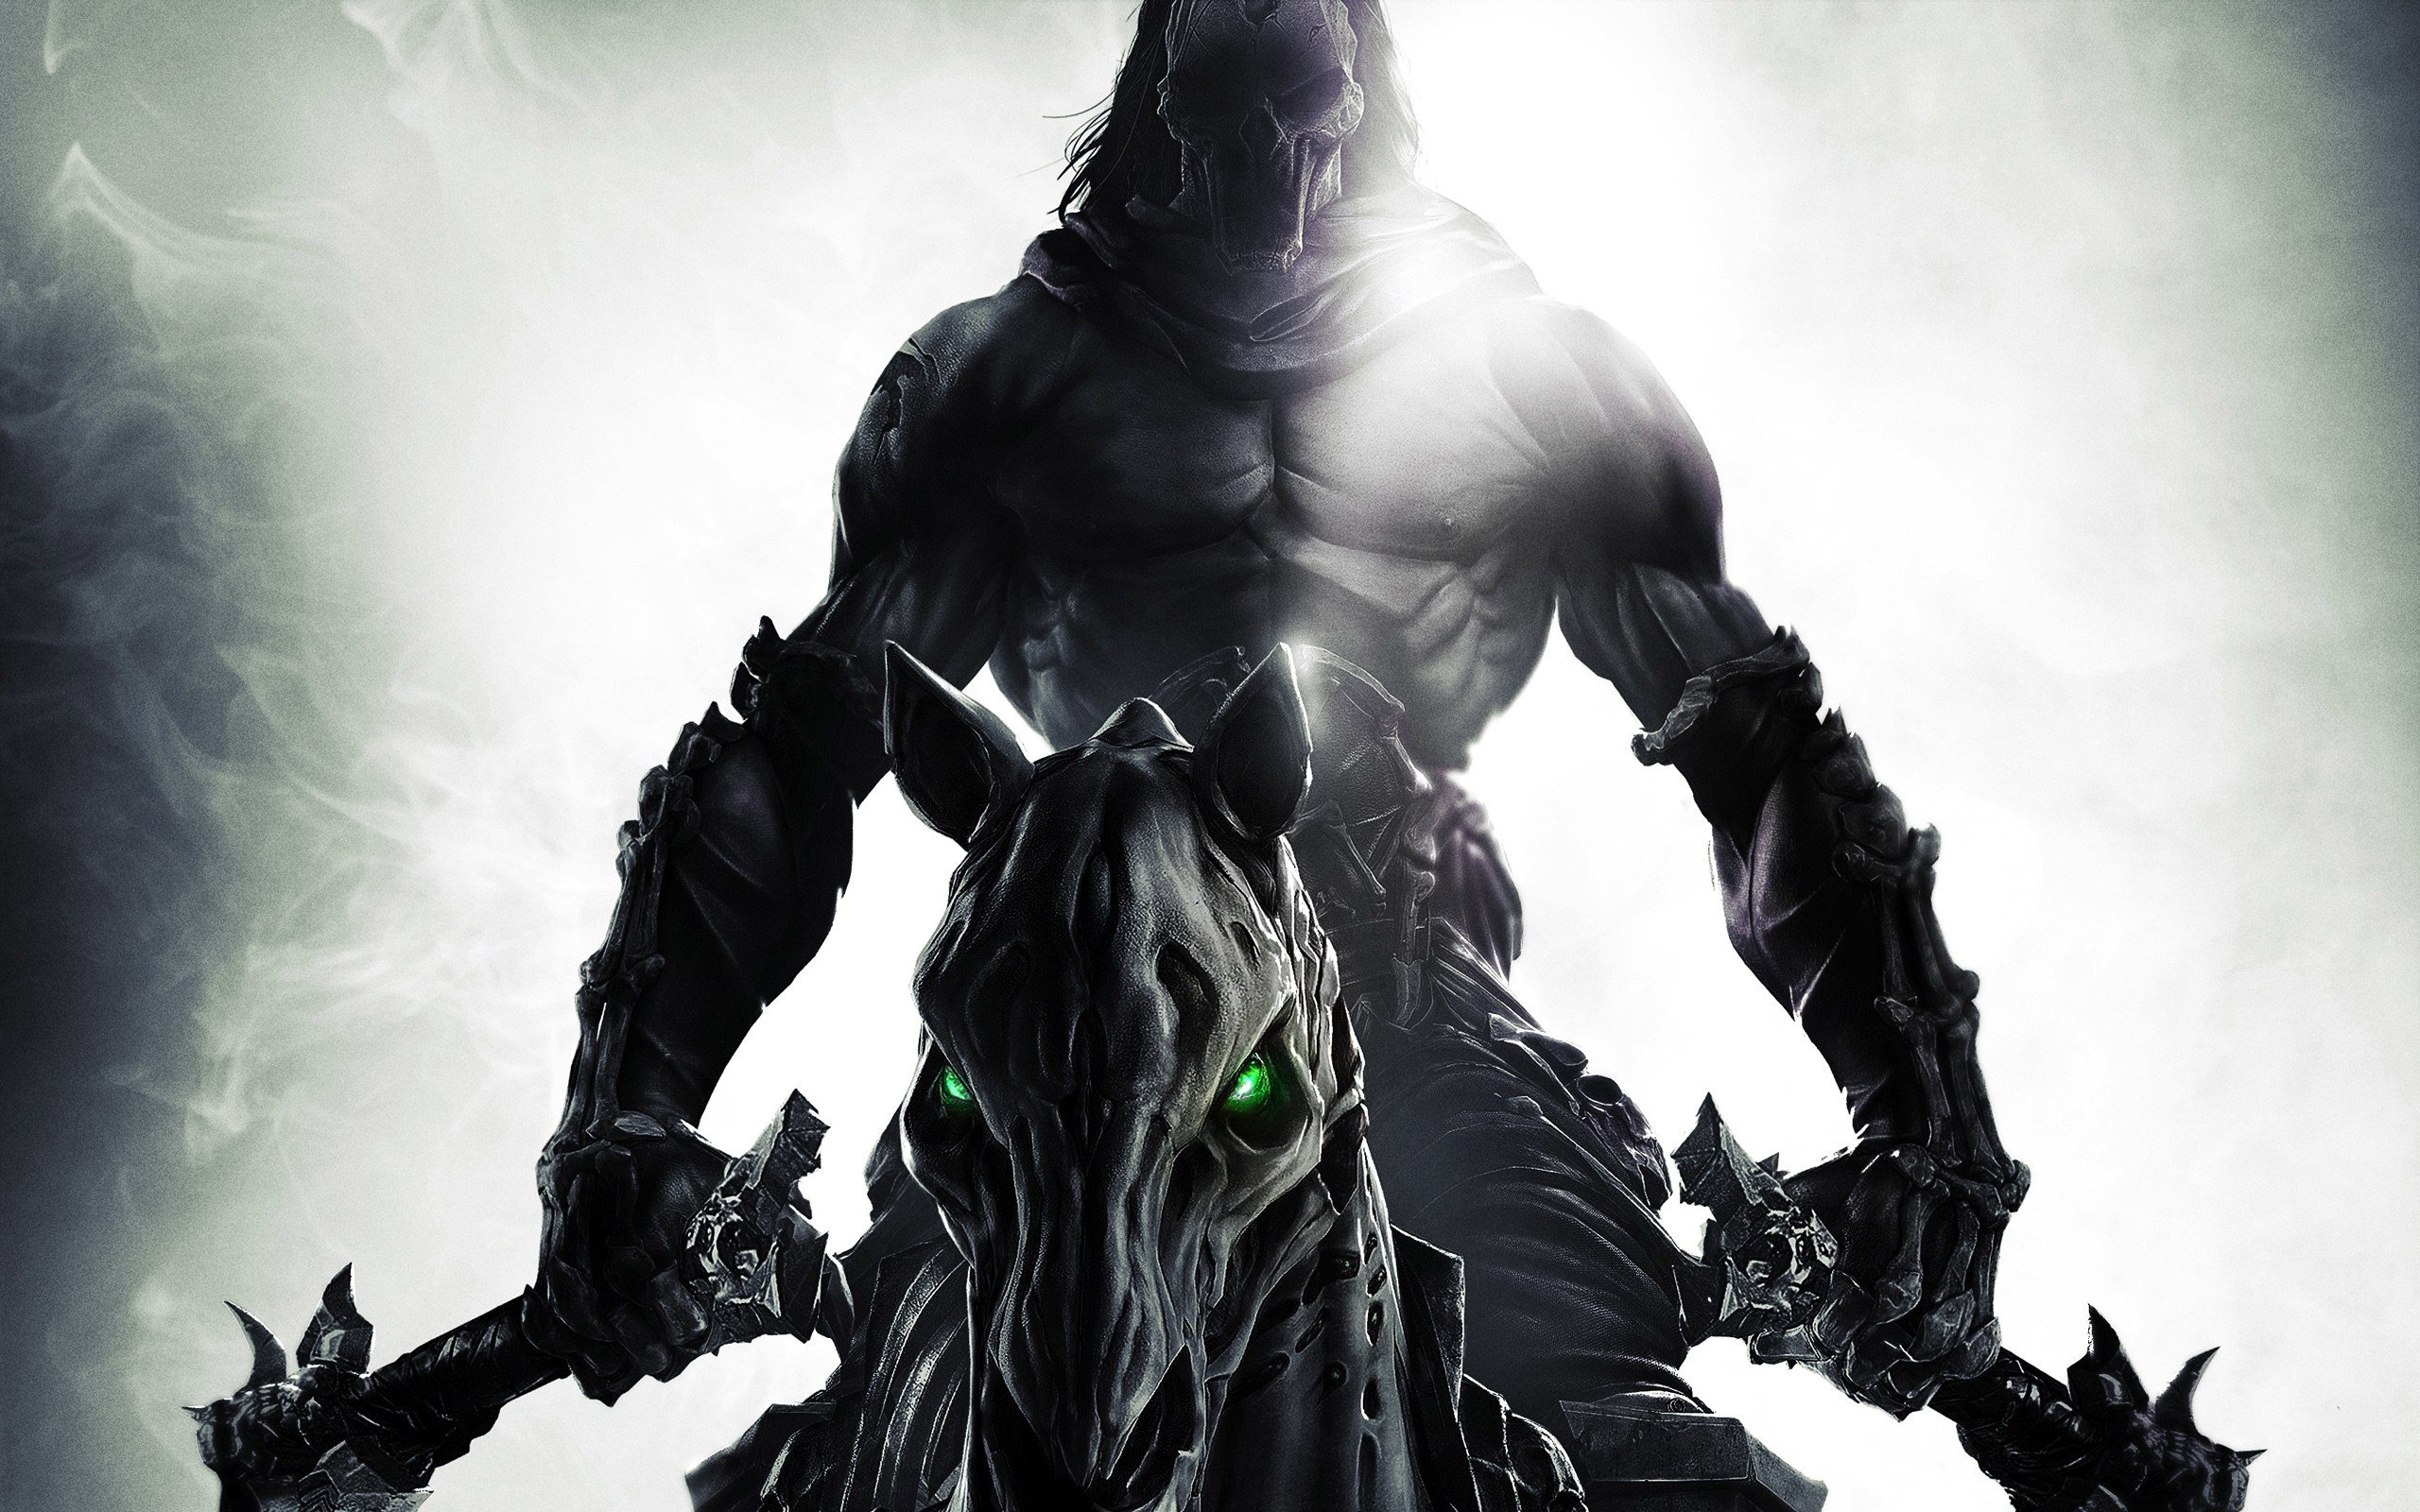
Welcome to Darksiders II, a third-person slasher/RPG where you play as Death, the second Horseman of the Apocalypse. You're on a quest to aid your brother War and restore what was lost. This installment expands on the original with an open world, an overhauled quest system, and meaningful dialogue choices. Prepare for intense combat and a journey across diverse environments as you embody one of the most formidable figures of the apocalypse.
This guide is your companion for navigating Death's epic journey. We'll cover everything you need to conquer the challenges ahead, from taking down formidable bosses to uncovering every secret and collectible scattered throughout the world. Get ready to master Death's abilities and achieve your objectives efficiently.
The Maker Warrior: Side Quests
Conquer every side quest in Darksiders 2! This guide helps you defeat Thane, Gorewood, Bheithir, The Deposed King, and Achidna to earn epic rewards.
Alright, let's talk about the side quests in Darksiders 2, specifically the ones that kick off after you deal with Thane in Tri-Stone. Think of these as optional challenges that can really beef up your character and give you some sweet loot.
- 1Challenge Thane: Head over to Tri-Stone and find Thane. You'll need to challenge him to a duel. It's a straightforward fight, so just focus on beating him fair and square.
- 2Accept New Quests: Once you've defeated Thane, he'll hand over four new side-quests. These will send you on a hunt for some tough boss monsters.
- 3Hunt the Bosses: The four bosses you'll need to find and defeat are:
- Gorewood
- 4Bheithir
- 5The Deposed King
- 6Achidna
- Keep an eye on your map and quest log to track the locations of these bosses. They can sometimes be a bit hidden or require specific paths to reach.
- Make sure you're adequately leveled and geared up before taking on these bosses. They are tougher than regular enemies and have unique attack patterns you'll need to learn.
- Don't forget to explore the areas around the boss locations. Sometimes there are extra chests or secrets to find that can help you out.
Sentinels Gaze: Optional Dungeons
Complete the Sentinels Gaze optional dungeon in darksiders 2. Find Boatman's Coin, Relic of Etu-Goth, and Stone of Power.
Sentinels Gaze: Optional Dungeons
Complete the Sentinels Gaze optional dungeon in darksiders 2. Find Boatman's Coin, Relic of Etu-Goth, and Stone of Power.
Sentinels Gaze: Walkthrough 2
Follow our detailed walkthrough for Sentinel's Gaze in Darksiders 2, guiding you through puzzles, combat, and item locations to help you progress.
Sentinels Gaze: Walkthrough 2
Follow our detailed walkthrough for Sentinel's Gaze in Darksiders 2, guiding you through puzzles, combat, and item locations to help you progress.

Sentinels Gaze: Walkthrough
Complete walkthrough for the Sentinel's Gaze optional dungeon in Darksiders 2, including puzzles, combat, and collectible locations.
- 1Enter Sentinel's Gaze and descend the spiral staircase. Wallrun to a pole, slide down, and wallrun left to find a chest. Return to the pole, wallrun right, and continue to the bottom of the stairs. Enter the door.
- 2Follow the bridge east, clearing skeletons. Find a Boatman’s Coin on the northeastern side. Return to the central structure, climb the handhold on the right of the curved face, and follow the platforming to a balcony with yellow crystals. Enter Soul Splitter mode.
- 3With clone 1, drop down to the room below. In the northwestern corner, find a door blocked by a yellow crystal. Climb the handhold to the right of the doorway to find a bomb plant on the roof. Look right of the brazier for a Relic of Etu-Goth. Drop down, use the relic on the crystal, and grab the chest. Climb back to the roof, grab another bomb. Stand in the corner closest to your body on the balcony. Have clone 2 death grip the bomb across the gap and toss it at the crystals.
- 4Return to normal mode and climb to the top. Shoot the crystal on the giant statue to the west for a Stone of Power. Opposite, find a room guarded by yellow crystals. Enter Soul Splitter mode again. Send clone 1 to the bomb plant in the same corner as before. With clone 2, look left of the crystal-blocked doorway for a hole in the wall and a debris slope. Stand on the building corner closest to clone 1 and use Death Grip to grab the bomb and pull it up. Detonate the crystals and exit Soul Splitter.
- 5Enter the room and grab the chest. Drop down the hole behind it to enter Boneriven.
- Utilize Soul Splitter and Death Grip effectively to solve environmental puzzles and access new areas.
- Be prepared for combat encounters with skeletons and other enemies throughout the dungeon.
- Look for hidden chests and collectibles like Boatman's Coins and Relics of Etu-Goth.
Similar guides you might like


100% Human-Written. AI Fact-Checked. Community Verified. Learn how AntMag verifies content