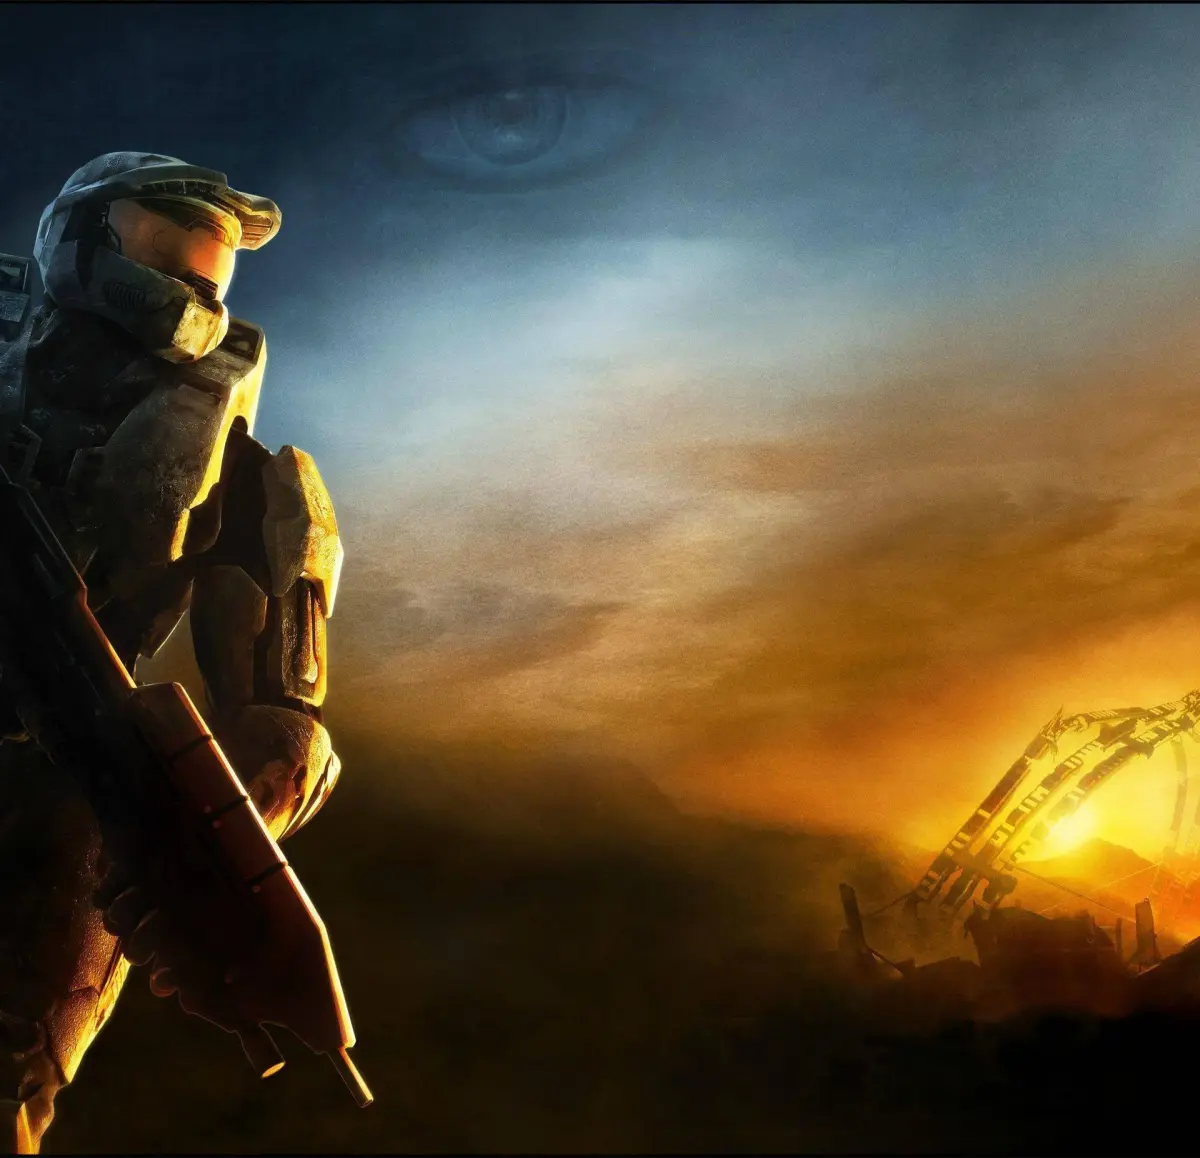
Rescue captured Marines in Halo 3's Mission 2, 'Crow's Nest.' Battle Brute Chieftains and their escorts to free allies in the holding cells.
Rescue the Marines: Crow's Nest - Mission 2
This section details the critical objective of rescuing captured UNSC Marines during the second mission, "Crow's Nest," specifically after you've cleared the hangar bay and are tasked with securing the base's lower levels. The Covenant, primarily Brutes and their various support units, have infiltrated deep into the facility, taking several Marine squads hostage. Successfully freeing these Marines is crucial for bolstering your forces and progressing through the mission.
Objective Overview:
- Mission: Crow's Nest (Mission 2)
- Location: Lower levels of the UNSC Crow's Nest facility, specifically the prison/holding cells area.
- Enemies Encountered: Brutes (Minors, Majors, Captains), Grunts (Minors, Heavies), Jackals (Shields, Snipers), Brute Chieftains.
- Friendly NPCs: Captured UNSC Marines.
- Reward: Additional squad members, access to new weapon caches.
Step-by-Step Walkthrough:
- Initial Approach to the Holding Cells:
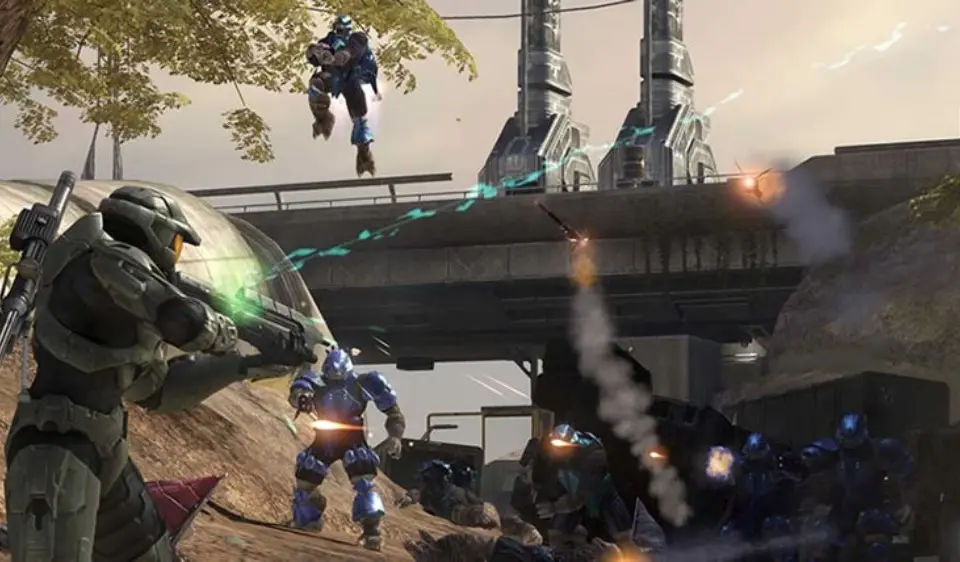
- After clearing the hangar and proceeding through the next set of corridors, you'll enter a series of interconnected rooms and tight hallways. Expect immediate resistance from Brute Minors and Grunts.
- Recommended Loadout: An Assault Rifle for close-quarters engagements and a Battle Rifle for mid-range accuracy. Plasma Grenades are invaluable here.
- Tactical Tip: Utilize the numerous crates and structural elements for cover. Brutes are aggressive; try to draw them into chokepoints where you can focus fire.
- Navigating the Caves/Tunnels (Optional Path):
- Depending on your route, you might encounter a section that resembles natural caves or excavated tunnels within the facility. This area is often patrolled by Jackal Snipers positioned on ledges and Brute Majors with Plasma Rifles.
- Tactical Tip: Prioritize the Jackal Snipers. Their beam rifles can quickly deplete your shields. Use the Battle Rifle or Carbine for precision headshots. Keep moving to avoid their sustained fire.
- Hidden Cache: Look for a small alcove off the main path in the cave section. It often contains a Shotgun and additional frag grenades, which are excellent for the upcoming close-quarters combat.
- Encountering the Brute Chieftain:
- As you approach the main holding cell block, you will inevitably face a Brute Chieftain. This specific Chieftain typically wields a Gravity Hammer and is accompanied by several Brute Captains and Grunt Heavies.
- Chieftain Strategy:
- Maintain Distance: The Gravity Hammer is devastating up close. Keep the Chieftain at range.
- Plasma Grenade Stick: The most effective method. A direct stick will often kill or severely wound the Chieftain, especially if their armor is already weakened.
- Focus Fire with Heavy Weapons: If you have a Rocket Launcher, Spartan Laser, or even a well-placed Fuel Rod Cannon shot, now is the time to use it. Aim for the head once their helmet is removed.
- Melee Combo: If forced into close quarters, a well-timed melee attack followed by a shotgun blast or a full clip from an SMG can be effective, but carries high risk.
- Environmental Hazards: Look for fusion coils or explosive barrels in the area. Shooting these when the Chieftain is nearby can deal significant damage.
- Dealing with Escorts: While focusing on the Chieftain, don't forget their escorts. The Brute Captains can quickly overwhelm you with their Brute Shots or Plasma Rifles. Use frag grenades to clear groups of Grunts.
- Locating and Freeing the Marines:
- After neutralizing the Chieftain and their escorts, proceed into the main holding cell area. You'll find several Marines imprisoned in energy-shielded cells.
- Activating the Release Console: Look for a glowing UNSC console, usually located on a raised platform or central control panel within the cell block. Interact with it (hold X) to deactivate the energy shields.
- Post-Release: The freed Marines will immediately arm themselves from nearby weapon racks and join your squad. They are invaluable for drawing enemy fire and adding sustained damage.
Recommended Loadouts & Item Locations:
| Weapon Type | Primary Use | Location/Availability | Notes |
|---|---|---|---|
| Assault Rifle | Close-quarters, suppressing fire | Starting weapon, dropped by Marines/Brutes | Good for clearing Grunts and Jackals. |
| Battle Rifle | Mid-range precision, headshots | Dropped by Brute Captains, weapon racks | Excellent for Jackal Snipers and Brute headshots. |
| Shotgun | Extreme close-quarters, Chieftain damage | Hidden cache in caves, weapon racks near cells | Devastating against Brutes and Chieftains at point-blank range. |
| Plasma Grenade | Sticking Brutes/Chieftains, area denial | Dropped by Brutes/Elites, scattered throughout | CRITICAL for quickly dispatching Brute Chieftains. |
| Frag Grenade | Crowd control, flushing enemies from cover | Starting, dropped by Grunts/Marines, scattered | Useful for clearing groups of Grunts and damaging shielded Jackals. |
| Brute Shot | Area damage, knocking back enemies | Dropped by Brute Captains | Good for splash damage and disorienting Brutes. |
Common Pitfalls & Missables:
- Ignoring the Chieftain's Escorts: Focusing solely on the Chieftain can leave you vulnerable to flanking attacks from Brute Captains or sustained fire from Grunt Heavies. Clear some of the smaller threats first if possible.
- Running into Gravity Hammer Range: The Chieftain's Gravity Hammer is a one-hit kill on higher difficulties. Always keep your distance.
- Missing Weapon Caches: The Shotgun in the cave section can be a game-changer for the Chieftain fight. Explore thoroughly.
- Not Utilizing Freed Marines: Once freed, your Marine squad provides valuable support. Let them draw some fire and contribute to the damage output. Don't rush ahead and leave them behind.
- Forgetting Equipment: If you have equipment like a Bubble Shield or Trip Mine, this area is a great place to use them strategically, especially against the Chieftain.
By following these detailed steps and tactical advice, you'll successfully rescue the Marines in Crow's Nest, significantly strengthening your position for the remainder of the mission.
100% Human-Written. AI Fact-Checked. Community Verified. Learn how AntMag verifies content