Master the Gore Magala Frenzy build in Monster Hunter Wilds. Learn how to unlock, craft, and optimize the Gore armor set for powerful Black Eclipse bonuses and Frenzy synergy.
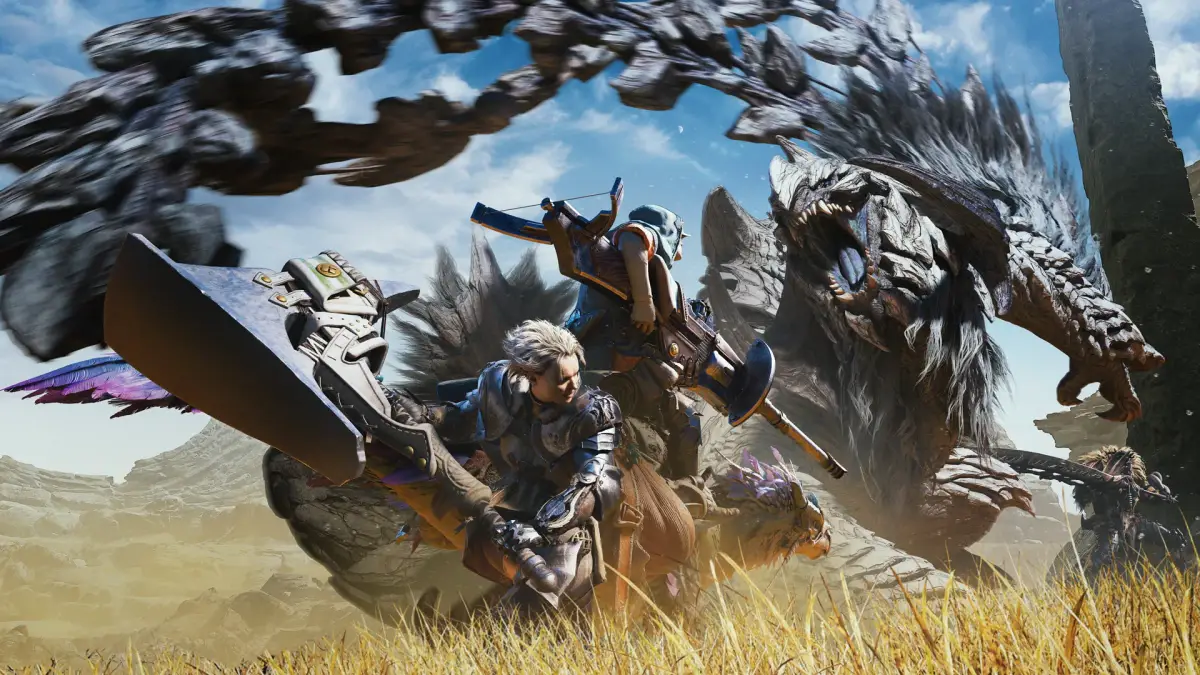
The Gore armor set in Monster Hunter Wilds is named after the monster it's sourced from, the Gore Magala. This monster is the penultimate fight in the game and tends to spawn in the Iceshard Cliffs and Wounded Hollow, making it a somewhat uncommon find, comparable to apex predators. You won't be able to acquire this armor set until late in the game. After hunting your first Gore Magala, you will unlock the Gore α and Gore β sets. Unlike the Arkveld sets, the Gore sets are aesthetically identical and very similar skill-wise. The Gore β set offers more decoration slots, while the Gore α set has more innate skills.
You can craft the Gore armor set after hunting the Gore Magala. The strength of the Gore set lies in its set bonus skills: Black Eclipse I and Black Eclipse II. You will need at least two pieces of this set for the first bonus and possibly four pieces for the second, depending on your preference. If you aim for the two-set bonus skill, Black Eclipse I, focus on the Gore Greaves β first, as they provide the Antivirus skill (useful for the Gore Set Frenzy build) and three decoration slots. If you plan to mix a two-piece Gore set with other armor like Arkveld, the Gore Mail α is likely the least troublesome choice. For the four-piece bonus skill, Black Eclipse II, the Gore Vambraces are probably the easiest piece to omit.
To craft the Gore armor set, you will need a significant amount of Gore Magala materials, including: Gore Magala Certificate S, Gore Magala Carapace, Gore Magala Feeler+, Gore Magala Nyctgem, Gore Magala Ripclaw, Gore Magala Scale+, Gore Magala Tail, Gore Magala Wing+, Frenzy Crystal, and Wyvern Gem. Fortunately, all of these materials can be carved from a defeated Gore Magala or obtained as a hunt reward, with the exception of Frenzy Gems, which are awarded for destroying wounds. While none of these tasks are exceptionally difficult, obtaining the specific materials you need relies on RNG. The upside is that you can continuously hunt Gore Magalas until you acquire everything without needing to focus on breaking specific parts. The downside is that if you are missing only one or two materials, your options are limited. As is typical in Monster Hunter, the solution is to hunt repeatedly.
When you equip two or four pieces of the Gore armor set, you gain the Black Eclipse I or Black Eclipse II bonus skills, respectively. These skills automatically inflict Frenzy upon engaging in combat with a large monster. Frenzy is a double-edged sword, but with supporting skills, you can tilt the balance towards its benefits, enjoying damage buffs while mitigating Frenzy's drawbacks. Frenzy has three states:
- Frenzy: Onset: A sword icon appears above your health bar and fills over time. Playing aggressively and landing attacks can cure Frenzy before it progresses, leading to the Frenzy: Cured status. Failure to do so results in the Frenzy: Infected status.
- Frenzy: Infected: This debuff occurs if you fail to cure Frenzy quickly enough. You will take increased damage and be unable to heal temporary damage (the red portion of your health bar).
- Frenzy: Cured: Indicated by a blue icon over the health bar, this state is achieved by landing enough attacks during Frenzy: Onset. The Black Eclipse I skill grants Affinity +10%, while the Black Eclipse II skill provides Affinity +10% and Attack +10. This effect lasts for 60 seconds.
The gameplay loop with the Gore armor is straightforward: engage a large monster to contract Frenzy: Onset. Play aggressively, landing hits until Frenzy is cured, entering the Frenzy: Cured state with buffs that increase your Affinity and potentially your Attack for 60 seconds. Failing to cure Frenzy by attacking enemies sufficiently will result in the Frenzy: Infected debuff. After 60 seconds, the Frenzy: Cured state ends, and you return to the Frenzy: Onset state, repeating the cycle.
On its own, the Gore Frenzy build offers a simple damage boost. The +10 Attack from Black Eclipse II is comparable to a Mega Demondrug, and with consistent play, the buff uptime should significantly outweigh the Frenzy: Onset phase. Two other skills can enhance this build's potency and manageability, and their inclusion should be strongly considered. The first is the Coalescence skill, which grants buffs whenever you cure a debuff. Frenzy: Onset counts as a debuff, and since you cure it to achieve the Frenzy: Cured buff, adding Coalescence synergizes perfectly with this build, further boosting your Affinity when a debuff is removed. At Coalescence Lv3, you gain a +10% Affinity bonus each time you cure the Frenzy: Onset debuff, effectively doubling your critical hit rate bonus.
100% Human-Written. AI Fact-Checked. Community Verified. Learn how AntMag verifies content