Disable Security Lasers in Ratchet & Clank (2016). Use bots to solve puzzles, find holopacks, and get the Gold Bolt.
Walkthrough
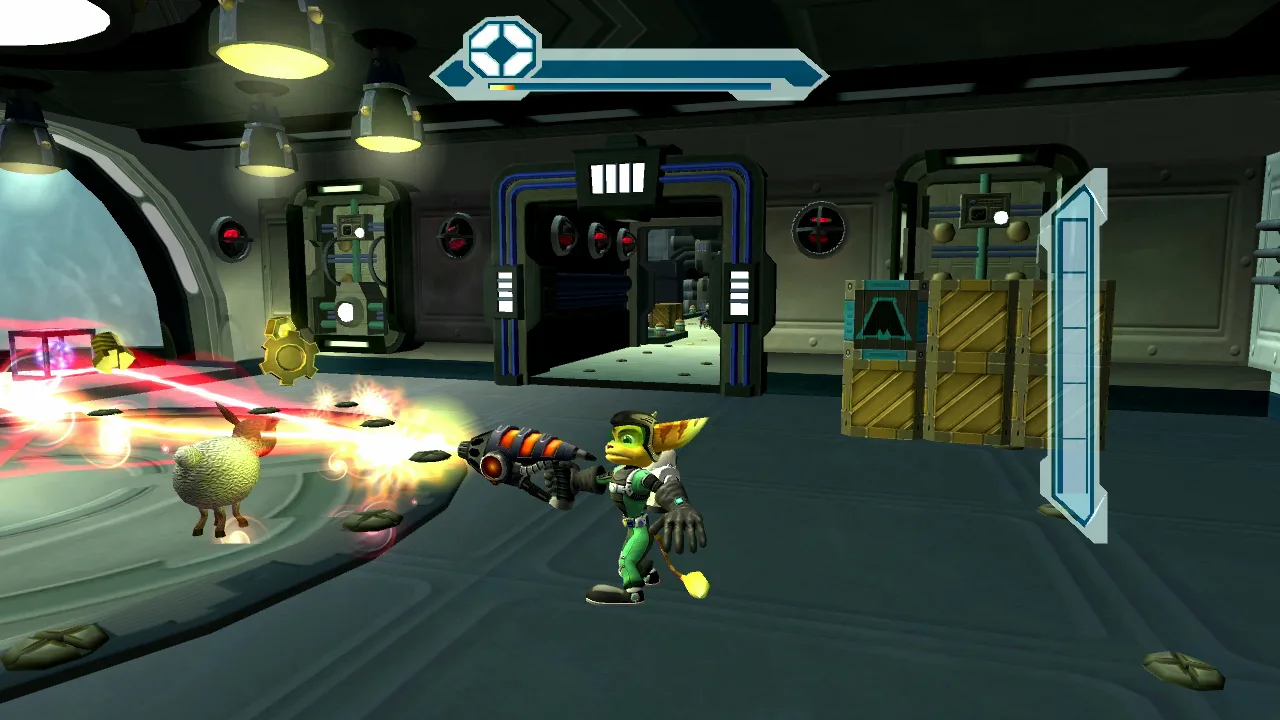
- 1As you enter, defeat 2 ROBOT DOGS and hit the button.
- 2Create a BRIDGE BOT to reach a BOT near a VENT.
- 3Transform that BOT into a SPRING BOT.
- 4Use the BRIDGE BOT on the right side and toss the SPRING BOT to reach the 3rd BOT.
- 5Transform 2 bots into POWER BOTS and 1 into a BRIDGE BOT.
- 6Grab the BOMB and return to the VENT on the right at the beginning to find a HOLOCARD PACK.
- 7Head back and use the BOMB to blow up the VENT, proceeding to the next area.
- 8Wait for the CONTAINER to drop to face 5 ROBOT DOGS.
- 9Jump up to the next puzzle.
- 10Use a POWER BOT to raise the crusher.
- 11Create a BRIDGE BOT to cross and obtain the 2nd BOT.
- 12Return to the CONVEYOR BELT and transform both bots into POWER BOTS.
- 13Place both POWER BOTS on the CONVEYOR BELT, spaced slightly apart to keep the CRUSHER raised longer.
- 14Head to the right GENERATORS and wait for the CRUSHERS to rise to move forward.
- 15At the end, wait for ZEDD to drop TNT, which will explode.
- 16Hit the BUTTON and grab the 3rd BOT.
- 17Create 2 BRIDGE BOTS, one on the left and one on the right.
- 18Transform the 3rd BOT into a POWER BOT to activate the GENERATOR.
- 19Grab the left BRIDGE BOT and transform it into a POWER BOT for the 2nd GENERATOR to proceed.
- 20You will face WARBOTS before proceeding to the next area.
- 21Use the BOMB on the WARBOT to your left; it takes 2 hits to kill. Wait for it to reload before hitting it.
- 22Repeat this process for the WARBOT on the right.
- 23For the 2 WARBOTS in the middle, hitting them twice in the middle can kill them quickly.
- 24Grab another BOMB to destroy the VENT and move forward.
- 25Head right to the CONVEYOR BELT with CRATES.
- 26Jump on and stay to the left to find your 1st BOT.
- 27Transform it into a SPRING BOT.
- 28Look down at the other end of the conveyor belt; there is a HOLOCARD PACK up top.
- 29Drop down back onto the CRATES and head right to find another BOT.
- 30Drop down to the right and break BOXES to get some RARITANIUM.
- 31Head back across the CONVEYOR BELT to the other side.
- 32Go back and grab the BOT that was in the middle to the left.
- 33Return to the GENERATORS.
- 34Create a SPRING BOT to reach the 3rd BOT.
- 35Transform this BOT into a BRIDGE BOT and position it left towards the VENT.
- 36Grab another BOT and transform it into a SPRING BOT to use on the BRIDGE.
- 37Go back to where the BOMB was when you fought the WARBOTS.
- 38Head back to where the BRIDGE/SPRING BOTS are and use a BOMB to destroy the VENT for the GOLD BOLT.
- 39Transform all 3 bots into POWER BOTS.
- 40Hit the BUTTON, triggering a CUTSCENE (a non-interactive cinematic the game plays automatically).
Tips
- When fighting WARBOTS, wait for them to reload before attacking if using bombs.
- Positioning POWER BOTS on the CONVEYOR BELT with some space can keep the CRUSHER raised longer.
- The HOLOCARD PACKs are found near vents that require bombs to open.
- The GOLD BOLT is also found by bombing a vent after solving the final bot puzzle.
100% Human-Written. AI Fact-Checked. Community Verified. Learn how AntMag verifies content