Your guide to getting to the turret in Ratchet & Clank (2016)! Learn how to navigate traps, find collectibles, and take down enemies on your way to the cannon.
Alright, let's get you to that turret! This part involves some platforming and a bit of combat, but don't worry, I'll walk you through it. We're heading into a base, so keep your eyes peeled.
Walkthrough
- 1First up, you'll be going up a path using your MAGNEBOOTS. Just keep moving and dodge the traps; it's not too tricky.
- 2When you reach the end of the path, you'll enter the base. Right away, you'll see a bunch of ROBOT SPINNERS, a ROBOT GENERATOR BOT, and two WARBOTS. Cora will need help soon, but don't go to her just yet. Instead, head left, towards where you saw some JETPACKING WARBOTS.
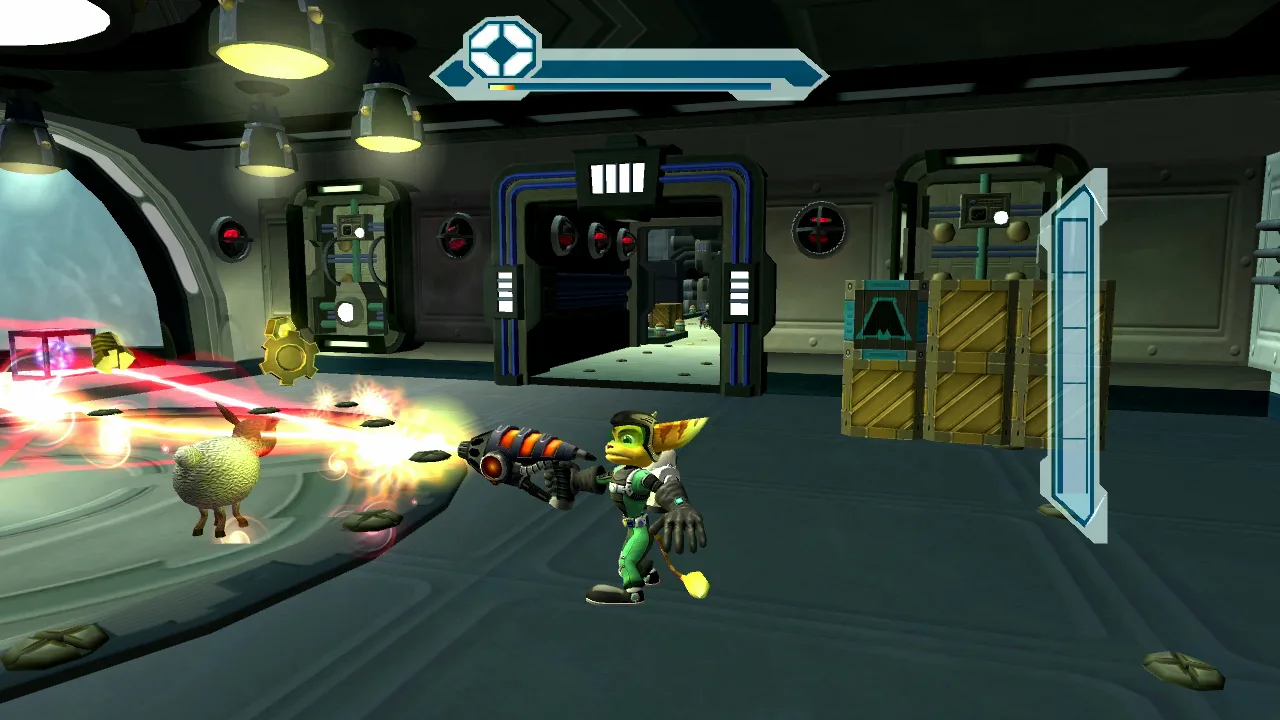
- 3On the left side of this area, you'll find a bunch of BOXES. Important: Do NOT break these yet! Your first priority here is to climb up to get a GOLD BOLT. You can use the HELIJUMP to grab onto a ledge. It might take a couple of tries to find a spot you can stick to, but you'll get it.
- 4Once you've snagged that GOLD BOLT, you can go back and break all those BOXES you saw earlier. Inside, look for a HOLE IN THE WALL that leads to some RARITANIUM.
- 5Now, head over to the other side of this area. You'll do something similar here to get more RARITANIUM stashed up high.
- 6With the collectibles secured, head back to where Cora is. Now you can CRANK THE BOLT to bring her over.
- 7As soon as Cora joins you, you'll be attacked by three WARBOTS. Stay put on the upper level and take them out first. Trust me, the BLARG GRENADE THROWERS down below will make short work of you if you try to engage them now.
- 8After you've dealt with all three WARBOTS, you'll reach a FORT. The doors will explode, and you'll have to face two TANKS and two more WARBOTS. Take them all down.
- 9Once all enemies are cleared, go CRANK THE BOLT again to get to the main cannon. You'll need to use the TRESPASSER to unlock it. The rings are set at: 1ST RING: 2 o'Clock, 2ND RING: Off, 3RD RING: 7+9 o'Clock.
- 10Hop into the cannon and let the BLARG have it!
Cannon Battle:
This part is a bit different. You're in a ship now, and your goal is to destroy incoming ships to power up the main cannon.
- Start by shooting the SMALL SHIPS. Destroying them gives you energy for the MAIN CANNON.
- Wait for the WARSHIPS to appear before you focus on destroying them. You need a full YELLOW BAR before you can fire the MAIN CANNON.
- After you destroy your first WARSHIP, they'll start firing MISSILES at you. Keep an eye on your HUD; RED WARNING SIGNS will point them out. The more WARSHIPS you take out, the more MISSILES you'll have to deal with.
Tips for the Cannon Battle
- When you destroy a WARSHIP, everything goes into slow-motion for a bit. Use this precious time to track down any nearby SMALL SHIPS – it makes them much easier to hit.
- Don't just mindlessly shoot every SMALL SHIP you see. You won't be able to hit most of them, and it'll just clutter your screen, making it harder to see the real threats.
- Be patient! Focus on ships you know you can hit. This makes the whole process smoother and less stressful.
- When those MISSILES start flying, find and destroy them immediately. It's way better than having to scramble for them at the last second.
Once you've destroyed all 5 WARSHIPS, you're done with this section! You can then head back by taxi to where you started.
100% Human-Written. AI Fact-Checked. Community Verified. Learn how AntMag verifies content