Follow this guide to find the Core in Ratchet & Clank (2016). Includes walkthrough steps, enemy encounters, and collectible locations.
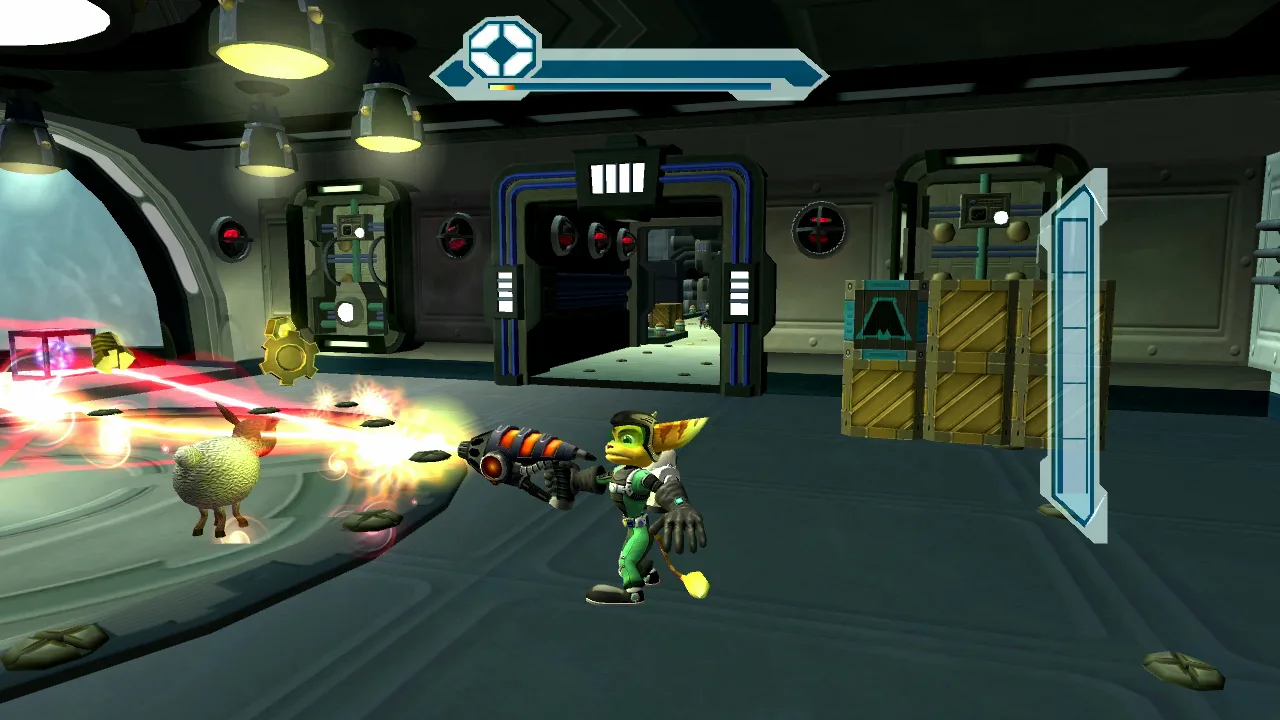
After exiting your ship, turn left past the stairs. Head up the stairs, break all boxes, and use the HOLOGUISE. Proceed to the WARBOT and wave at it to lower its shields. Ensure you get behind it before destroying it. Move to the next area and wait for the WARBOT to turn around before jumping up. Use HOLOGUISE and wave at the WARBOT to lower its shields. Destroy the WARBOT near the KILLSWITCH, then the other WARBOT. Open the DOOR and wave at it to make it turn around. Follow it through the DOOR and make your way to the KILLSWITCH on the right side of the room. Destroy all 3 WARBOTS and ROBOT DOGS in the area. Climb the small ladder, then turn around to jump over a railing to ascend. Look left to climb another railing until you reach the KILLSWITCH. Observe the WARBOT's patrol path before destroying it.
After passing through the DOOR, use the LIFT in the center to descend and fight 3 WARBOTS, followed by 4 WARBOTS. Move upwards, use the LIFT again, and enter through the DOOR. You will see 2 WARBOTS patrolling below. After defeating them, 3 WARBOTS will approach from the left, and 3 more from the right. In the room with the 2 DREK STATUES, locate the CRATES WITH A BLUE LIGHT. Climb to the very top and jump onto the MOVING PLATFORMS to reach the GOLD BOLT. Proceed to the next area and wait for the WARBOT to turn around before crossing. Be cautious of the moving MINES. You will need to use the HOLOGUISE while performing MAGNEBOOTS. Time your movements to avoid the LASERS and MINES. Reach the end and destroy the WARBOT here, then prepare for a lengthy battle through the upcoming DOOR.
Ensure you reach the other end while using the HOLOGUISE. You will then face 4 WARBOTS. Subsequently, 2 WARBOTS will emerge from the left and right rooms. The middle doors will then reveal 2 WARBOTS from the left and right rooms, accompanied by ROBOT DOGS. Finally, the closest doors will have 2 WARBOTS enter from the left and right doors. After this, use the TRESPASSER with the following ring configurations: 1ST RING: 1+8 o'Clock, 2ND RING: 11 o'Clock, 3RD RING: 3+10 o'Clock, 4TH RING: 6 o'Clock.
Exit the room to encounter 6 WARBOTS before using the SWINGSHOT to cross. Upon reaching the room with DREK STATUES, you will initially face 4 WARBOTS, followed by ROBOT DOGS. Then, 3 WARBOTS will appear from the left and right sides, and 3 JETPACK BLARG will join the fray. The middle room will open, revealing 2 FLAME BLARGS and 1 WARBOT. Subsequently, numerous BLARG, ROBOT DOGS, and WARBOTS will enter. Return to the GADGETRON VENDOR where you learned the CORE's location, as the next section is very long and challenging.
To commence this battle, use your PLASMA STRIKER to eliminate all BLARG GRENADE THROWERS before entering the MAIN HANGAR. Destroy all WARBOTS within the hangar. The remaining enemies will be easier to deal with once the primary threats are eliminated. Crank the BOLT to extend the bridge, then face 2 WARBOTS and 1 DROPSHIP. After the DOORS open, you will confront 2 WARBOTS and ROBOT DOGS. Ensure you collect the HOLOCARD PACK [RYNO VII], located on the left. Climb to the top to retrieve it. [MAKE SURE TO GET THE RYNO BEFORE YOU GO ANY FURTHER AS YOU WON'T BE ABLE TO ONCE YOU GO DOWN TO THE CORE]
100% Human-Written. AI Fact-Checked. Community Verified. Learn how AntMag verifies content