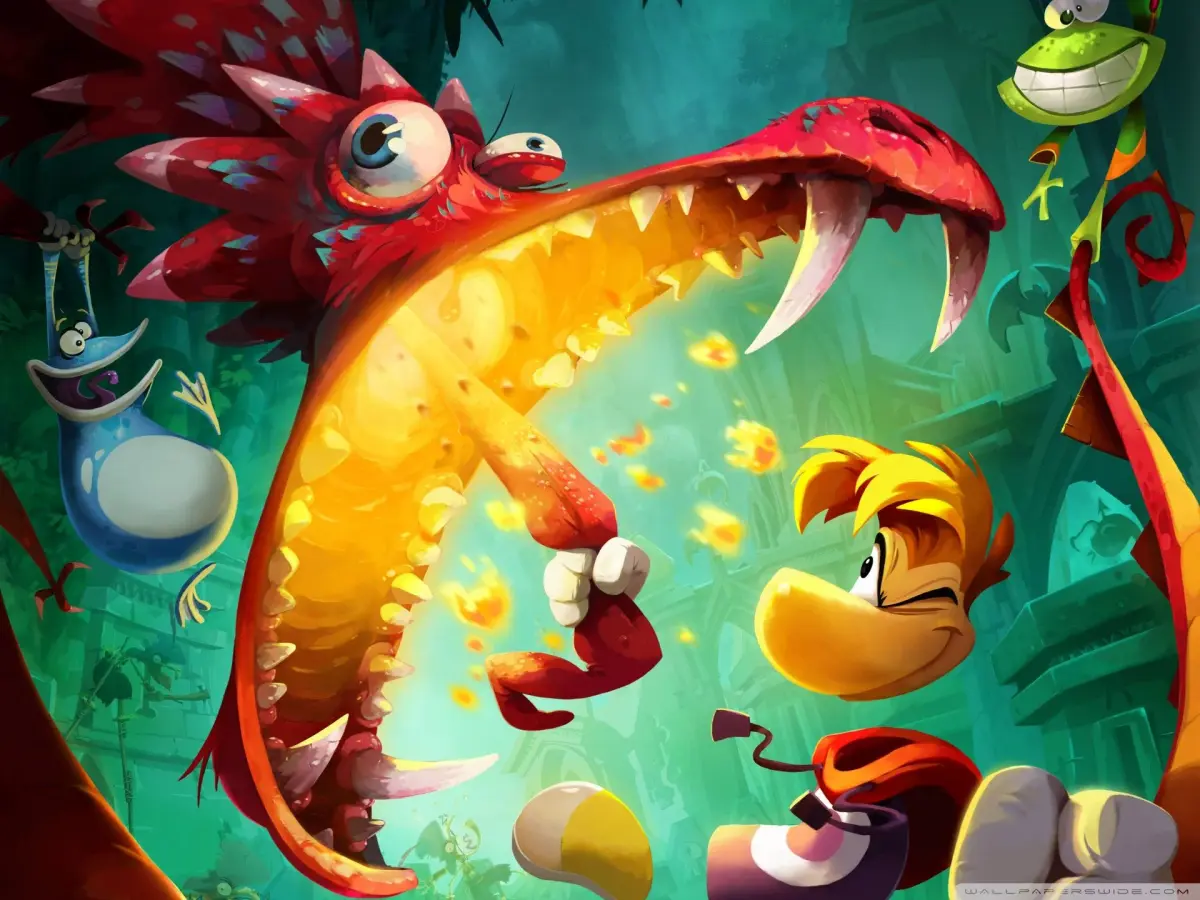
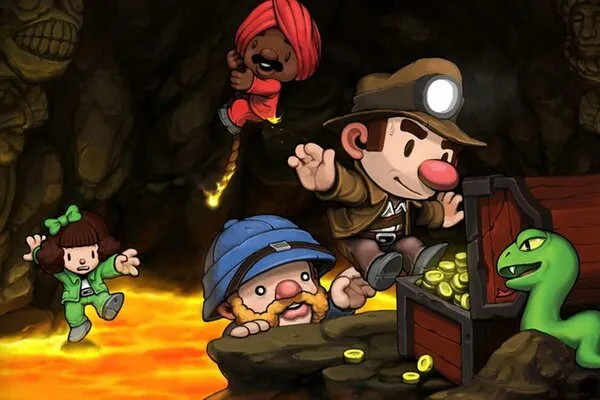
Welcome to Rayman Legends, a vibrant and often challenging 2D cooperative platformer that’s a blast to play solo or with friends. You’ll dash, jump, and punch your way through a variety of colorful worlds, collecting Lums and freeing Teensies. The game throws a lot at you, from tricky platforming sections to unique musical levels that demand precise timing.
This guide is your ticket to mastering every aspect of Rayman Legends. We’ll walk you through collecting every Lum in every story level, from the spooky Fiesta de los Muertos to the epic Olympus Maximus. Plus, we’ll help you conquer the daily and weekly challenges to earn those coveted Gold Medals and unlock all the playable heroes and their secrets.
FAQ/Walkthrough #59
Need help with The Snoring Tree in Rayman Legends? This guide covers everything you need to know about this early-game area, including its purpose and how to navigate the world map.
Alright, so you've just started Rayman Legends, and you're probably wondering what's up with this giant tree you pop out of. That's The Snoring Tree, and it's basically your home base in the Glade of Dreams. The game kicks off with a quirky cutscene explaining that the Bubble Dreamer is in a slump, and you'll need to gather Electoons to get him back in shape. Think of it as your central hub for tips, checking out what you've unlocked, and swapping out Rayman for other characters.
When you first exit the tree to the left, you'll hop onto a Magic Hat. A bit of dialogue will pop up, and The Magician will mention something about a grumpy guy guarding a tunnel entrance who only responds to Skull Teeth. Don't worry too much about that for now. Just head back inside the tree and take the exit on the eastern side. This will lead you to the world map.
Here's a cool trick: no matter where you are on the world map or even inside a level, you can press the X button to instantly teleport back to The Snoring Tree. It's super handy for when you want to check your progress or switch characters without trekking all the way back.
JIBBERISH JUNGLE [0301]
Complete walkthrough for Rayman Legends' Jibberish Jungle (Level 0301), including Electoon locations, Lum rewards, and strategies for overcoming enemies and obstacles.
- 1Begin by walking right and jumping on a red bulb to destroy land and cross.
- 2Jump on moving platforms, collecting the first [SKULL COIN] (25 Lums) on an upper platform.
- 3Take the low road, running through grass for Lums and finding a Heart. Avoid crushing platforms underground.
- 4Jump on a sleeping Psychlops to bubble it, then use it as a stepping stone. Pop it for Lums.
- 5Collect bubble Lums from tall grass, hop across Psychlopes, and use a red bulb to activate a geyser.
- 6Use a second red bulb to ride another geyser over a large gap.
- 7Grab the sleeping Lum King to make surrounding Lums turn red and worth double. Bounce on a blue mushroom to go to the background.
- 8Slide down rapids to a stone head. Jump on two red bulbs on its head to open its mouth.
- 9Navigate past the stone head's teeth, jump on the Darktoon, and free Betilla the Head Nymph, gaining the attack ability.
- 10Bash the stone head's teeth (press X to punch) and break down wooden walls to reach a blue mushroom.
- 11Punch down wooden barricades and attack the Lividstone to bubble it, then attack the bubble.
- 12Punch the eye blocking the door.
- 13In the cave, attack blue bulbs to make spiked monsters retract. Collect Lums and defeat another Lividstone.
- 14Wall jump to a tall ledge. Punch a green bulb for an island, use it to reach a wooden gate, and smash it.
- 15Use a blue bulb to defeat Lividstones. Grab the Lum King and collect surrounding Lums.
- 16Before the cave exit, carefully jump and slide down a wall to get the second [SKULL COIN] between Spiked Eyeballs.
- 17Punch the Lividstone and eyeball gate.
- 18Enter the Cage Challenge: defeat all enemies, including two sleeping Psychlopes (use a running punch), a Lividstone, and another Psychlops.
- 19Ride the geyser to the upper level.
- 20Wait for the Hunter's missiles to activate the green bulb, creating an island. Use it to reach a vine.
- 21Swing to the Hunter, defeat him, and smash the cage to free the Electoons and finish the level.
- Hold the Right Trigger to run.
- Hearts grant an extra hit.
- Rayman Origins has unlimited lives; dying returns you to the previous checkpoint.
- When collecting a Lum King, act fast to collect the doubled Lums.
- Wall jumping involves sprinting and jumping towards a wall, then pressing the opposite direction and jumping again.
- For the [HIDDEN CAGE], defeat all enemies in the area.
- For the Hunter, wait for the green bulb to activate an island before swinging across.
- Ability to attack (from Betilla the Head Nymph).
- Medallion (if 150 Lums are collected).
- Electoons (based on Lum collection and the Hidden Cage).
DESERT OF DIJIRIDOOS [0302]
Complete Rayman Legends Desert of Dijiridoos walkthrough for Crazy Bouncing and Best Original Score, including Electoon and hidden cage locations.
- 1From the mast, jump into the tall dijiridoo on the right to slide into the desert.
- 2Walk right and break the flask for a Heart.
- 3Ground pound the giant drums to bounce higher.
- 4Defeat the Red Bird bouncing alongside you.
- 5Ground pound the second drum to bounce to a ledge with a [SKULL COIN].
- 6Fall back down and continue right.
- 7Bounce on drums to reach a Swingman and swing right.
- 8Collect nearby Lums and step onto the string, avoiding red waves.
- 9Ground pound drums past the first string to land on a high Swingman.
- 10Swing over to a [SKULL COIN].
- 11Attack the Bulb-o-Lums (big brown sack) below and go through the door.
- 12Bounce up to the flask above the entrance and kill another Red Bird.
- 13Bounce up towards the string on the wall using the drum.
- 14Wait for the traveling wave to reach the top of the string, then bounce onto it.
- 15Wall jump off the string to grab the [SKULL COIN] floating nearby.
- 16Use the next drum to bounce to a high platform and walk through red feathers for Lums.
- 17When you reach three Red Birds, defeat them and ground pound the drum to find a hidden door.
- 18HIDDEN ROOM: Use drums to gain height and knock around the ten or so Red Birds flying in patterns above the [HIDDEN CAGE] to open it.
- 19Go right to find hidden Lums and a flask.
- 20Deal with the two Red Birds bouncing on switches that trigger strings.
- 21Manipulate the switches until the strings are safe to cross.
- 22Climb up the strings to find a Bulb-o-Lums.
- 23Another Bulb-o-Lums is next to the doorway below.
- 24Grab the flask at the entrance to the area and proceed across the strings.
- 25When you reach miniature drums and three strings above, wait for red waves to move aside before bouncing through the middle.
- 26Hop up to the pillar and pick up the [SKULL COIN].
- 27Pick up the Lum King and collect the nearby ring of Lums.
- 28Drop down the hole onto the long string instead of going right, dodging moving waves.
- 29Find a [SKULL COIN] at the end of the string.
- 30Jump to the upper level, attack Red Birds, and ground pound the drum to launch up to the doorway.
- 31As you pursue a Darktoon taking a Nymph, collect Heart flasks and Lums while swinging and bouncing.
- 32Pick up the [SKULL COIN] high near the ceiling.
- 33Corner the Darktoon on four platforms, bounce up using drums, and whack it to free the Music Nymph: Holly Luya.
- 34Rayman gains the ability to fly, allowing gliding by holding A in the air.
- 35After a wall jumping section, test gliding by floating over a river to the exit.
- 36In the next room, glide across a hole to grab Lums and a Heart.
- 37Bounce along drums and perform a super bounce to reach a Swingman above.
- 38Swing left and glide to a hidden door.
- 39HIDDEN ROOM: Use chain-bubblizings on the sixteen Red Birds flying in a square formation to open the [HIDDEN CAGE].
- 40Glide back to the Swingman and swing through Lums to the right.
- 41Ride water rapids to the last [HIDDEN CAGE].
- 42Jump up platforms to the cage and smash it open, dealing with the three sleeping Red Birds guarding it.
- 43Best Original Score Section: Jump down onto the piano walkway and take down the Darktoon.
- 44Staves emerge from the ledge, and green toucans fly down to rest on them, acting as platforms.
- Ground pounding drums causes you to bounce higher, similar to bouncy flowers.
- Red waves on strings can damage Rayman.
- The ability to fly (glide) is unlocked after freeing Holly Luya and is used to cross long gaps.
- The hidden room in the Best Original Score section requires chain-bubblizings to open the cage.
- Crazy Bouncing: 6 Total Electoons, 3 Hidden Cages, 2 Lum Rewards, 1 Speed Run. Level Bonuses: Electoon #1: 150 Lums, Electoon #2: 300 Lums, Medallion: 350 Lums. Speed Run: Electoon: 1:30, Speed Trophy: 1:08.
- Best Original Score: 6 Total Electoons, 3 Hidden Cages, 2 Lum Rewards, 1 Speed Run. Level Bonuses: Electoon #1: 150 Lums, Electoon #2: 300 Lums, Medallion: 350 Lums. Speed Run: Electoon: 2:00, Speed Trophy: 1:32.
GOURMAND LAND [0303]
Follow our comprehensive walkthrough for Rayman Legends' Gourmand Land world. Find all Electoons, cages, and collectibles in levels like Polar Pursuit and Dashing Thru the Snow.
- 1Start by running through purple ferns for Lums and follow the ice slide.
- 2Avoid Spiked Oranges and smash the pillar. Slide down the ramp into the water.
- 3Swim right and jump on the Psyclopes to reach a [SKULL COIN]. You can get the "Boing! Boing! Boing!" achievement here by bubblizing all 11 Psyclopes without hitting the water.
- 4On the other side, punch Bulb-o-Lums and jump across the umbrella platform.
- 5Jump on the large dragon's stomach to ride its vomit stream upwards.
- 6Collect Lums and slide down icy slopes. Hop across the Spiked Orange pit using the umbrella or swinging bug.
- 7Jump on the lemon wedge, but don't stay too long.
- 8Slide towards the fruit punch pool and jump on the Blue Dragon. Ride its stream and leap across lemons and umbrellas.
- 9Before entering the doorway, wall jump above it to get a [SKULL COIN].
- 10After a cutscene, enter the cave and take the upper path for another [SKULL COIN].
- 11In the second cave, collect the Lum King and exit onto umbrellas. Drop down for a [SKULL COIN].
- 12Corner the Darktoon in a room with ramps. Wait for him to become normal-sized to defeat him. You gain the ability to change size via funnels or Funnel Bugs.
- 13To escape, walk through the funnel to shrink and squeeze through a crack. Before doing so, jump from the top of the left ramp to find a hidden [SKULL COIN].
- 14Enter the crack and the door.
- 15There's another crack to the right, and one above. Wall jump up the ceiling crack to find a secret door.
- 16~~ HIDDEN ROOM ~~ Use bouncy limes to defeat five sleeping Psyclopes and open the [HIDDEN CAGE].
- 17Head right to find two Darktoons. When tiny, ground pound enemies twice to defeat them. Wall jump through the cave and ride the umbrella over the fruit punch.
- 18On the other side, rustle the purple fern for a [SKULL COIN]. Grab it before it falls into the fruit punch.
- 19Wall jump back up, hop on the pillar, grab the Lum King and Lums.
- 20Enter another cave, jump into the Funnel Bug to change size and shoot through a hole.
- 21Grab the nearby [SKULL COIN], carefully gliding between Spiked Oranges.
- 22Leave the cave, hop across lemon wedges, and ground pound the Blue Dragon to ride up.
- 23Drop into the first hole, avoid Spiked Oranges, and slide down a crack to reach another hidden room.
- 24~~ HIDDEN ROOM ~~ Traverse across forked lemon wedges, jumping on Psyclopes to reach the [HIDDEN CAGE].
- Rayman slips on ice, so be mindful of your footing.
- The "Boing! Boing! Boing!" achievement requires bubblizing 11 Psyclopes without touching water.
- When tiny, Rayman's attacks change: ground pound to bubblize, then ground pound again to pop.
- Be quick when grabbing the [SKULL COIN] near the fruit punch after rustling the fern.
- The [SKULL COIN] after the Funnel Bug requires precise gliding and direction changes.
- Total Electoons: 6
- Hidden Cages: 3
- Level Bonuses: Electoon #1: 150 Lums, Electoon #2: 300 Lums, Medallion: 350 Lums
- Speed Run: Electoon: 1:50, Speed Trophy: 1:26
- Collectibles: 5 [SKULL COIN]s
Similar guides you might like

100% Human-Written. AI Fact-Checked. Community Verified. Learn how AntMag verifies content