A comprehensive guide to navigating Bandit's Pass in Salt and Sacrifice, detailing enemy encounters, item locations, and strategic tips for progression.
Walkthrough
- 1The default shrine is for the Goddess of Light. If you are not a member, switch Creeds to access the Cleric who sells Prayers and items like Lightvessels and Blessed Pages. Joining the Goddess of Light Creed for the first time earns the 'Devara's Light' trophy.
- 2Pick up the Stone Sellsword behind the Cleric.
- 3Exit the Sanctuary to the right. Climb the platform above, then the building. Collect the Bell of Return (3) from the ledge.
- 4Continue left on the building's roof. Drop down the vine-covered side to a ledge with a Bag of Salt and Flanged Mace.
- 5Drop down again to re-enter the Sanctuary, then exit right.
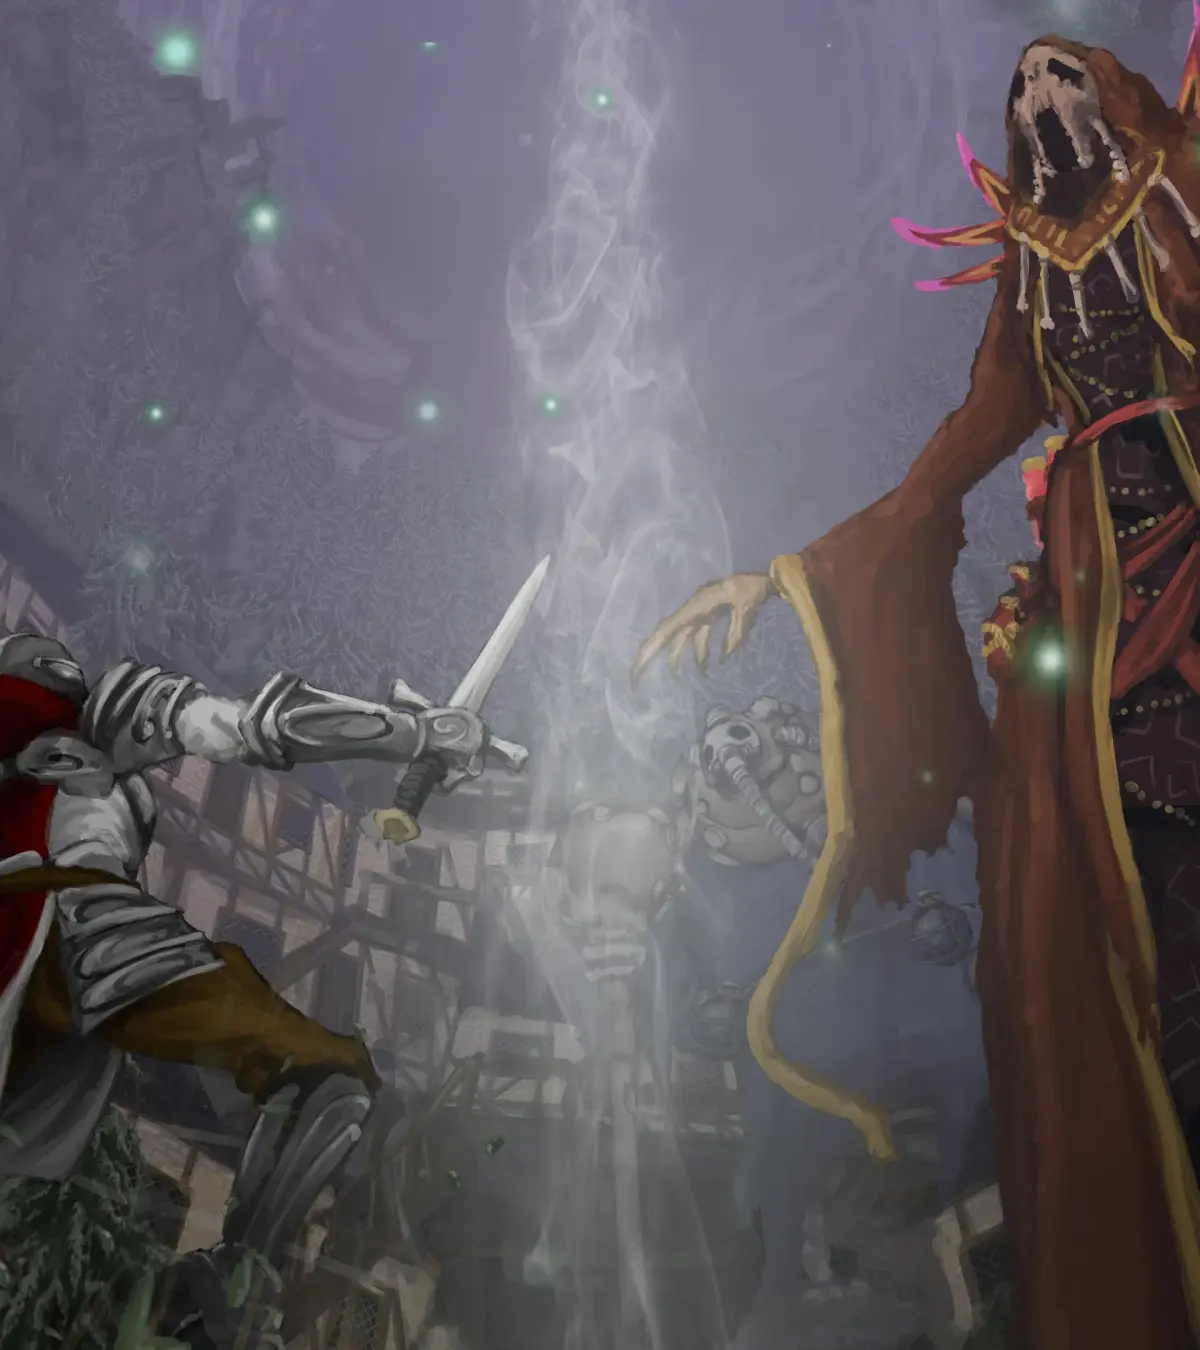
- 6Continue right until you reach a tree. Before proceeding, be aware of a large enemy spawn: initially a Drowned Soldier and a Drowned Peasant, followed by more Drowned Peasants and Drowned Bandits from the corpse pile. Approximately 10 enemies will spawn.
- 7In the middle of the corpse pile, collect Bolt (20) and the Platoon Crossbow.
- 8Proceed to the next area, which contains a large group of enemies: Drowned Bandits (2), Feral Beasts (2), and Drowned Raiders (5). Raiders are new and dangerous, spamming axe throws and powerful melee combos.
- 9To clear the area: Pull the initial Bandit with a long-ranged attack, potentially engaging the Beasts. Once they are cleared, defeat the Raider on the ground, then the one on the nearest platform, and the one behind it.
- 10As you reach the stone pillars, dispatch the Bandit and possible Raider on the ground level.
- 11Jump onto each stone pillar to reach the last Raider, who guards the Raider's Ushanka (Helm), Raider's Portyanki (Legs), and another Bag of Salt.
- 12After clearing the enemies, return to the corpse pile where you found the Crossbow.
- 13Go to the tree on the right (without the hole). Stand directly under the green leaves, jump, and hold Up to climb to a hidden platform.
- 14Jump again (holding Up) to reach another platform. Jump left to collect the Stone Guide.
- 15Continue upwards using the platforms (discernible by white bark) until you reach the top.
- 16Head left to more platforms. Continue left to find a bag containing a Lightvessel and the Spirited Mend (Prayer).
- 17Drop down to ground level.
- 18Continue right, past the stone pillars, to a platform with a Flame Arrow (20) next to a wooden barrel.
- 19Drop down to a lower ledge with another wooden barrel. Enter the doorway below.
- 20Collect the Infantry Poleaxe in front of the ladder.
- 21Head down the ladder and stop immediately upon hitting the ground to avoid a visible trip wire trap.
Tips:
- Switching Creeds prevents you from switching back to your previous Creed for a while, making you an
100% Human-Written. AI Fact-Checked. Community Verified. Learn how AntMag verifies content