Navigate The Sunken Keep in Salt and Sacrifice. Learn how to find the Mossy Key, deal with Retchfeeders in the dark, and unlock shortcuts.
Walkthrough
- 1After defeating the Mad Alchemist, go left to find a platform with a Black Pearl. Continue left to another platform to find the Mossy Key.
- 2Return to the closest Sanctuary.
- 3Head right from the Sanctuary to find a locked door that requires the Mossy Key.
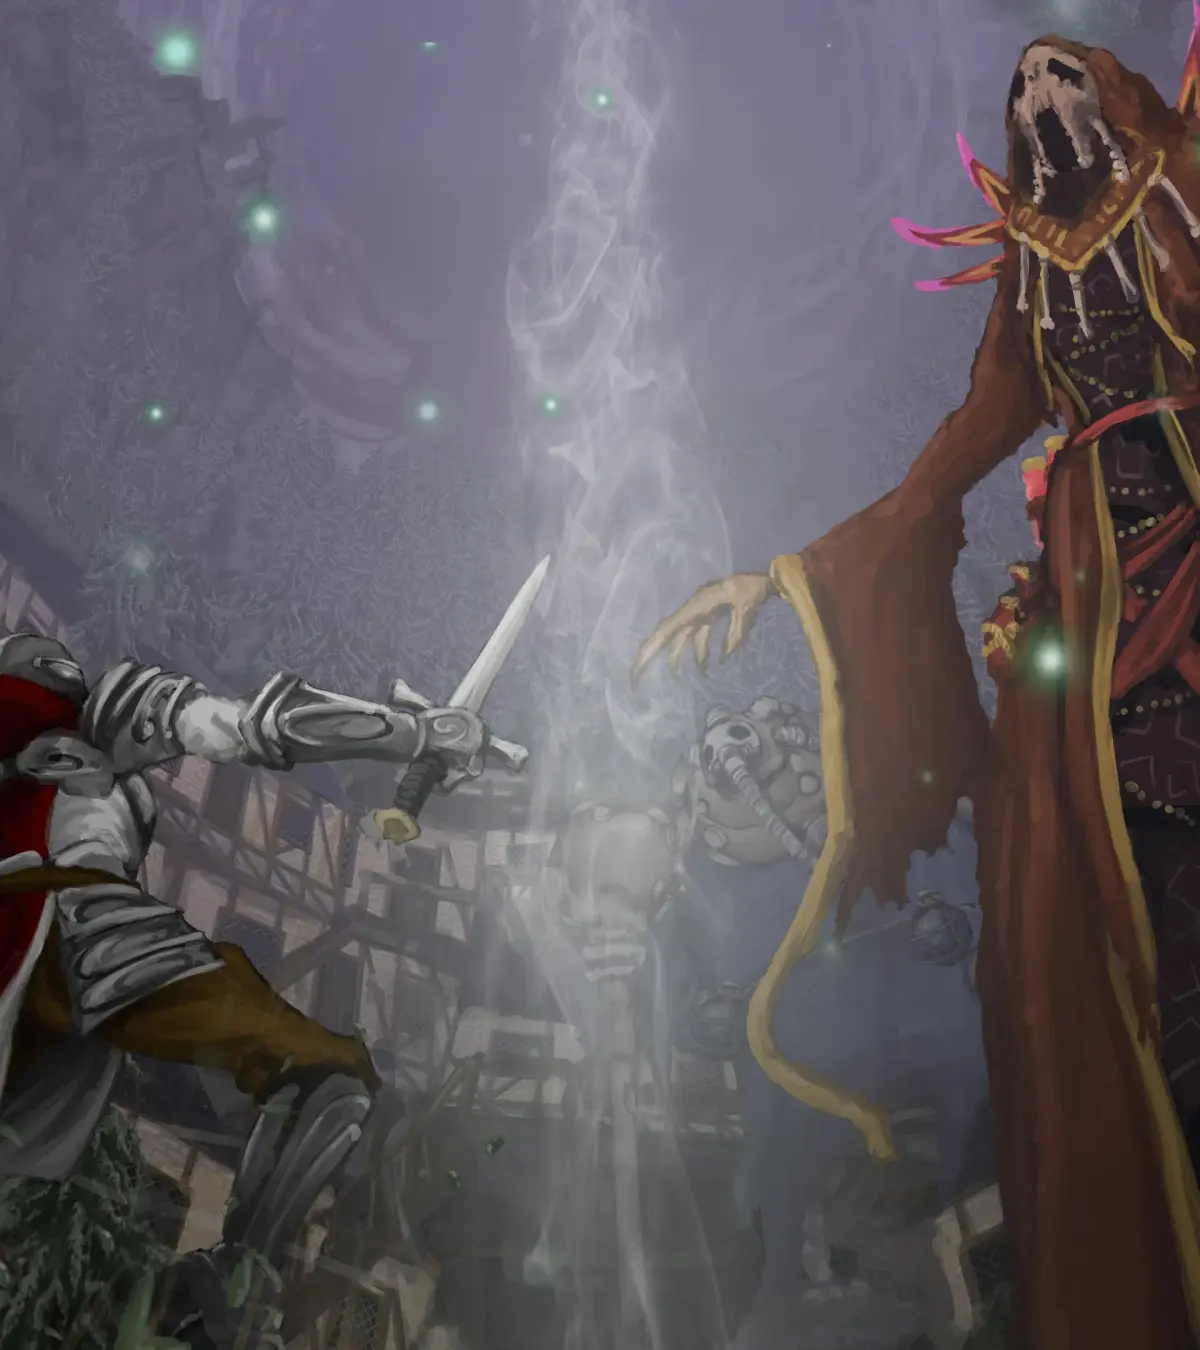
- 4Proceed down and to the right until you enter a very dark room. It is recommended to light a Torch.
- 5Be aware that Retchfeeders (4) spawn in this dark room. They have low HP but can be aggressive.
- 6Before dropping down, observe the wooden platform below. You can see A Soldier's Poem and the Stone Blacksmith on it.
- 7Jumping onto this platform is a one-way trip; you cannot jump back up. While there is another Sanctuary nearby, returning from this area is inconvenient.
- 8The Retchfeeders may spawn as soon as you land on the platform. They spawn below the platform and crawl down the support pillars. Fighting them in the dark is the main challenge.
- 9Caster Combat Options:
- Cast in the dark: Spells like Lightning Bolt can kill Retchfeeders in one hit. They remain on ground level but can lunge.
- 10Use a melee weapon: Equip a one-handed weapon in your secondary set to use a Torch. Even low damage can chain-stun them, but manage stamina.
- 11Draw them out: Use the left or right exits to lure Retchfeeders to ledges where you can see them better. They generally won't follow you off the platform.
- 12Note that two Retchfeeders spawn initially, and two more spawn when one dies.
- 13After dealing with the Retchfeeders, head left from the dark room to find a shortcut.
- 14Continue left, hopping across platforms, until you reach a lever.
- 15Activating the lever operates a lift. Ride the lift all the way down.
- 16Once the lift reaches the bottom, let it return to the top so you can access the Crystalmoat Ring.
- 17The left path from the lift area leads back to the Watching Woods and contains no items or enemies.
Tips
- The Retchfeeders have low HP, similar to Drowned enemies.
- If using a two-handed weapon, you might not be able to use it with a Torch unless you have the specific skill.
- The Crystalmoat Ring is beneficial for casters.
Items Found:
- Black Pearl
- Mossy Key
- A Soldier's Poem
- Stone Blacksmith
- Crystalmoat Ring
- Bell of Return (3)
- Warhammer (Greathammer)
100% Human-Written. AI Fact-Checked. Community Verified. Learn how AntMag verifies content