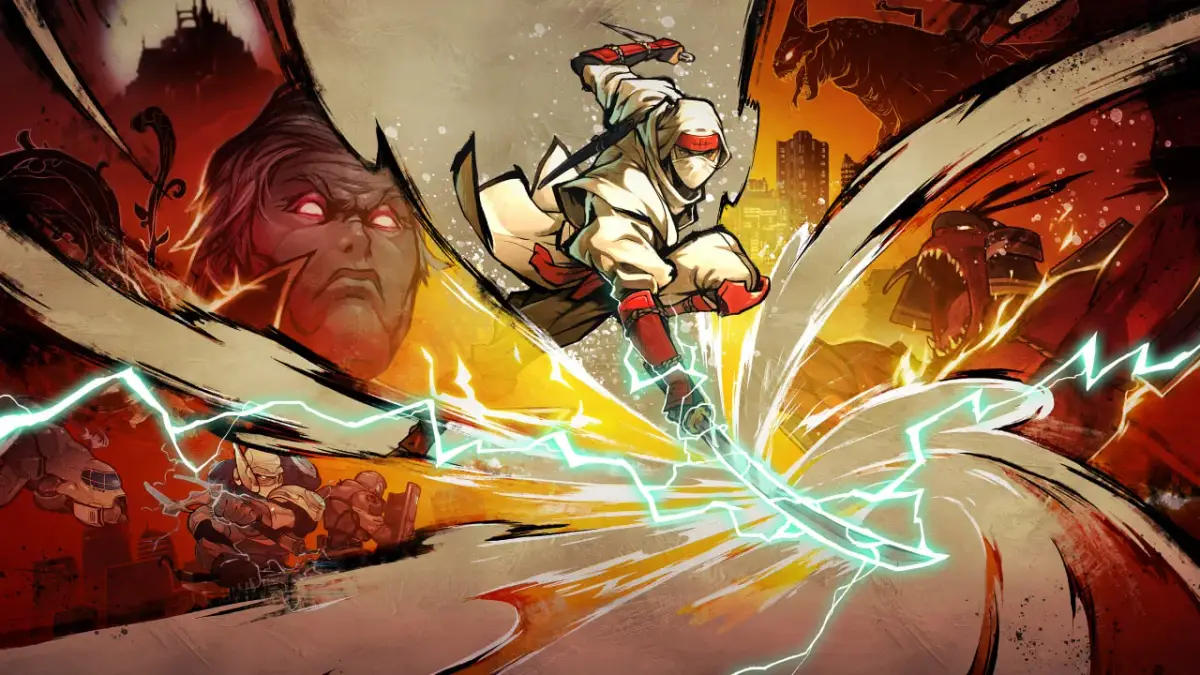
Defeat the Syndicate Enforcer in Shinobi: Art of Vengeance by countering its physical power and agile dash attacks. Learn its patterns to advance.
The Syndicate Enforcer is the first major boss encounter you'll face in Shinobi: Art of Vengeance, serving as a formidable gatekeeper to the deeper, more perilous sections of the sprawling industrial complex. This hulking brute, clad in reinforced plating and wielding a massive, crude hammer, relies on overwhelming physical power and a surprisingly agile dash attack. Effective preparation and a keen understanding of his attack patterns are crucial to minimizing damage and conserving your vital Ninjitsu resources.
Recommended Setup & Items
Before engaging the Syndicate Enforcer, ensure your loadout is optimized for this challenging fight. The following items and abilities will significantly increase your chances of success:
- Ninjitsu:
- Katon no Jutsu (Fireball): Essential for this encounter. Having at least two charges is highly recommended. Its ability to deal burst damage and, more importantly, interrupt the Enforcer's dangerous Charged Dash makes it invaluable. While other Ninjitsu might offer utility, Katon's interruptive properties are uniquely suited to managing the Enforcer's most aggressive phase.
- Raiton no Jutsu (Lightning Strike): A viable alternative if Katon is unavailable or if you prefer a faster, more precise burst. It can also interrupt the Charged Dash, though with a slightly smaller hitbox and less lingering effect than Katon.
- Consumables:
- Shuriken (x15+): Your primary ranged option for safely chipping away at the Enforcer's health during brief openings. Ensure you have a healthy stock.
- Healing Potion (x1-2): These are critical for recovery. You can find a small cache of them within destructible crates scattered throughout the industrial complex just before the boss arena. Do not neglect to pick these up.
- Smoke Bomb (x1): While not as critical as Katon, a Smoke Bomb can be a lifesaver if you find yourself cornered or misjudge an attack. It provides a brief window to reposition or escape.
- Equipment: Ensure your primary melee weapon, the Katana, is upgraded to its current available level. Its speed and damage output are key for punishing the Enforcer's vulnerabilities.
Phase 1: Ground Assault (100% - 50% Health)
The Syndicate Enforcer initiates combat by lumbering towards you, intent on closing the distance to unleash devastating hammer blows. His attacks in this phase are characterized by their slow wind-ups but immense power. Your primary strategy should revolve around maintaining a safe distance, observing his telegraphs, and punishing his recovery frames.
- Initial Positioning: As the boss encounter begins, immediately perform a backward dash or jump to create space. The arena is a long, rectangular platform with some elevated crates on either side, offering limited verticality and cover.
- Observe and Evade: The Enforcer has three primary attacks in this phase:
- Hammer Swing Combo: A two-hit sequence. The first swing is a wide horizontal arc, followed by a slightly slower, but more powerful, overhead slam. Dodge *through* the horizontal swing or jump over it. For the overhead slam, a well-timed dodge to the side is most effective.
- Ground Pound: He will rear back, lift his hammer high, and slam it into the ground. This creates a localized shockwave that travels outwards. The shockwave is easily avoided by jumping.
- Forward Charge: A short, telegraphed lunge forward. This is relatively slow and can be dodged by sidestepping or jumping.
- Punish Openings: After the Enforcer completes any of these attack sequences, he will have a brief recovery period, typically lasting about 1.5 to 2 seconds. This is your window to strike.
- Melee Combo: Dash in and land 2-3 quick strikes with your Katana. Do not overcommit; getting caught in his next attack is far more damaging.
- Ranged Attack: If you prefer to maintain distance, throw 2-3 Shuriken during his recovery.
- Strategic Ninjitsu Use: If you find yourself too close to safely attack or if you want to deal significant damage quickly, a well-timed Katon no Jutsu can stun him briefly and deal substantial damage. Conserve at least one charge for Phase 2, as it will be crucial.
Phase 2: Charged Fury (50% - 0% Health)
Upon reaching approximately 50% of his health, the Syndicate Enforcer will unleash a guttural roar, signaling a significant shift in his combat style. He becomes more aggressive, incorporating a devastating new attack: the Charged Dash. This move is his most dangerous and requires precise timing and spatial awareness to avoid.
- Recognizing the Charged Dash: The Enforcer will crouch low, his body beginning to glow with a menacing red aura for a brief moment. He then explodes forward, charging in a perfectly straight line across the entire length of the arena. This dash deals immense damage and has a high chance of knocking you off the platform if you are hit, resulting in an instant death.
- Mastering the Evasion: Successfully evading the Charged Dash is paramount to surviving this phase.
- High Jump: The most reliable method. As soon as you see him begin to crouch and glow red, perform a high jump. If the Enforcer charges low to the ground, your jump will clear him. Practice the timing; it's a crucial skill.
- Wall Cling & Jump: If you are positioned near one of the elevated crates on the sides of the arena, you can wall cling to it. As the Enforcer dashes past underneath, perform a jump from the wall to clear him. This offers an alternative if your jumping timing is slightly off.
- Ninjitsu Interruption: This is where Katon no Jutsu or Raiton no Jutsu truly shine. If you misjudge the timing of your dodge or find yourself directly in his path, launching a Ninjitsu attack can interrupt his charge. This will stagger him, knock him back, and create a significant opening for you to exploit. This is a critical use of your limited Ninjitsu resources.
- Smoke Bomb (Last Resort): If all else fails and you are about to be hit, deploying a Smoke Bomb can briefly disorient him and potentially allow you to escape the direct impact. However, this is a costly defensive measure and should be reserved for dire situations.
- Exploiting the Recovery: After completing a Charged Dash, the Enforcer will be momentarily stunned and vulnerable as he recovers his footing at the end of his run. This is your prime opportunity for significant damage.
- Aggressive Melee: Rush in and unleash a full 4-5 hit Katana combo.
- Ninjitsu Barrage: If you have Ninjitsu charges remaining, this is an excellent time to use them for maximum damage output.
- Sustained Pressure: Continue to employ the strategies from Phase 1 for his ground attacks, but remain hyper-vigilant for the Charged Dash. Keep your health above 30% by using Healing Potions when necessary. With consistent dodging, well-timed attacks, and strategic use of your Ninjitsu, the Syndicate Enforcer will eventually fall, clearing your path into the heart of the industrial complex.
100% Human-Written. AI Fact-Checked. Community Verified. Learn how AntMag verifies content