
Learn resource management in Shinobi: Art of Vengeance. Effectively acquire, conserve, and deploy vital items like shurikens and Ninjitsu to survive Zeed's rel.
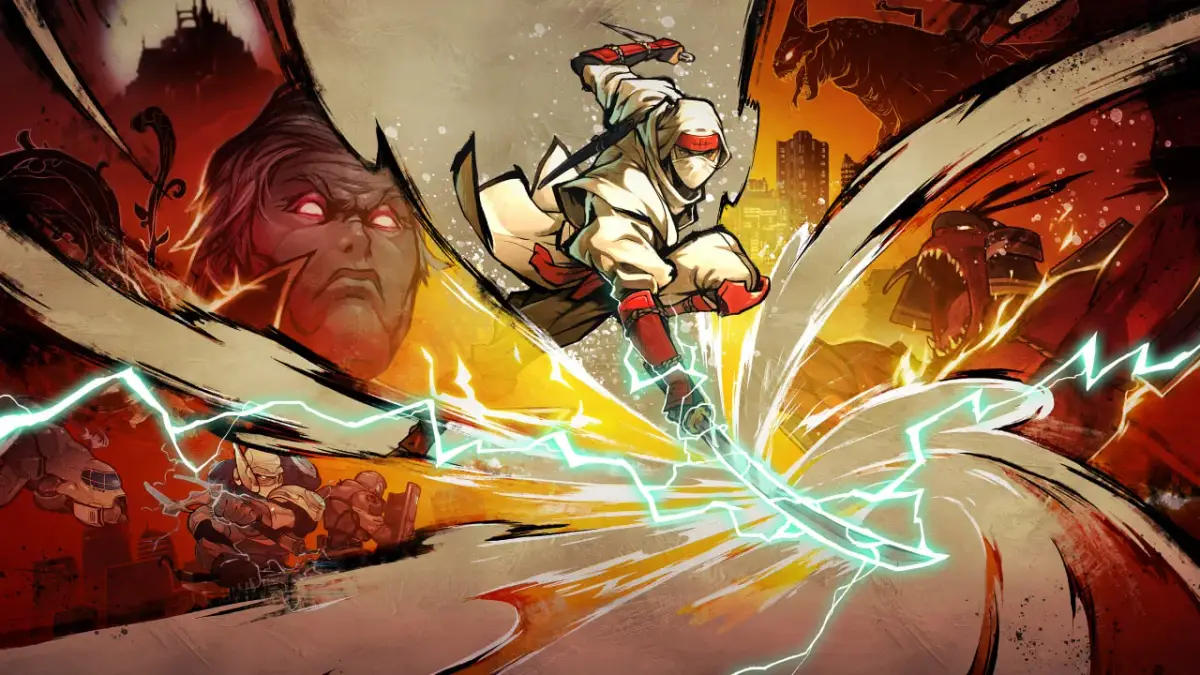
Mastering resource management in Shinobi: Art of Vengeance is crucial for surviving the relentless onslaught of Zeed's forces. Unlike many platformers, your resources are finite and often strategically placed. Reckless use of Ninjitsu or shurikens will quickly leave you vulnerable. This section will detail how to effectively acquire, conserve, and deploy your vital items.
Shurikens: Your Primary Ranged Attack
Shurikens are your bread-and-butter ranged weapon, essential for dealing with distant threats, flying enemies, and maintaining safe distances. You begin each life with a limited supply, typically 10 Shurikens, which can be replenished.
Ninjitsu Skills: Unleash Devastating Power
Ninjitsu are powerful, screen-clearing or damage-boosting abilities that consume a portion of your Ninjitsu meter. Each Ninjitsu use costs 1 Ninjitsu Scroll, regardless of the specific technique. You start with 1 Ninjitsu Scroll and can carry a maximum of 3 Ninjitsu Scrolls at any given time.
- Acquisition: Ninjitsu Scrolls are rare pickups, usually found in well-hidden locations or as rewards for defeating mini-bosses. They appear as glowing scrolls.
- Conservation Strategy:
- Emergency Use Only: Ninjitsu should be reserved for critical situations:
- When surrounded by overwhelming numbers of enemies.
- To escape a tight spot with low health.
- To deal significant damage to a boss during a vulnerable phase.
- To clear the screen of projectiles or environmental hazards.
- Know Your Ninjitsu:
- Art of the Fire Dragon: Excellent for clearing multiple ground enemies or hitting a boss repeatedly.
- Art of the Lightning Strike: Ideal for precision strikes against flying foes or enemies directly above/below you.
- Art of the Protective Barrier: Best used when you anticipate heavy damage or need a moment of invulnerability to reposition.
- Art of the Phantom Clone: Creates a decoy, drawing enemy fire and allowing you to attack freely. Very useful against aggressive bosses.
- Avoid Waste: Do not use Ninjitsu to dispatch a single, easily defeated enemy. The scarcity of scrolls makes every use count.
- Emergency Use Only: Ninjitsu should be reserved for critical situations:
- Key Locations for Ninjitsu Scrolls:
- Stage 1-3 (Rooftops): After defeating the first mini-boss (Armored Brute), a Ninjitsu Scroll often appears.
- Stage 2-1 (Docks): Hidden behind a stack of crates on the upper path, accessible via a wall jump.
- Stage 4-2 (Underground Lair): Found after navigating a tricky platforming section involving moving platforms and spiked traps.
Health Pickups: Staying in the Fight
Your health bar is your most critical resource. Managing damage and knowing when to seek out health is paramount. Health pickups restore a portion of your health.
- Acquisition: Health pickups (typically represented as a small red cross or a sushi roll) are less common than shurikens and are usually found in destructible objects, dropped by specific enemies, or placed at strategic points before challenging sections or boss fights.
- Conservation Strategy:
- Damage Avoidance: The best way to manage health is to avoid taking damage in the first place. Learn enemy patterns, utilize your double jump and wall jump for evasion, and use shurikens to clear threats safely.
- Strategic Use: If you find a health pickup but are at full or near-full health, consider if you can take a small amount of damage before collecting it. However, do not risk dying to save a few health points.
- Boss Prep: Always try to enter a boss fight with as much health as possible. If there's a health pickup just before a boss, make sure you utilize it.
- Key Locations for Health Pickups:
- Stage 1-2 (Construction Site): Often found in a crate on the highest beam before the end of the stage.
- Stage 3-3 (Airfield): A health pickup is usually placed just before the encounter with the Jetpack Commando boss.
- Stage 5-1 (Zeed's Fortress Entrance): A crucial health item is often hidden in a breakable wall section after the initial wave of guards.
Extra Lives: Your Second Chances
Extra lives are the ultimate safety net in Shinobi: Art of Vengeance. They allow you to continue from your current position or the last checkpoint without restarting the entire stage.
- Acquisition: Extra lives are exceedingly rare. They are typically found in extremely well-hidden areas, as rewards for completing difficult optional challenges, or occasionally dropped by specific, powerful enemies. They appear as a small icon resembling Joe Musashi's head.
- Conservation Strategy:
- No Direct Control: You cannot "use" an extra life; they are consumed automatically upon death.
- Prioritize Survival: The best way to conserve extra lives is to play cautiously and avoid unnecessary risks. Every death depletes this precious resource.
- Explore Thoroughly: Due to their rarity, actively search every nook and cranny, especially in areas that seem out of the way.
- Key Locations for Extra Lives:
- Stage 2-3 (Cargo Ship): There's a secret path accessible by wall-jumping off a specific container near the ship's bow, leading to an extra life.
- Stage 4-1 (Sewers): After navigating a difficult underwater section, an extra life can be found in a hidden alcove above the water line.
- Stage 6-1 (Inner Sanctum): A single extra life is often placed behind a false wall near the beginning of the stage, requiring a precise attack to reveal.
100% Human-Written. AI Fact-Checked. Community Verified. Learn how AntMag verifies content