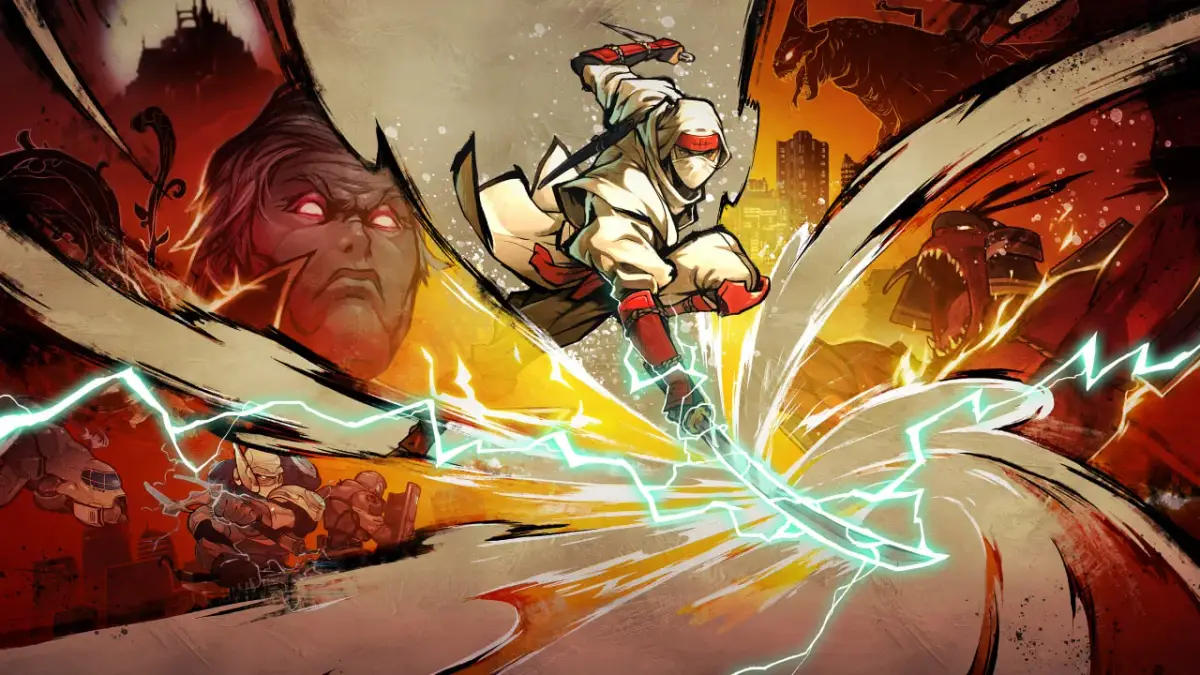
Navigate Shinobi: Art of Vengeance Chapter 4: The Dragon's Fury. Master precision platforming and Ninjutsu against aerial enemies and hazards.
Welcome, aspiring Shinobi, to the treacherous Chapter 4: The Dragon's Fury! This chapter is a gauntlet of aerial enemies, environmental hazards, and a truly formidable boss. Precision platforming and strategic use of your Ninjutsu will be key to your survival. Prepare for a challenge!

Stage 4-1: Rooftop Ascent
The first stage immediately throws you into the thick of it. You'll begin on a series of precarious rooftops, constantly assailed by Flying Ninjas and the occasional Shuriken Thrower. Prioritize eliminating the Flying Ninjas as they can knock you off ledges, leading to instant death. Their erratic flight patterns make them difficult to hit, so quick reflexes are essential.
- Initial Platforming: Jump across the first few gaps. Be mindful of the wind gusts that can slightly alter your jump trajectory. These gusts are indicated by subtle visual cues in the environment, such as swaying banners.
- First Encounter: Two Flying Ninjas will appear from the right. Use your standard shuriken attack to take them down quickly. A well-timed jump-kick can also be effective if they get too close, but be cautious as this leaves you vulnerable.
- Hidden Item: After the second set of Flying Ninjas, look for a small, slightly elevated platform to your right. Jump onto it to find a hidden Power-Up Shuriken. This will increase your shuriken damage for a short duration, indicated by a glowing aura around your shuriken icon.
- Mid-Stage Challenge: You'll encounter a section with multiple Shuriken Throwers positioned on higher ledges. Use your wall jump ability to reach them or carefully time your jumps to avoid their projectiles while advancing. The Shuriken Throwers have a predictable firing rhythm: they throw three shurikens in quick succession, then pause. Use this pause to advance or attack. Consider using the Art of the Fire Dragon Ninjutsu here to clear multiple enemies if you're overwhelmed, as its area-of-effect damage can be devastating.
- Health Item: Just before the final large gap, you'll find a Health Potion on a lower platform. Drop down carefully to collect it, then wall jump back up. This platform is easily missed if you're rushing.
Stage 4-2: Cavern of Whispers
This stage shifts from open rooftops to a claustrophobic cavern filled with new threats and environmental puzzles. The primary enemies here are Cave Bats, which swoop down from the ceiling in unpredictable patterns, and Slime Creatures that emerge from the ground. The cavern also features treacherous spike pits and crumbling platforms.
- Entering the Cavern: The entrance is guarded by two Slime Creatures. They are slow but resilient. Use continuous shuriken attacks or a well-placed sword combo to defeat them. Their primary attack is a slow lunge; dodge to the side and counter.
- Navigating the Spikes: The cavern floor is riddled with spike pits. You'll need precise jumps to clear them. Some pits have platforms that temporarily retract; observe their patterns before attempting to cross. These platforms typically sink for 2-3 seconds before rising again.
- Environmental Puzzles:
- Pressure Plates: In several areas, you'll find pressure plates on the floor. Stepping on these will activate or deactivate nearby platforms or open hidden passages. One such puzzle involves a series of three pressure plates that must be activated in sequence to reveal a path forward. The correct sequence is often hinted at by markings on the cavern walls.
- Crumbling Walls: Certain sections of the cavern walls appear cracked or unstable. Attacking these with your sword will break them open, revealing secrets or alternative routes.
- Water Flow: In one section, a strong water current will push you back. You'll need to time your jumps between brief moments of reduced current or use a Ninjutsu like Art of the Wind Serpent (if acquired) to dash through the affected area quickly.
- First Secret: After the second spike pit, look for a crumbling wall section on the upper right. Use your sword to break it open, revealing a hidden passage containing a Ninjutsu Scroll (Art of the Lightning Bolt). This powerful Ninjutsu can stun and damage multiple enemies in a chain reaction, making it invaluable against groups of Cave Bats or Slime Creatures.
- Waterfall Section: You'll encounter a section with a cascading waterfall. Behind the waterfall, a Large Shuriken Pouch is hidden. Carefully jump through the water to collect it. Be aware that Cave Bats will frequently attack in this area, making the collection a risky endeavor. The water obscures vision, so listen for the bats' screeches.
- Moving Platforms: The final stretch of the cavern features moving platforms over a deep chasm. Time your jumps carefully. One platform will briefly pause over a small alcove containing a Health Potion. This alcove is located on the left side of the chasm, about halfway through the moving platform sequence.
Stage 4-3: The Dragon's Lair (Boss: Ryujin)
You've reached the lair of Ryujin, the fearsome Dragon! This boss battle is a test of endurance, pattern recognition, and precise dodging. The arena is a large, circular platform with some minor elevation changes.
Ryujin's Attack Patterns:
- Fire Breath: Ryujin will rear its head back and unleash a stream of fire across the arena. This attack has a slight wind-up, giving you a moment to react. The fire stream covers a wide arc, so dodging to the sides is usually the safest bet.
- Tail Swipe: If you get too close to its body, Ryujin will perform a sweeping tail attack. This is a close-range attack that covers a 180-degree arc behind its body.
- Dive Bomb: Ryujin will occasionally fly into the air and dive down, attempting to crush you. This creates a shockwave upon impact that can damage you even if you aren't directly hit. The landing zone is telegraphed by Ryujin's shadow on the ground.
- Summon Minions: At roughly 50% health, Ryujin will summon two Dragon Hatchlings to assist it. These are smaller, weaker versions of Ryujin, but they can be a significant distraction and add to the chaos. They primarily spit small fireballs.
Strategy:
- Recommended Loadout:
- Ninjutsu: Art of the Fire Dragon (for high damage bursts) or Art of the Lightning Bolt (for crowd control and stunning).
- Items: Multiple Health Potions, any remaining Power-Up Shurikens.
- Phase 1 (100% - 50% Health):
- Ryujin's primary weak point is its head. When it performs its Fire Breath, its head will be lowered, providing an excellent opportunity to strike with your shurikens or a quick sword combo if you're close enough. Aim for the eyes for critical hits.
- Stay mobile! Continuously run and jump to avoid the Fire Breath. The edges of the arena are generally safer from the Dive Bomb, but be aware of the shockwave.
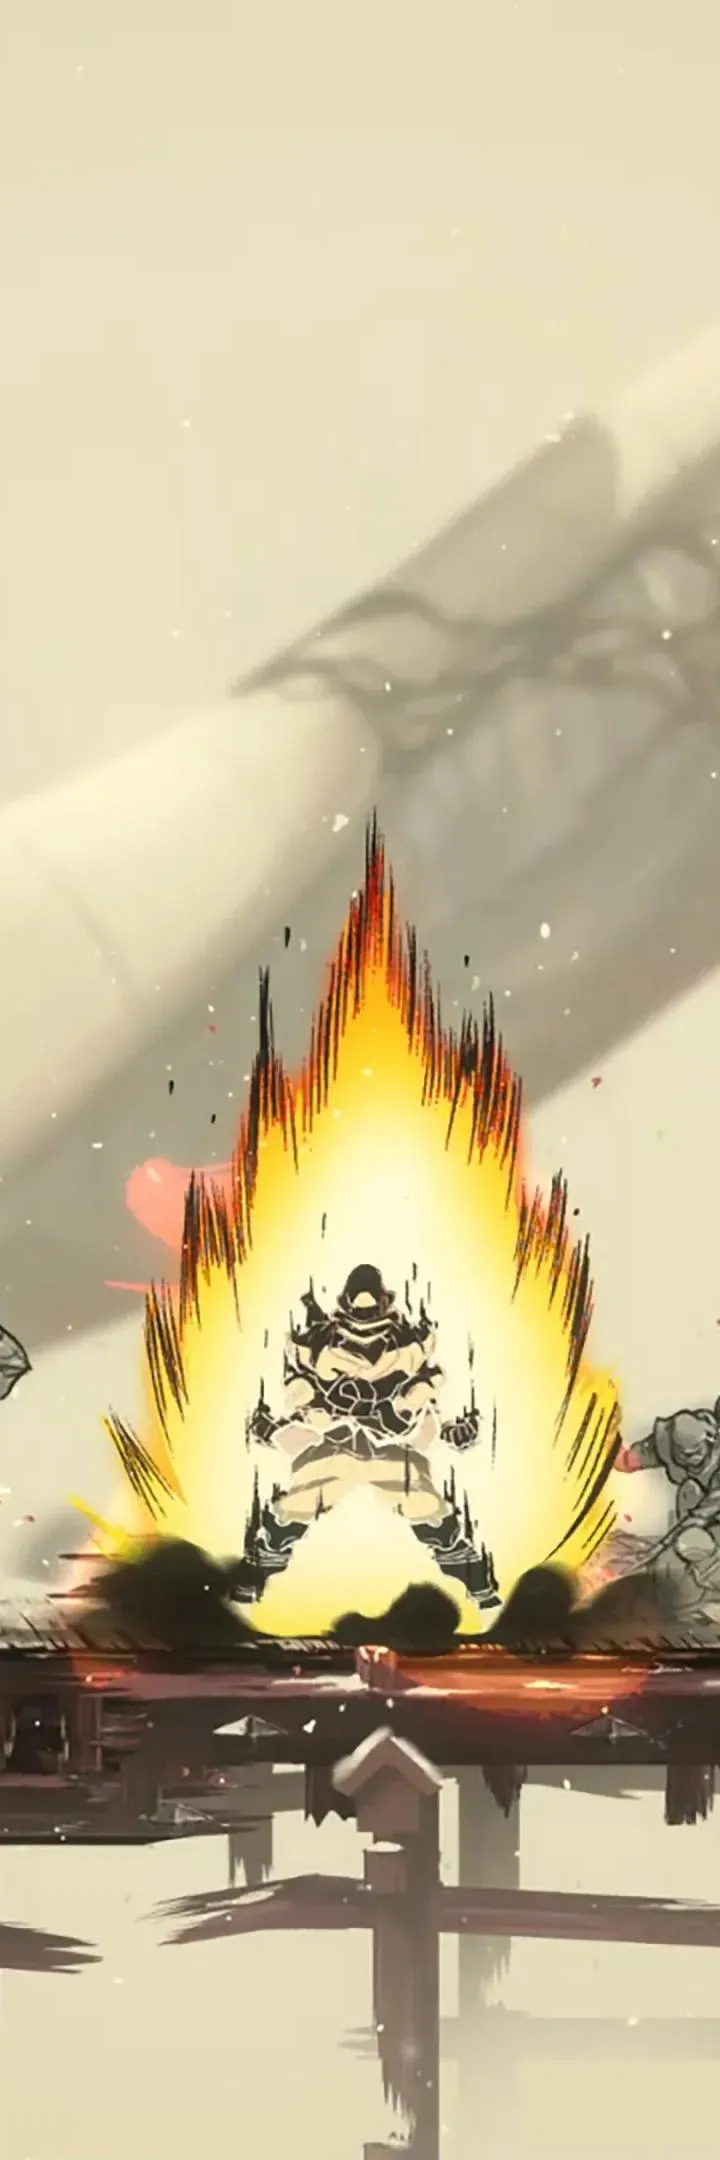
- The Art of the Fire Dragon Ninjutsu can deal significant damage if you can land all hits, but save your Ninjutsu for when Ryujin is vulnerable, ideally during or immediately after its Fire Breath attack.
- If you have Power-Up Shurikens, use them during the Fire Breath attack for maximum effect.
- Phase 2 (50% - 0% Health):
- The Dragon Hatchlings are a nuisance. Prioritize eliminating them quickly with shurikens or a single use of Art of the Lightning Bolt if you have it. This will allow you to refocus on Ryujin. The Lightning Bolt is particularly effective as it can stun both hatchlings and Ryujin briefly.
- Ryujin's attacks become slightly faster and more frequent in this phase. Maintain your dodging rhythm and don't get greedy with attacks.
- If you have any remaining Power-Up Shurikens, now is the time to use them to finish Ryujin off quickly.
- Be patient. Don't rush in blindly, as Ryujin's Tail Swipe can punish aggressive play, especially when you're trying to manage the hatchlings.
- Watch for Ryujin's Dive Bomb; the shadow telegraph is crucial. Jump just before it lands to avoid the shockwave.
Upon defeating Ryujin, the path to Chapter 5 will open. Congratulations, Shinobi! You have tamed the Dragon's Fury!
100% Human-Written. AI Fact-Checked. Community Verified. Learn how AntMag verifies content