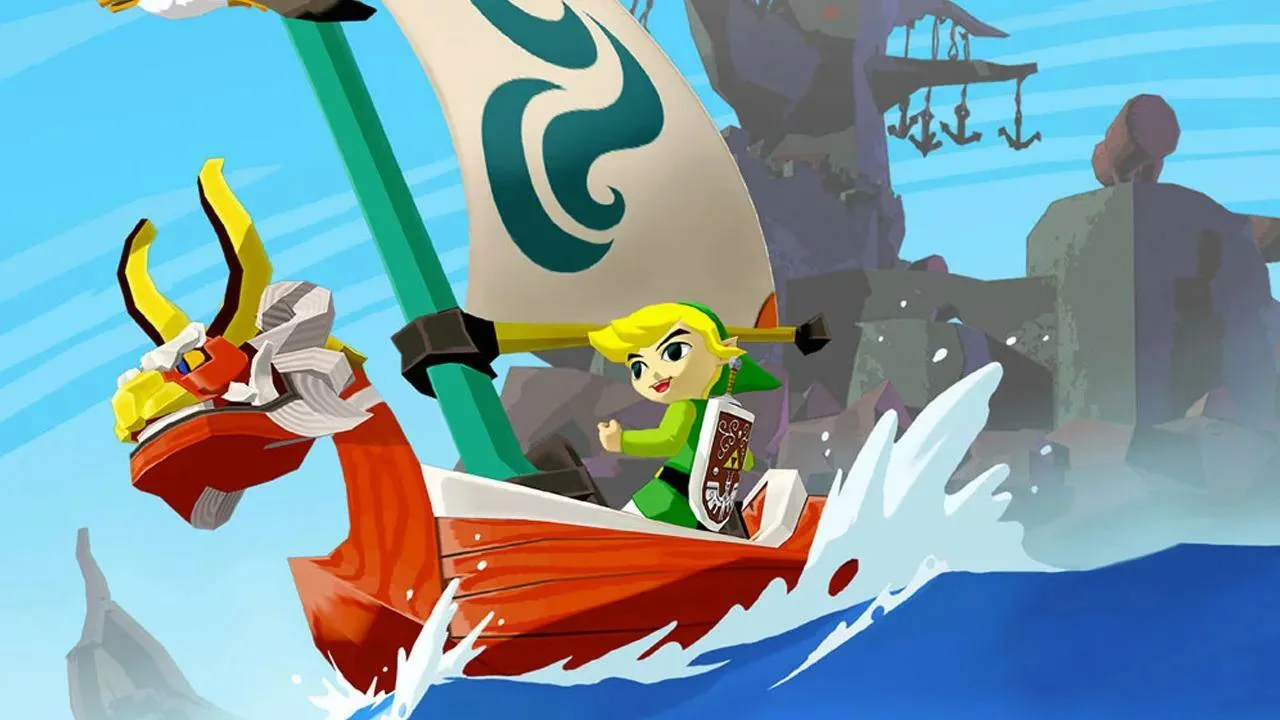
Solve tricky puzzles across the Great Sea in The Legend of Zelda: The Wind Waker. Find direct solutions for challenging environmental and item-based puzzles.
Welcome, intrepid adventurer, to the comprehensive guide for navigating the many ingenious puzzles scattered throughout the Great Sea! While many puzzles in The Wind Waker are intuitive, some require a keen eye, the right item, or a bit of strategic thinking. This section will break down common puzzle types and offer specific solutions for those particularly tricky brain-teasers.
General Puzzle-Solving Strategies
- Observe Your Surroundings: Always take a moment to look around. Are there any suspicious blocks, unlit torches, or unusual patterns on the walls? The environment often holds the key.
- Utilize Your Inventory: Link's ever-growing arsenal of items is designed to solve puzzles. If you're stuck, cycle through your equipment.
- Grappling Hook: Essential for swinging across gaps, pulling distant levers, or retrieving sunken treasure.
- Boomerang: Perfect for hitting multiple switches, stunning enemies, or grabbing out-of-reach items.
- Hero's Bow: For distant targets, especially those requiring precise aim or elemental arrows.
- Deku Leaf: Crucial for gliding across chasms or activating wind-based mechanisms.
- Power Bracelets: Allows Link to lift heavy objects, revealing hidden passages or switches.
- Iron Boots: For weighing down pressure plates or walking against strong currents.
- Listen to the Sounds: Sometimes, an audible cue, like a distinct "clunk" or a change in music, signifies progress or a hidden element.
- Check Your Map: The dungeon map often highlights important features, unvisited rooms, or even hints at puzzle solutions.
- Don't Be Afraid to Experiment: If one approach isn't working, try another. Sometimes, the solution is less obvious than you think.
Specific Puzzle Solutions
Dragon Roost Cavern: Block Puzzle
This puzzle, found early in Dragon Roost Cavern, requires precise block manipulation to reach a higher ledge.
- Locate the room with two large, movable blocks and a pressure plate.
- Push the first block onto the pressure plate. This will temporarily open a gate.
- Quickly run through the opened gate. You'll find a second block.
- Push this second block into the water. It will float, allowing you to jump across to the other side.
- From this new platform, use your Grappling Hook on the wooden beam above to swing across to the higher ledge.
Forbidden Woods: Deku Leaf Wind Puzzle
To progress through the Forbidden Woods, you'll frequently need to manipulate wind currents with your Deku Leaf.
- In the large central chamber with the giant plant, you'll see several pinwheel-like mechanisms.
- Equip your Deku Leaf.
- Stand on a raised platform or a strategic point where you can aim.
- Use the Deku Leaf to create a gust of wind, directing it towards the pinwheels.
- Activating all pinwheels in a sequence (often indicated by their glowing or a sound cue) will open new paths or lower platforms. Pay attention to the direction the pinwheels need to spin.
Tower of the Gods: Light Beam Puzzle
The Tower of the Gods features several puzzles involving light manipulation to activate statues or open doors.
- In rooms with light beams, locate the source of the light (often a window or a crystal).
- Identify any reflective blocks or statues in the room. These can be moved using the Power Bracelets or pushed into position.
- Carefully position the reflective objects to bounce the light beam towards the target (usually a large statue with an unlit eye or a specific symbol on the wall).
- Sometimes, you'll need to use your Mirror Shield to reflect the light yourself, especially if the beam is blocked or requires a specific angle.
- Activating all targets will typically open the path forward or reveal a key.
Earth Temple: Dark Room Puzzle
The Earth Temple is shrouded in darkness, requiring you to bring light to its depths.
- After acquiring the Mirror Shield, you'll encounter rooms that are completely dark.
- Look for a source of light, often a small opening in the ceiling or a torch.
- Position yourself so that the light hits your Mirror Shield.
- Aim the reflected light beam at the various statues or symbols in the room. Some statues will crumble, revealing passages, while others might activate mechanisms.
- You may need to move blocks or defeat enemies to get a clear line of sight for the light beam.
- Remember that Medli, your companion in this dungeon, can also reflect light with her harp, which is crucial for certain multi-beam puzzles. Coordinate with her by using the "Command" option.
100% Human-Written. AI Fact-Checked. Community Verified. Learn how AntMag verifies content