Locate every item and piece of equipment, from the Grappling Hook to the Hero's Charm, in The Legend of Zelda: The Wind Waker.
Welcome, intrepid adventurer, to the definitive guide for all the treasures, tools, and trinkets you'll discover across the Great Sea! This section meticulously details every essential item and piece of equipment in The Legend of Zelda: The Wind Waker, providing not just their locations, but also crucial strategies for their acquisition and optimal use. Mastering your inventory is key to conquering dungeons, solving puzzles, and ultimately, defeating Ganondorf.
Essential Quest Items & Tools
These items are fundamental to progressing through the main story and unlocking new areas. Prioritize their acquisition!
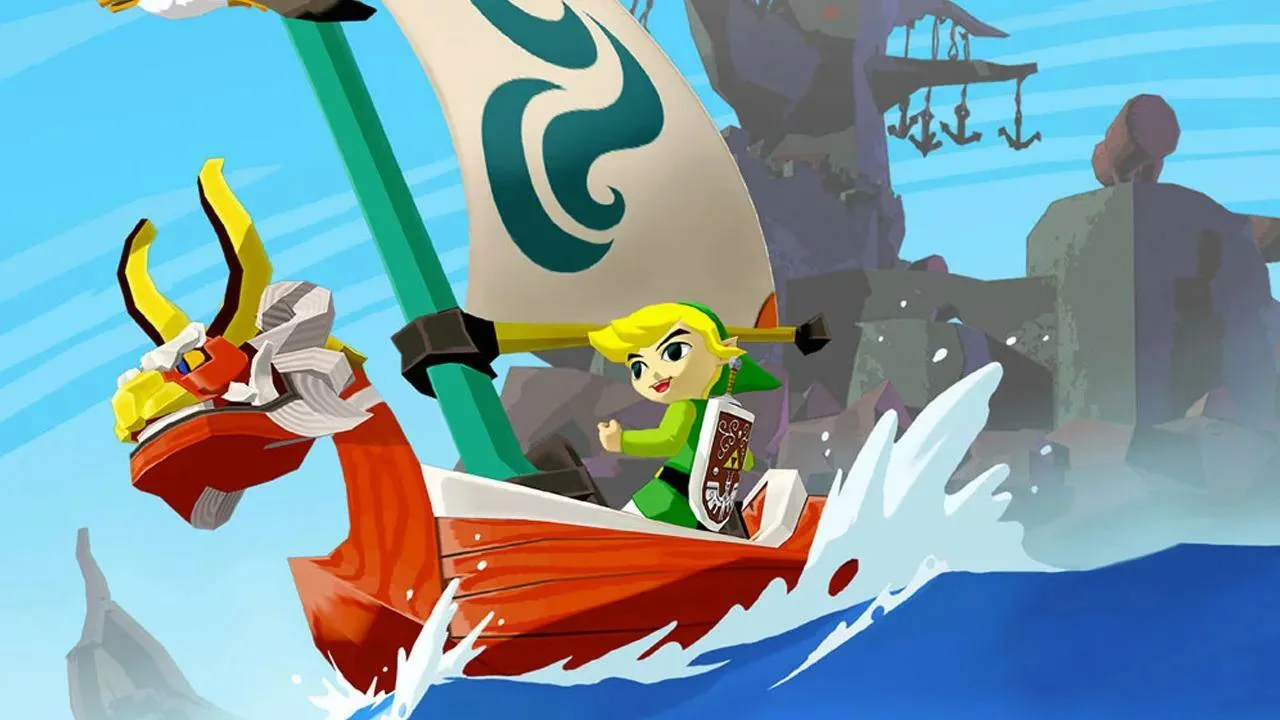
- Hero's Sword:
- Location: Outset Island. You receive this from Orca after completing his sword training tutorial.
- Strategy: Simply follow the tutorial on Outset Island. Orca will teach you the basics of combat. Once you've landed 50 consecutive hits on the practice logs, he'll deem you worthy and bestow this blade upon you.
- Use: Your primary weapon for the early game. Essential for basic combat and cutting down small obstacles.
- Hero's Shield:
- Location: Outset Island. Found in Grandma's house.
- Strategy: After receiving the Hero's Clothes, head back to Grandma's house. It's hanging on the wall. Simply interact with it to claim it.
- Use: Blocks most projectile attacks and some physical blows. Can also reflect certain magical attacks back at enemies.
- Telescope:
- Location: Outset Island. Given to you by Aryll.
- Strategy: On your birthday, Aryll will present this to you on the watchtower.
- Use: Allows you to zoom in on distant objects, islands, and enemies. Crucial for scouting and identifying points of interest across the vast ocean.
- Picto Box:
- Location: Windfall Island, inside the jail cell.
- Strategy: To obtain the basic Picto Box, you must first free Tingle from his cell. This involves finding the small key hidden behind the gravestone in the graveyard on Windfall Island. Use the key to open his cell. Tingle will then give you the Picto Box as a reward.
- Use: Takes black and white photographs. Essential for certain side quests, like the Nintendo Gallery figurines.
- Deluxe Picto Box:
- Location: Forest Haven.
- Strategy: After acquiring the basic Picto Box, you'll need to visit the Forest Haven. Find the Forest Pictographer, a small Korok named Old Man Watcher, who resides in a hidden grotto. You'll need to show him a rare "forest firefly" (found at night in Forest Haven) to convince him to upgrade your Picto Box to color.
- Use: Takes color photographs, allowing for more vibrant and accurate pictures for the Nintendo Gallery.
- Grappling Hook:
- Location: Dragon Roost Cavern (first dungeon).
- Strategy: Found in a treasure chest within the dungeon. You'll need to navigate through a series of rooms, defeat enemies, and solve a puzzle involving a large block to reach it.
- Use: Swings across gaps, pulls items towards you, and can be used to steal items from certain enemies (e.g., Joy Pendants from Bokoblins).
- Boomerang:
- Location: Forbidden Woods (second dungeon).
- Strategy: Located in a treasure chest after solving a series of puzzles involving moving platforms and defeating several enemies.
- Use: Stuns enemies, retrieves distant items, and can hit multiple targets. Essential for activating switches and solving environmental puzzles.
- Deku Leaf:
- Location: Forest Haven.
- Strategy: After meeting the Great Deku Tree, you'll need to climb to the top of the Forest Haven. The Deku Leaf is given to you by a small Korok after you help him with a task.
- Use: Allows Link to glide short distances when combined with a gust of wind. Also used to create gusts of wind to activate pinwheels or clear paths. Requires magic power.
- Iron Boots:
- Location: Headstone Island (Earth Temple).
- Strategy: Found in a treasure chest within the Earth Temple. You'll need to navigate dark passages and defeat various undead enemies to reach them.
- Use: Makes Link heavy, allowing him to walk against strong winds, sink in water, and activate pressure plates. Slows movement considerably.
- Power Bracelets:
- Location: Fire Mountain (Fire Temple).
- Strategy: Obtained in a treasure chest within the Fire Temple. Requires navigating lava-filled rooms and solving fire-based puzzles.
- Use: Allows Link to lift heavy objects, such as large stone blocks and statues, that were previously immovable.
- Hookshot:
- Location: Forsaken Fortress (second visit).
- Strategy: After returning to the Forsaken Fortress later in the game, you'll find the Hookshot in a treasure chest. It's usually guarded by tougher enemies or requires a specific sequence of actions to reach.
- Use: Grapples onto specific targets (wooden surfaces, certain enemies) to pull Link across gaps or towards objects. Also useful for stunning enemies.
- Mirror Shield:
- Location: Earth Temple.
- Strategy: This powerful shield is found in a treasure chest deep within the Earth Temple. You'll need to utilize the light-reflecting properties of the dungeon to solve puzzles and defeat the mini-boss before claiming it.
- Use: Reflects light and certain magical attacks. Essential for solving light-based puzzles in the Earth Temple and beyond.
- Hero's Bow:
- Location: Tower of the Gods.
- Strategy: Acquired in a treasure chest within the Tower of the Gods. You'll need to navigate complex mechanisms and defeat the dungeon's mini-boss to earn it.
- Use: Fires arrows. Essential for hitting distant targets, activating switches, and defeating flying enemies.
- Bombs:
- Location: Pawprint Isle.
- Strategy: You'll find the Bomb Bag containing your first set of bombs in a cave on Pawprint Isle. Look for a small, hidden entrance.
- Use: Destroys cracked walls, opens secret passages, and damages enemies.
Upgrades & Collectibles
These items enhance Link's abilities or are crucial for completing side quests and achieving 100% completion.
- Wallet Upgrades:
- Small Wallet (200 Rupees): Starting capacity.
- Medium Wallet (1,000 Rupees):
- Location: Outset Island.
- Strategy: After obtaining the Hero's Sword, speak to Mrs. Marie on Outset Island. She'll ask you to collect 20 Joy Pendants. Deliver them to her, and she'll reward you with the Medium Wallet. Joy Pendants are dropped by Bokoblins and can be stolen with the Grappling Hook.
- Large Wallet (5,000 Rupees):
- Location: Windfall Island.
- Strategy: After acquiring the Medium Wallet, return to Mrs. Marie on Windfall Island (she moves there later in the game). She'll now ask for 40 Joy Pendants. Collect and deliver them for the final wallet upgrade.
- Bomb Bag Upgrades:
- Medium Bomb Bag (60 Bombs):
- Location: Greatfish Isle.
- Strategy: After the events at Greatfish Isle, return to the island. You'll find a Goron merchant who sells this upgrade for 500 Rupees.
- Large Bomb Bag (99 Bombs):
- Location: Bomb Island.
- Strategy: Sail to Bomb Island. There's a hidden cave entrance. Inside, you'll find another Goron merchant who sells this upgrade for 1,000 Rupees.
- Medium Bomb Bag (60 Bombs):
- Quiver Upgrades:
- Medium Quiver (60 Arrows):
- Location: Windfall Island.
- Strategy: Win the archery mini-game on Windfall Island with a high score. The prize for reaching a certain score threshold is this upgrade. Practice makes perfect!
- Large Quiver (99 Arrows):
- Location: Pawprint Isle.
- Strategy: Similar to the Medium Quiver, you'll need to achieve an even higher score in the archery mini-game on Pawprint Isle. This is a challenging test of your aiming skills.
- Medium Quiver (60 Arrows):
- Magic Meter Upgrade:
- Location: Mother & Child Isles.
- Strategy: After obtaining the Ballad of Gales, warp to Mother & Child Isles. You'll find a Fairy Queen who will double your magic meter after you speak with her.
- Use: Doubles the amount of magic Link can hold, allowing for more frequent use of items like the Deku Leaf and Skull Hammer.
- Empty Bottles:
- Bottle #1:
- Location: Windfall Island.
- Strategy: Win the auction for the bottle at the Auction House on Windfall Island. Be prepared to bid a good amount of Rupees.
- Bottle #2:
- Location: Windfall Island.
- Strategy: Complete the "Piggyback Ride" quest for the rich man, Zunari, on Windfall Island. You'll need to catch a specific pig and bring it to him.
- Bottle #3:
- Location: Bomb Island.
- Strategy: Use a bomb to destroy the cracked rock on Bomb Island. Inside, you'll find a chest containing the bottle.
- Bottle #4:
- Location: Private Oasis.
- Strategy: After acquiring the Hookshot, use it to reach a hidden area on Private Oasis. The bottle is in a chest there.
- Use: Store various liquids like Potions, Fairies, Water, or even Forest Water for specific quests.
- Bottle #1:
Dungeon-Specific Items
These powerful tools are typically found within dungeons and are crucial for overcoming the challenges within that specific dungeon and often for subsequent areas.
- Skull Hammer:
- Location: Forsaken Fortress (first visit).
- Strategy: You'll acquire this massive hammer after defeating the mini-boss of the Forsaken Fortress.
- Use: Breaks large, spiked blocks and activates certain switches. Also a powerful, albeit slow, combat weapon.
- Hero's Charm:
- Location: Dragon Roost Island.
- Strategy: After completing Dragon Roost Cavern and returning the letter to Prince Komali, speak to Quill. He will give you the Hero's Charm.
- Use: Allows you to see enemy health bars, making combat more strategic.
Songs & Melodies
These magical tunes, played on the Wind Waker, are essential for manipulating the environment, fast travel, and progressing the story.
- Wind's Requiem:
- Location: Dragon Roost Island.
- Strategy: After retrieving the Din's Pearl, the stone tablet on Dragon Roost Island will reveal the notes for this song.
- Use: Changes the direction of the wind. Absolutely vital for sailing the Great Sea efficiently.
- Ballad of Gales:
- Location: Northern Fairy Island.
- Strategy: After defeating the Cyclos mini-boss (a large, angry cyclops on a tornado) near Northern Fairy Island, he will teach you this song. You'll need to hit him with arrows multiple times.
- Use: Allows Link to warp to specific warp points across the Great Sea, significantly reducing travel time.
- Command Melody:
- Location: Headstone Island (Earth Temple).
- Strategy: Taught to you by the spirit of the Earth Sage, Medli, within the Earth Temple.
- Use: Allows Link to take control of certain characters (like Medli and Makar) to solve puzzles and navigate areas they can access.
- Earth God's Lyric:
- Location: Headstone Island (Earth Temple).
- Strategy: Taught to you by the spirit of the Earth Sage, Medli, within the Earth Temple, after you've proven yourself.
- Use: Awakens the power of the Earth Sage, essential for restoring power to the Master Sword.
- Song of Passing:
- Location: Windfall Island.
- Strategy: Speak to the man dancing in front of the gravestone on Windfall Island at night. He will teach you the song.
- Use: Changes the time of day from day to night or vice-versa. Useful for triggering time-sensitive events and quests.
- Warriors' Aria:
- Location: Fire Mountain (Fire Temple).
- Strategy: Taught to you by the spirit of the Wind Sage, Makar, within the Fire Temple.
- Use: Awakens the power of the Wind Sage, essential for restoring power to the Master Sword.
- Wind God's Aria:
- Location: Fire Mountain (Fire Temple).
- Strategy: Taught to you by the spirit of the Wind Sage, Makar, within the Fire Temple, after you've proven yourself.
- Use: Awakens the power of the Wind Sage, essential for restoring power to the Master Sword.
Other Important Items
- Chart Pieces (Triforce Charts):
- Location: Scattered across the Great Sea in various sunken treasure chests.
- Strategy: You'll need to find eight Triforce Charts, then pay Tingle to decipher them. Each deciphered chart reveals the location of a Triforce Shard. Use your Treasure Chart to pinpoint the exact location of the sunken chest, then use the Grappling Hook to retrieve it.
- Use: Essential for locating the eight Triforce Shards, a critical step in the endgame.
- Triforce Shards:
- Location: Found in various sunken treasure chests after deciphering the corresponding Triforce Charts.
- Strategy: Once a Triforce Chart is deciphered, sail to the indicated location and use your Grappling Hook to retrieve the shard from the seabed.
- Use: Collecting all eight Triforce Shards is necessary to complete the Triforce of Courage and face Ganondorf.
100% Human-Written. AI Fact-Checked. Community Verified. Learn how AntMag verifies content