Master the final boss of Black Myth: Wukong! This guide details strategies for The Great Sage's Broken Shell, covering both phases and key abilities.
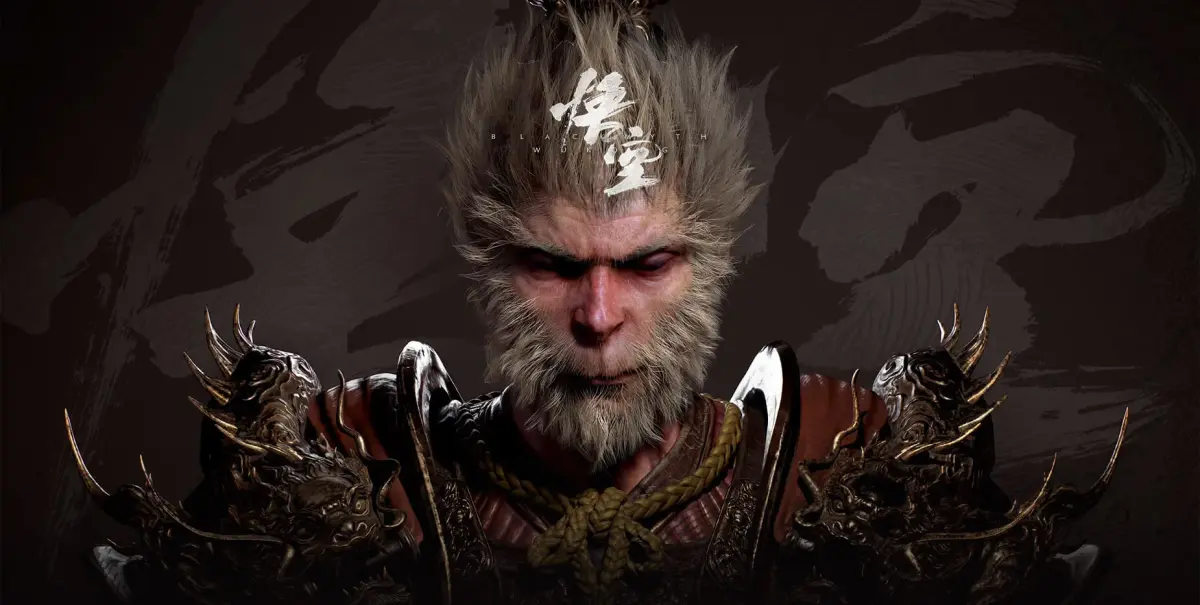
Alright, so you're at the very end of Black Myth: Wukong, facing down The Great Sage's Broken Shell. This is it, the final showdown! It's a tough one, a real mirror match against a version of yourself, so you'll need to be on your game. Don't worry, I'll walk you through it.
Where to Find The Great Sage's Broken Shell:
This boss is the last hurdle in the game, located at the end of the final chapter. You'll want to make sure you've taken down the Gold Armored Rhino, Cloudtreading Deer, Feng-Tail General, and the Emerald-Armed Mantis in the Foothills section of Mount Huaguo. After that, grab the Jingubang from the Waterfall Curtain Cave. Then, head into the trail behind it, clear out the soldiers, and you'll find a Keeper's Shrine. This is your last chance to prepare and restock before the point of no return. After this, you'll face The Stone Monkey, and immediately after that, The Great Sage's Broken Shell. Good news is, your HP and Mana get refilled, and you get a checkpoint, so if you die here, you don't have to redo The Stone Monkey fight!
Phase One Strategy:
This first phase is a tough mirror match. The Great Sage's Broken Shell has all your moves, so expect a similar fighting style. Keep an eye on these attacks:
- Staff Combo: This is usually how he starts. He'll rush you with a four-hit combo that has a huge range. Your best bet is to dodge *through* the attacks rather than away from them. He can do this from any stance, so be ready to adapt your dodges.
- Staff Toss: At mid-range, he'll toss his staff. It deals moderate damage. Dodge to the sides to avoid it.
- Ring of Fire: He'll create a big ring of flames that boosts his focus and attack power while he's inside. You can go in there too, but it's way better to lure him out of it.
- Staff Thrust: He charges up his staff for a long-reaching thrust. Watch for the charge-up and dodge to the side – he's vulnerable right after.
The biggest challenge here is the Ring of Fire. Drag him out of it ASAP to stop him powering up. Also, he'll sometimes dodge your attacks and leave behind an exploding clone, so be ready to dodge again immediately if that happens. Spells like Immobilize can give you a window to attack, and the Plantain Fan is great for creating space.
Phase Two Strategy:
Once you break his first HP bar, a cutscene plays, and he steals your relics, weakening you significantly. His attacks get stronger, and he gains new ones. Getting your own hits in becomes much harder, so use all your resources now. He can also perform a quick grab attack that's unblockable and deals massive damage. Don't let him get too close!
100% Human-Written. AI Fact-Checked. Community Verified. Learn how AntMag verifies content