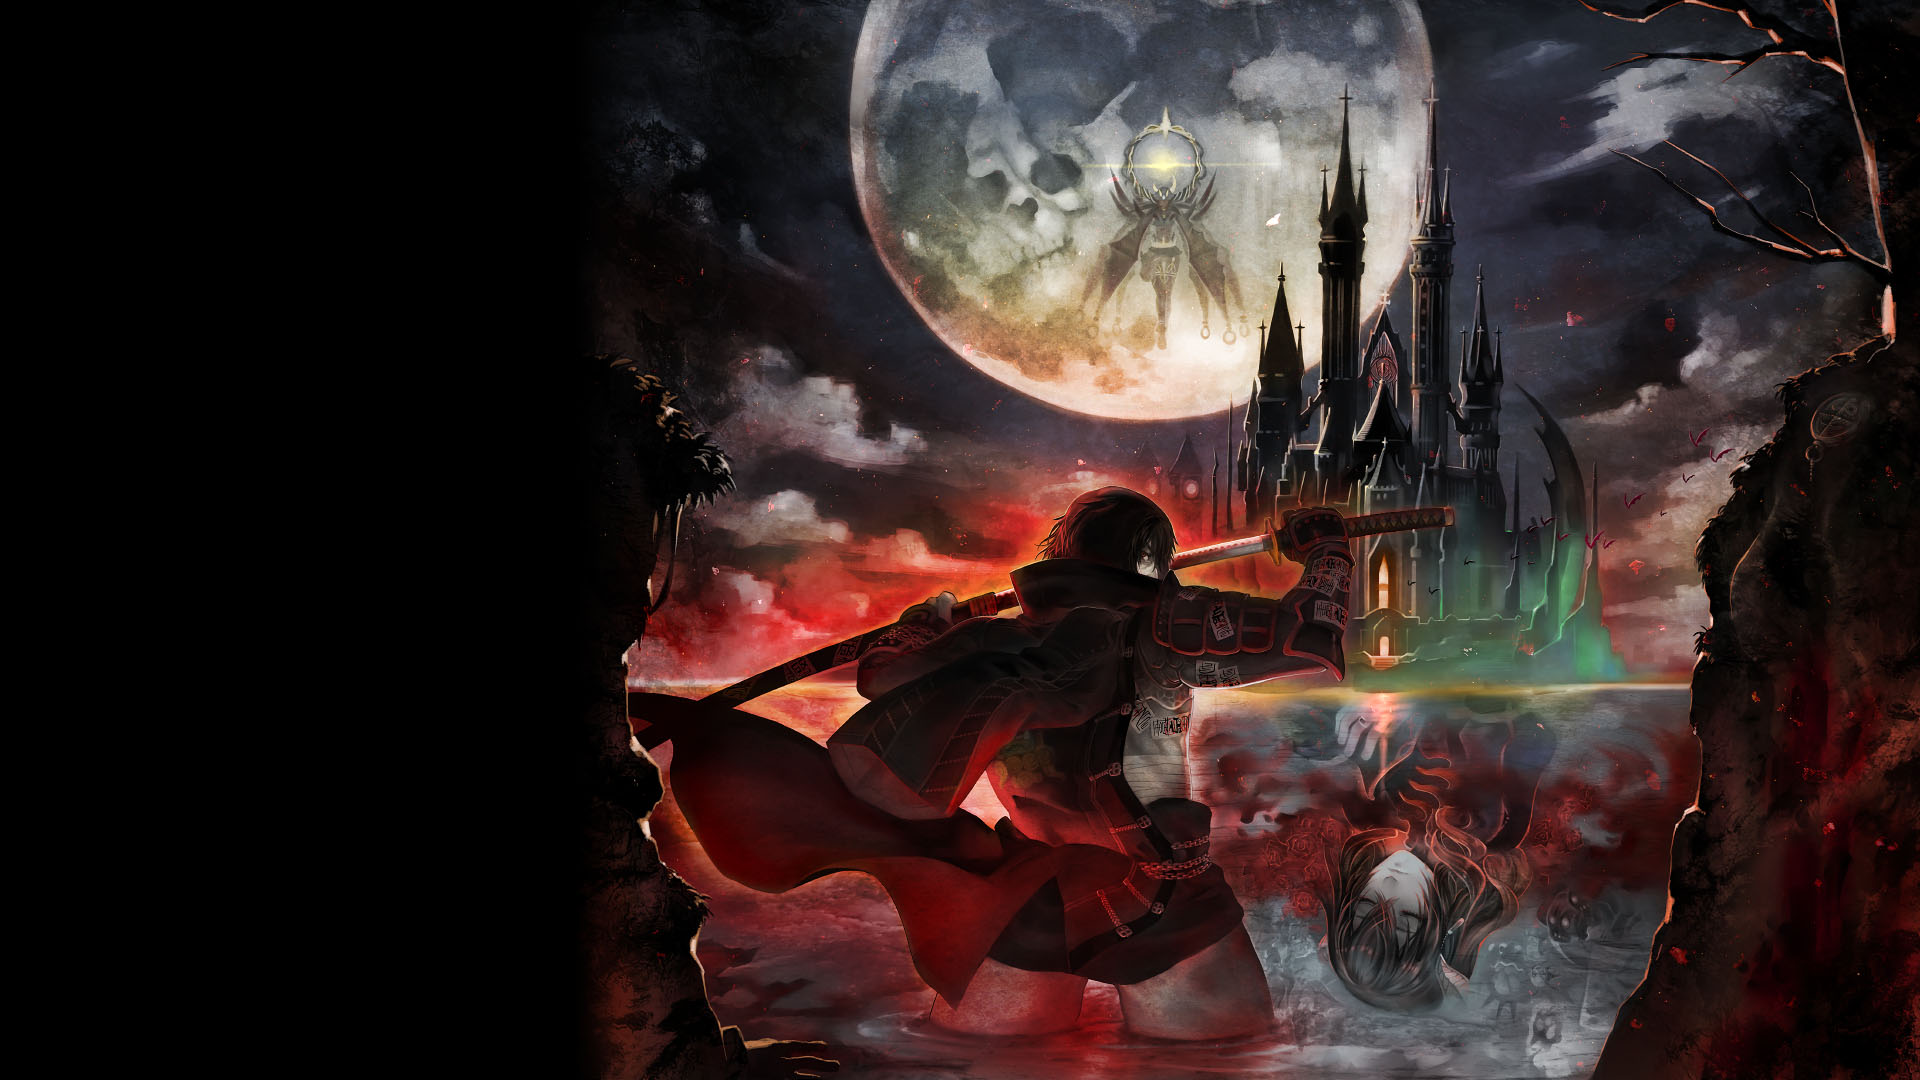
Step into the retro-style action of Bloodstained: The Scarlet Engagement, a thrilling adventure from Koji Igarashi and Inti Creates. You play as Zangetsu, a demon slayer on a quest through treacherous lands to defeat a powerful demon in its dark castle. Along the way, you’ll encounter allies who can join your fight, switching to them to utilize their unique abilities.
This guide is here to help you conquer the challenges that await. We'll cover strategies for tough boss encounters like Bloodless, detailing her attack patterns and effective tactics. You'll also find tips on navigating difficult sections, identifying useful shards like Acid Jet for poisoning enemies, and understanding how to best utilize companions and weapons such as the Rhava Velar to overcome the game's many obstacles.
Guide and Walkthrough (PS4) by ExtremePhobia
Navigate Bloodstained: The Scarlet Engagement with this comprehensive walkthrough by ExtremePhobia. Includes tips, boss strategies, and secrets for PS4.
This guide covers the PS4 version of Bloodstained: Ritual of the Night, specifically focusing on the walkthrough and general gameplay. It's designed to help you through the game's progression, from the initial areas to the post-game content.
- 1Starter Tips
- 2Galleon Minerva
- 3The Town of Arvantville
- 4Getting to Zangetsu
- 5Getting a Giant Hand
- 6The Iron Marquess
- 7Twin Dragons
- 8Crazy Train
- 9Bathin and the Reflector Rays
- 10A Friendly Favor
- 11Bloodbath
- 12A Song of Water and Sand
- 13Double Dealings
- 14Disco Inferno
- 15Demon of the Orient
- 16Gremory Revealed
- 17In Cold Pursuit
- 18Exorcising Demons
- 19Castle Cleanup - Post-game
Maps, Chests, and Points of Interest:
- Galleon, Arvantville, Entrance, Garden
- Cathedral, Towers, Machina, Termination
- Bridge, UG Lab, Waterway, Desert
- Secret Lab, Inferno, Oriental Lab, Den, Tomb
Enemies:
- Enemies 1-25
- Enemies 26-50
- Enemies 51-75
- Enemies 76-105
- Bosses: 106-116
- Bosses: 117-127
Quests:
- Lindsay's Quests
- Abigail's Quests
- Susie's Quests
- Benjamin's Quests
Alchemy:
- Alchemy Tips and How-To
- Items You Don't Need to Craft
- Food and Supplies Recipe Index
- Weapon and Ammo Recipe Index
- Protective Gear Recipe Index
- Shard Crafting and Enhancement Index
Appendix:
- Level Chart
- Weapons and Ammo
- Protective Gear
- Shards
- Items
Other Sections:
- Secret Bosses
- Achievements
- Thanks
- Contact
- Legal
- Version History
Tips: This guide is a comprehensive resource, so feel free to jump to the section you need most, whether it's a specific boss strategy, a quest walkthrough, or details on enemy drops and item crafting.
Walkthrough
Complete the Bloodstained: Ritual of the Moon main story with this walkthrough covering the essential path on default difficulty.
- 1Follow the essential path through the main story of Bloodstained: Ritual of the Moon.
- 2This walkthrough was written using the default difficulty setting.
- For non-critical information, check other sections of the guide, such as the Appendix.
Guide and Walkthrough (PS4) by ExtremePhobia (2)
Navigate Bloodstained: The Scarlet Engagement with our comprehensive PS4 walkthrough guide. Find tips, secrets, and boss strategies to conquer every challenge.
This guide is a detailed walkthrough for Bloodstained: The Scarlet Engagement on PS4, created by ExtremePhobia. It covers everything from starter tips to post-game content, including maps, enemy data, quests, and crafting recipes. It's structured to help you progress through the game's story and challenges systematically.
Walkthrough Sections:
- Starter Tips
- Galleon Minerva
- The Town of Arvantville
- Getting to Zangetsu
- Getting a Giant Hand
- The Iron Marquess
- Twin Dragons
- Crazy Train
- Bathin and the Reflector Rays
- A Friendly Favor
- Bloodbath
- A Song of Water and Sand
- Double Dealings
- Disco Inferno
- Demon of the Orient
- Gremory Revealed
- In Cold Pursuit
- Exorcising Demons
- Castle Cleanup - Post-game
Additional Sections:
- Secret Bosses
- Maps, Chests, and Points of Interest (covering multiple areas like Galleon, Arvantville, Cathedral, Towers, Machina, Termination, Bridge, UG Lab, Waterway, Desert, Secret Lab, Inferno, Oriental Lab, Den, Tomb)
- Enemies (detailed lists from 1-105, including specific boss breakdowns)
- Quests (Lindsay's, Abigail's, Susie's, Benjamin's)
- Alchemy (Tips, crafting indexes for Food/Supplies, Weapons/Ammo, Protective Gear, and Shards)
- Appendix (Level Chart, Weapons, Gear, Shards, Items)
- Achievements
Starter Tips
Master Bloodstained: The Scarlet Engagement with our starter tips! Learn about combat, exploration, leveling, and essential mechanics to make your journey through Gebeth easier.
The world of Bloodstained is dense with information, not all of which you need to know. Here are some highlights that should hopefully help make your experience easier. NOTE: If you want to go for a deep dive, check out the Appendix section.
Hidden in Plain Sight
There are a lot of hidden things scattered throughout the game, and I'll do my best to inform you of the major ones. There are plenty of little things that are hidden as well, so make sure you're taking chances. If a wall looks suspicious, give it a whack. Take the trickiest road to get where you're going. Take the high road before you take the low road because it's usually much easier to get down than get up. If you're getting low on money, health, or MP, break every torch and sconce you can find as they almost always have something, even if it's just 1 G.
Move and Swing at the Same Time
This is a Castlevania classic. You may notice that many of your weapons cause you to stop moving when you use them, but there's a better way. If you jump just before you swing, you'll be able to maintain your momentum, though if you stop that momentum in midair, you may lose it entirely. Landing will also cancel your animation, allowing you to swing again immediately, though this is tougher to make useful.
Alchemy and Gold Farming Tips
This would take up far too much space here. There's an entire section with tips for Alchemy and Gold Farming. While you may be able to use some of these tips early on, most of it isn't too useful until later in the game when you're incentivized to craft a lot, and thus spend a lot on crafting.
Check the Alchemy Tips section for more details on both.
Lucky Duck
When you start getting gear, items, and shards that increase your luck, equip them. You'll want to keep them equipped unless you're fighting a boss. Higher luck increases how often enemies drop items, how much gold you get on money drops, the odds of shards dropping, and your chance to score a critical hit on enemies (so you don't lose too much damage by doing this). Let your other gear boost your other stats while you maximize your luck wherever you can. It'll save you a lot of time in the long run.
Powerleveling
In general, once you've acquired Double Jump and either the Bunnymorphosis Shard or really good Shoes, you can kill large enemies quickly. Find a large and mostly stationary enemy such as a Nyabon or Puppy. Run in, Jump above them and dive kick downward at them (Double Jump+Down+Jump) to make short work of them. Leave the room and re-enter to repeat.
This will help you level a little earlier, but when you reach around the level 40 mark and have made it to the Den of Behemoths, there's a much better spot. Make sure to top off your ATK, get the Accelerator shard from Harrier, and wear Weighted Rings to increase how much XP you get. I also recommend a weapon that can attack while you run such as the Oracle Blade (improved Flying Edge) or the staff-like sword weapons.
Next, go to the Save Room in the Den of Behemoths. Leave the room and climb up the stairs. At the top, go through the door on the left. You'll find a relatively small room with an Abyssal Guardian and a Blue Chest. At first, you may want to jump on it like you do with earlier large enemies until you are strong enough to kill it more quickly. Once you're strong enough, you'll be able to enter the room, swing a few times and leave, netting 10k XP in a mere 5-10 seconds. In this spot, you'll be able to go from level 75 to 99 in under an hour despite needing nearly 3 million XP to reach level 99.
Map Tips
The mini-map in the upper-right of the screen (by default) is a crucial tool for exploring the world. Any space you move into on the map will turn blue. At first, you'll notice that most of the area is surrounded in white. These white walls delineate between rooms in the game. If you don't see a white wall, it means there's more space in that room that you can explore if you go in that direction.
Small gaps in the white walls indicate where rooms are, giving you an idea of where you want to go. For instance, if you are returning to a room, you may notice that there's a doorway in this room that you haven't explored the other side of!
That's not the only thing the map can tell you. If you see a small space on the map that appears to be entirely walled off with no doors in, there may be a secret room. It's never a guarantee, but it can't hurt to hit the wall sections in the rooms adjacent to this gap to see if they crumble. If they start to give way, keep hitting and you'll be in!
Finally, there are different colors on the map. Blue is a room you've been to while red indicates a Save Room. Later, you'll find green rooms as well. These green rooms are all connected and allow you to teleport around the map quickly. There's a green room near your base of operations, just above the town. Since your base has a Save room, this means you can get to a Save Room quickly from any green room.
Don't Sweat the Stats
How weapons, armor, accessories, and items work with your base stats is not entirely clear. For some reason, weapon attack values are only about 2/3rds effective (if it says 30, it actually adds 20 to your ATK stat). Less noticeable is that protective gear often has a slightly higher or lower effect than is advertised. If the item says it will increase your DEF by 15, it might do so by 14 or 16.
All of this is to say that you shouldn't sweat the stats. Gear stats with bigger numbers are better than gear with lower numbers but don't try to get nitty-gritty about what the actual impact will be or you'll pull your hair out.
Gotta Go Fast
Aside from moving through water, running forward is Mariam’s slowest form of movement. There are several techniques that allow you to move faster depending on circumstance. They are as follows (slowest to fastest):
- Dodge (requires moving backward)
- Slide (press down and jump to slide)
- Angle
Similar guides you might like


100% Human-Written. AI Fact-Checked. Community Verified. Learn how AntMag verifies content