Learn how to reveal Gremory in Bloodstained: The Scarlet Engagement. This guide covers defeating Gebel twice, cutting the moon, and navigating the Den of Behemoths.
Walkthrough
- 1Ensure you have the Zangetsuto.
- 2Save in the nearby Save Room.
- 3Fight Gebel. Defeat him once to earn the "Usurper" achievement.
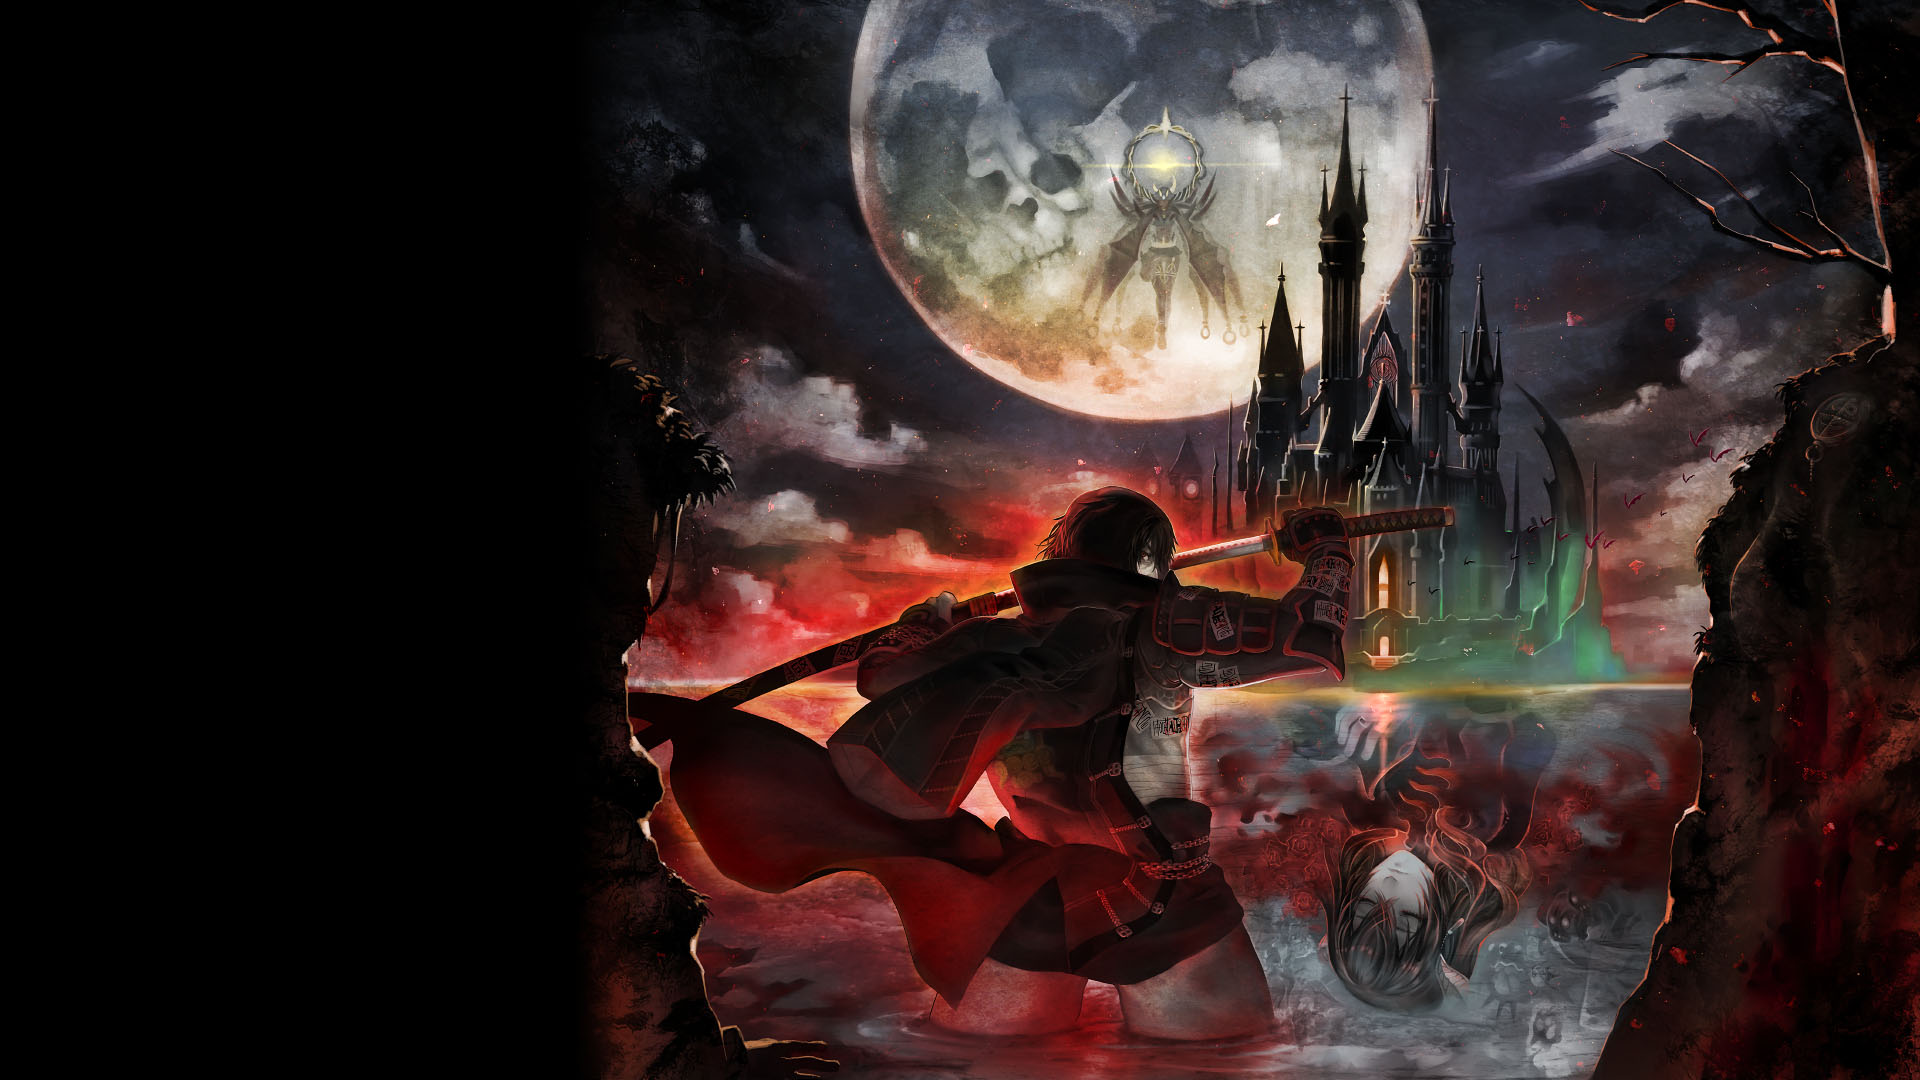
- 4Fight Gebel a second time. Damage him until the moon in the background turns red.
- 5When the moon is red, jump and slash it to cut it in half, revealing Gremory.
- 6Chase Gremory through the portal she creates into the Den of Behemoths.
- 7Before proceeding, spend excess money as it can be a disadvantage later.
- 8Navigate to the Garden. Find the coachman on the left side of a gap, climb through the ceiling, and proceed left through rooms to a large balcony overlooking the castle.
- 9Locate the prominent red moon in the sky.
- 10Cut the moon in half to reveal Gremory again.
- 11Enter the portal she creates to reach the Den of Behemoths.
- 12The Den of Behemoths features larger versions of previous enemies and larger rooms. Use Invert to evade enemies if needed.
- 13In the first room to the right, defeat the Cannon Morte and Chariot Buer. Use Jump Kicking from above.
- 14Proceed through the door on the right to find two Giant Toads and a Giant Moco revealed by a breaking boulder. Defeat the Toads first, then the Moco.
- 15Loot the Blue Chest (#1) on the right and break the wall next to it for the Gambler's Ring (#1). Return to the room with the portal.
- 16Continue left to a room with wooden boards. Defeat the Carriage Buer/Cannon Morte combo.
- 17Loot the Blue Chest (#2) on the left. Return to the room with the boards and drop through.
- 18In the large room with the broken bridge, drop to the far left wall. Enter the door on the bridge to the left.
- 19Loot the Blue Chest (#3) on a ledge above the door. Enter the tall room with stairs.
- 20Deal with the Giant Moco, Giant Bat, and Giant Buer at the top of the stairs. The Giant Bat is the only one that attacks.
- 21Descend the stairs and deal with the Giant Moco at the bottom.
- 22Enter the door on the left to face several Giant Mortes. Avoid bumping into them.
- 23Walk off the ledge to the left to find a Giant Cannon. Stand on it and attack to defeat it safely. Invert to land on the ceiling and enter a nearby nook.
Tips
- Wear the Aegis Armor for the race to get the Accelerator Shard.
- The Accelerator Shard grants incredible speed and is worth obtaining.
- Inverting can help you get out of harm's way when dealing with large enemies.
- Jump Kicking from above is effective against Cannon Mortes and Chariot Buers.
- Deal with the Giant Toads before the Giant Moco as the Toads can attack.
- Be careful not to accidentally bump into the Giant Mortes.
- Accelerator Shard (from winning the race against Harrier)
- Gambler's Ring (#1)
- Blue Chest (#1)
- Blue Chest (#2)
- Blue Chest (#3)
- Usurper Achievement (from defeating Gebel the first time)
100% Human-Written. AI Fact-Checked. Community Verified. Learn how AntMag verifies content