
Discover the locations and steps to unlock the Hidden Treasures Achievement in Death Howl. Follow our guide to find all hidden items and secrets in the Realm of Piercing Winds.
This section of the Death Howl walkthrough covers the Hidden Treasures Achievement, focusing on locating secret items and completing hidden quests within the Realm of Piercing Winds. The Realm of Piercing Winds is divided into three main zones: The Breathing Chasm, The Hidden Vale, and The Glacial Maw. Players can enter this realm through either The Breathing Chasm or The Hidden Vale, both accessible from The Meadows of Delusions.
Walkthrough
- 1The Breathing Chasm:
- Activate the first Sacred Grove in the northeast to reveal the map.
- 2To start the 'Reap or Weep' side quest, find the large creature in the northeast section (marked with an X). Retrieve his lost eyes from a hidden cave near the northwestern Sacred Grove. Loot the Bear Skull Totem from a nest along the way. Talk to the Moose spirit near the Sacred Grove for a free Teardrop point. The eyes are found deeper in the cave. After defeating enemies ambushing you upon retrieval, return to the quest giver to receive the Opal Totem.
- 3To start the 'Two-Headed Spear' hidden side quest, go to the third Sacred Grove in the southwest. Read the inscription on the rock. Find two Spear Head quest cards: one near the nest at the zone's entrance, and the other below the northwestern Sacred Grove. Use one Spear Head card in battle to combine them into the Two-Headed Spear. After winning the battle, return to the inscribed rock to open a cave. Defeat the Elder Spirit encounter inside to receive three Teardrop upgrade points.
- From the Sacred Grove in the southwest of The Breathing Chasm, head left into The Hidden Vale. Activate the Sacred Grove beyond the initial Spirit encounters and an optional Elder Spirit encounter to reveal the map.
- To complete 'The Laughing Face of Death' side quest, rest at the Sacred Grove. After the Spirit jumps off the cliff, rest again and talk to it. Repeat this process one more time to exhaust the dialogues and complete the quest.
- Locate the Cone Realmless Card (Secret) and the Frozen Driftwood Totem (Secret) within this zone.
- Activate the Sacred Grove to reveal the map.
- Find the A Sight to Behold Realmless Card (Secret) in this zone.
Tips
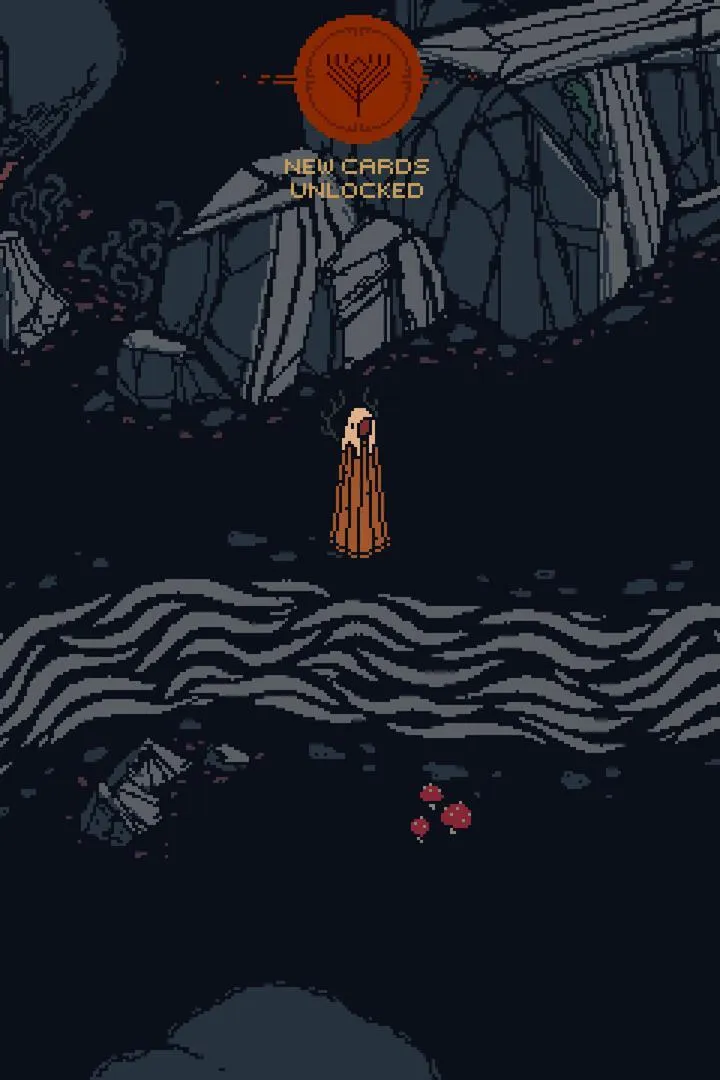
- Save up Death Howl currency to unlock cards and Teardrop upgrades. Consider grinding Death Howl before entering the Realm of Piercing Winds.
- If you struggle with the ambush after retrieving the 'Reaping Eye' in the Breathing Chasm, discard the quest card and return later when stronger.
- Completing side quests and finding secrets in these zones contributes to unlocking achievements, including potentially the 'Hidden Treasures Achievement'. Specific rewards include the Opal Totem, three Teardrop upgrade points, and various secret items like the Cone Realmless Card and Frozen Driftwood Totem.
100% Human-Written. AI Fact-Checked. Community Verified. Learn how AntMag verifies content