Master Death Howl's Realm of Piercing Winds with our comprehensive guide to The Forgotten Shrine. Learn strategies, find secrets, and overcome challenges.
Walkthrough
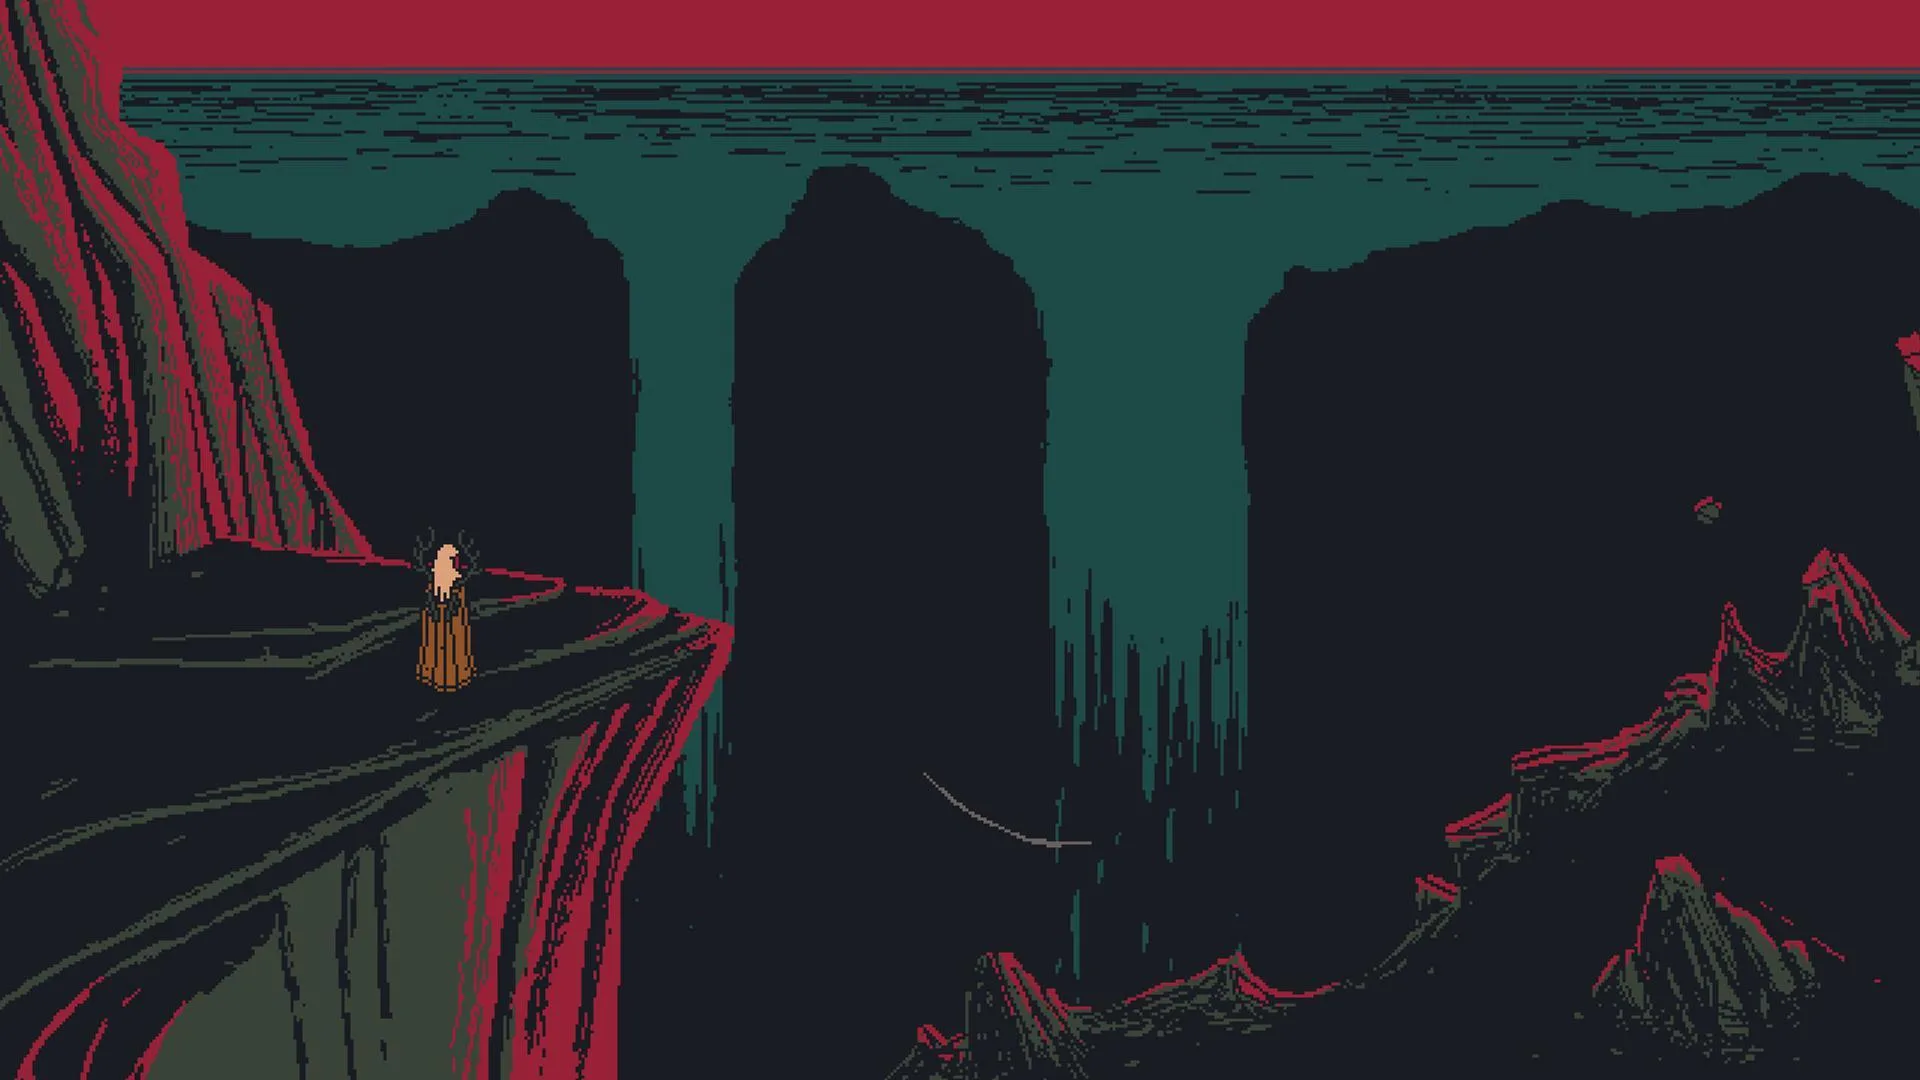
- 1The Breathing Chasm: Enter from The Meadows of Delusions. Activate the first Sacred Grove in the northeast to reveal the map. Complete the 'Reap or Weep' side quest by finding the creature's lost eyes in a hidden cave near the northwestern Sacred Grove. Complete the 'Two-Headed Spear' hidden side quest by finding two Spear Head cards and combining them in battle, then interacting with an inscription rock to access a cave.
- 2The Hidden Vale: Enter from the southwest Sacred Grove of The Breathing Chasm. Navigate past initial Spirit encounters, avoiding the Elder Spirit. Activate the Sacred Grove to reveal the map. Complete 'The Laughing Face of Death' side quest by repeatedly resting at the Sacred Grove and interacting with the Spirit.
- 3The Glacial Maw: (Details to be added in subsequent sections of the guide).
- 4Boss Fight: Prepare to face Tradontoz, Great Spirit of Piercing Winds. (Strategy details to be added).
Tips
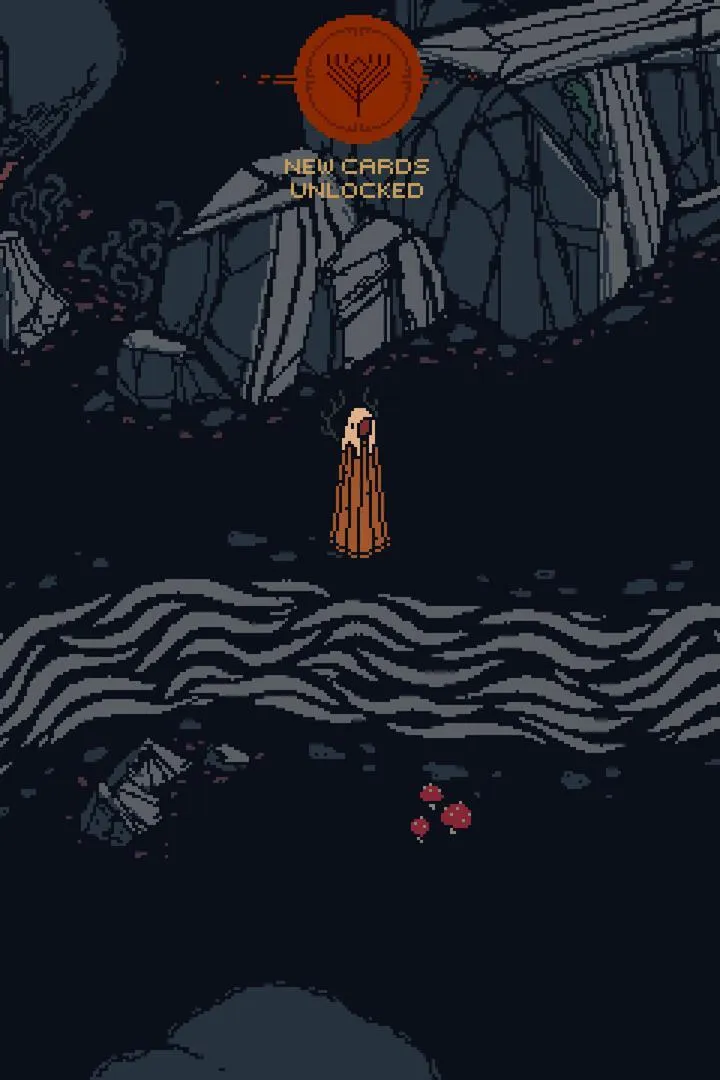
- Save up Death Howl to unlock cards and Teardrop upgrades in the region.
- Grind Death Howl before entering the zone if needed.
- If a side quest battle is too difficult, discard the quest card and return later when stronger.
- Loot nests for items like the Bear Skull Totem.
- Talk to spirits like the Moose for potential rewards (e.g., Teardrop points).
100% Human-Written. AI Fact-Checked. Community Verified. Learn how AntMag verifies content