
Navigate the treacherous Poisonous Swamps in Death Howl. This guide covers The Breathing Chasm, The Hidden Vale, and The Glacial Maw, including side quests and secrets.
Walkthrough
- 1Realm of Piercing Winds Overview: This realm is split into three zones: The Breathing Chasm, The Hidden Vale, and The Glacial Maw. You can enter through The Breathing Chasm or The Hidden Vale from The Meadows of Delusions. We will enter through The Breathing Chasm.
- 2The Breathing Chasm:
- 3Unlocking the First Sacred Grove and Map: Head northeast from the northern Sacred Grove in The Meadows of Delusion. Activate the Sacred Grove in the northeast to reveal the map. Collect crafting materials from a cave by clicking on a rock.
- 4How to Complete the Reap or Weep Side Quest: Head northeast to a small empty section. A creature will appear and ask you to retrieve its lost eyes. The eyes are in a hidden cave near the northwestern Sacred Grove. Take the upper path, defeat two Elder Spirits, and loot the Bear Skull Totem from a nest. Talk to the Moose spirit near the Sacred Grove for a free Teardrop point. Go down the passage next to the Moose, click on the rock to reveal a cave entrance, and collect the 'Reaping Eye' quest item. Defeat the ambushing enemies. Return to the quest giver to complete the quest and receive the Opal Totem.
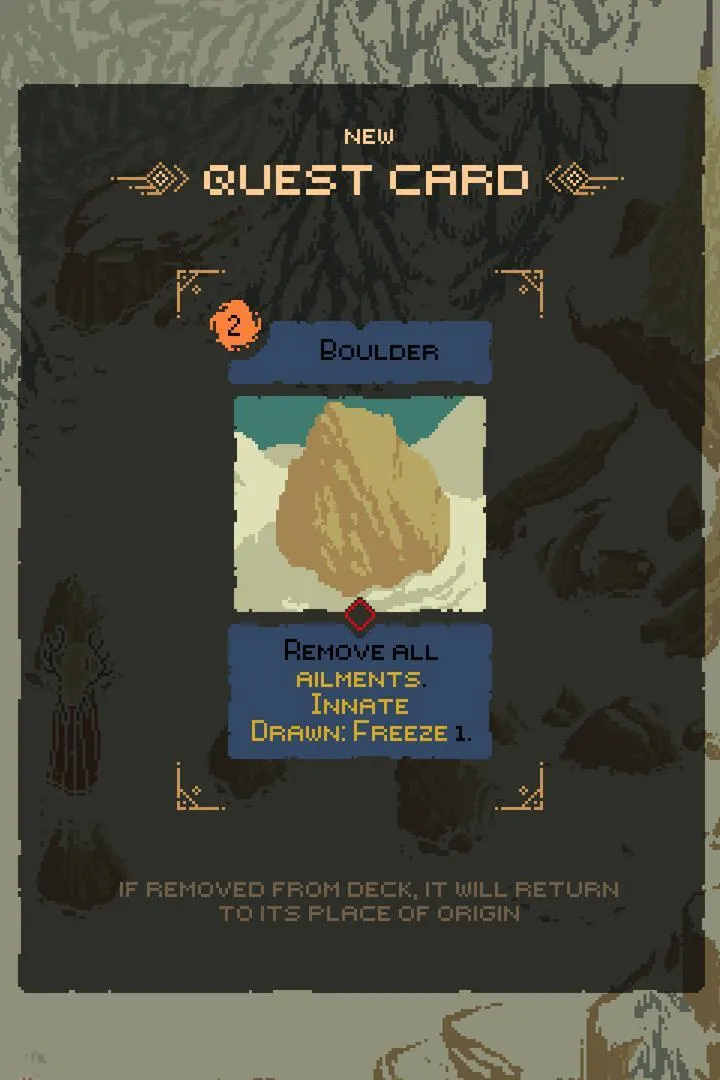
- 5How to Complete the Two-Headed Spear Hidden Side Quest: Make your way to the third Sacred Grove in the southwest part of the map. Read the inscription on the rock about two pieces of a spear. Find the two 'Spear Head' quest cards: one near the Nest at the entrance of the zone, and the other below the northwestern Sacred Grove. In a battle, use one Spear Head card, then combine it with the other to create the Two-Headed Spear. Complete the battle. Return to the rock with the inscription, interact with it to fall into a cave, and defeat the two Elder Spirits. You will be transported outside, and the spear will break. You will receive three Teardrop upgrade points.
- Unlocking the First Sacred Grove and Map: Return to the Sacred Grove in the southwest section of The Breathing Chasm. Head left to find The Hidden Vale. Follow the lower path, defeat the first set of Spirits. Avoid the Elder Spirit encounter. Continue left to find another Spirit encounter to the north. Defeat them. The Sacred Grove is just beyond this encounter. Activate it to reveal the map.
- How to Complete The Laughing Face of Death Side Quest: After resting at the Sacred Grove, the Spirit jumps off the cliff. Rest again, talk to the Spirit, and it jumps off again. Rest a third time, exhaust the dialogues... (The source text cuts off here).
Tips
- Grind some Death Howl before entering the Realm of Piercing Winds to unlock cards and Teardrop upgrades.
- If you struggle with the ambush after collecting the 'Reaping Eye', discard the quest card and return later when you are stronger.
- The Bear Skull Totem grants 3 Block when killed.
- The Opal Totem reduces the Mana cost of a random card by 1 each turn.
- Reap or Weep Side Quest: Opal Totem
- Two-Headed Spear Hidden Side Quest: 3 Teardrop upgrade points
100% Human-Written. AI Fact-Checked. Community Verified. Learn how AntMag verifies content