Discover the locations of all Lore Scrolls in Death Howl's Realm of Piercing Winds. This guide details how to find each scroll and overcome the challenges within.
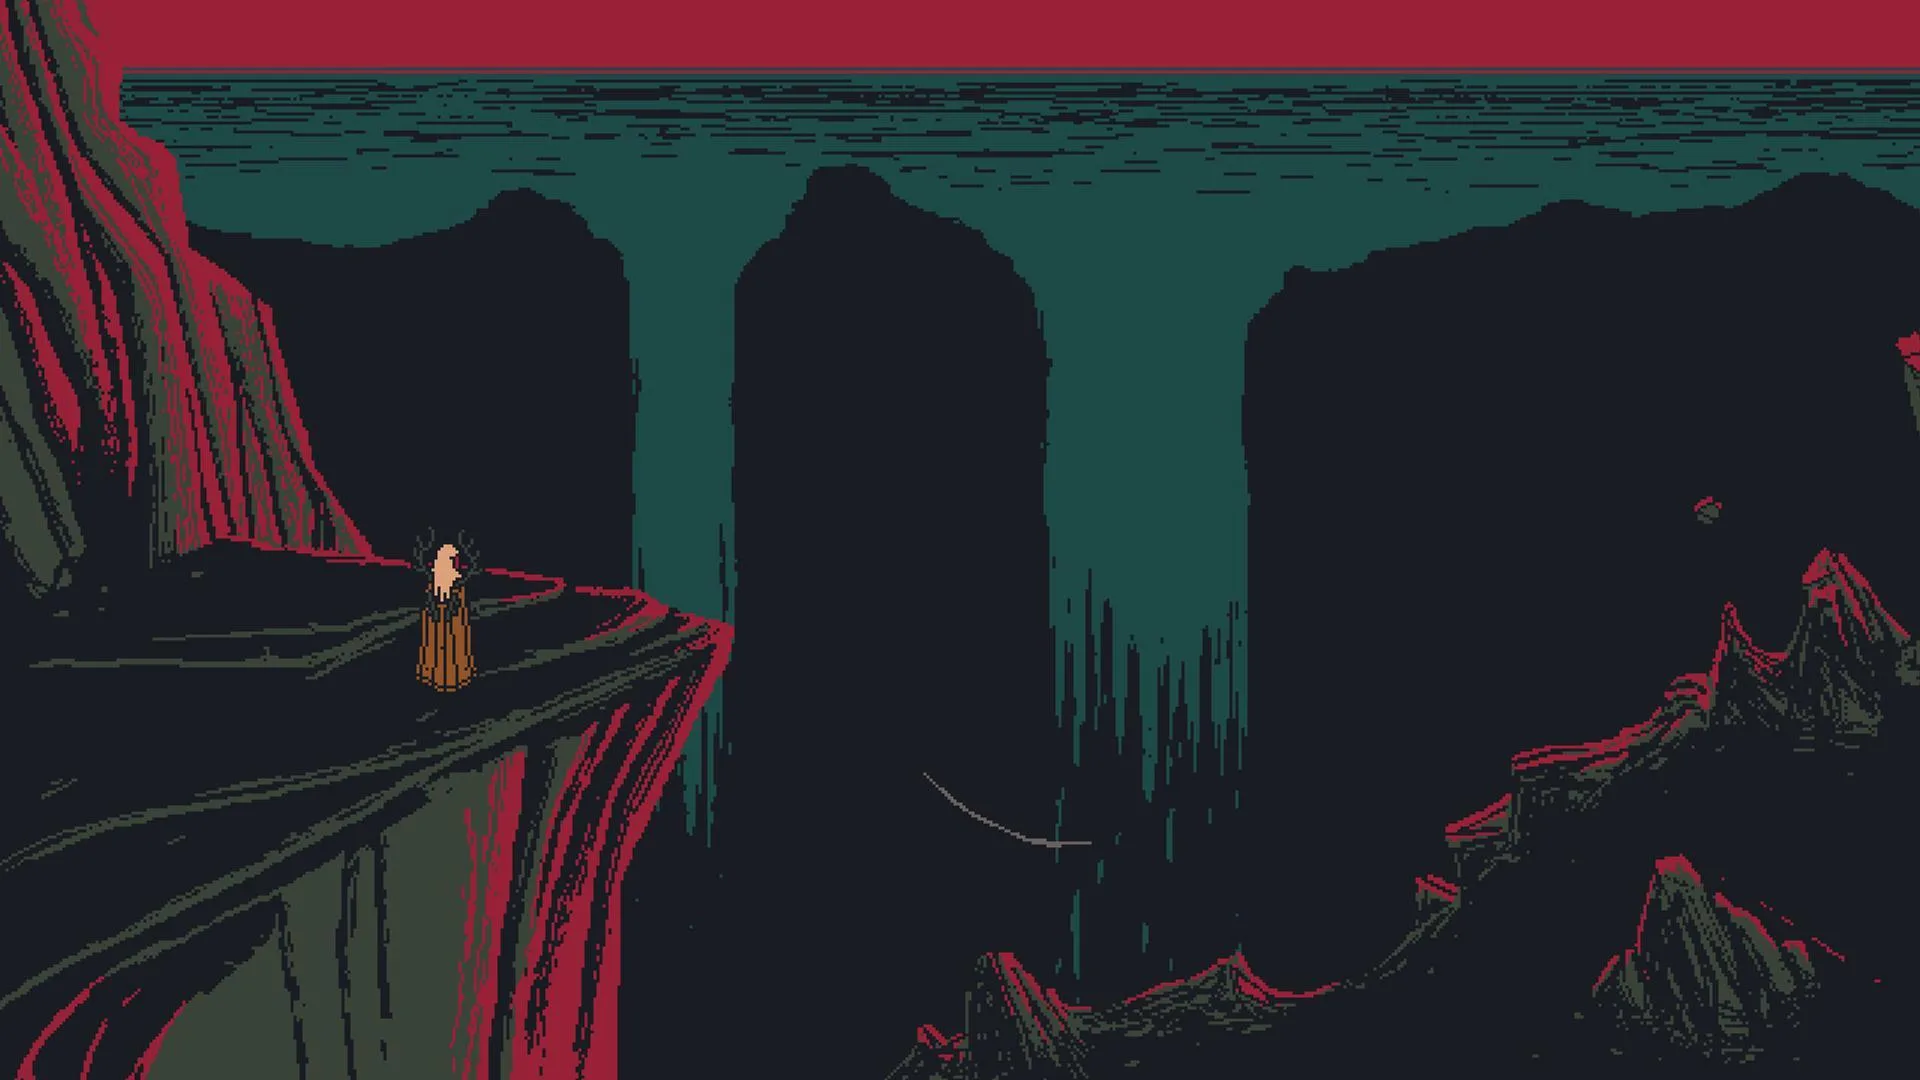
Welcome to the Realm of Piercing Winds, the second major area in Death Howl. This realm is divided into three distinct zones: The Breathing Chasm, The Hidden Vale, and The Glacial Maw. You can access this realm through The Meadows of Delusions, entering either The Breathing Chasm or The Hidden Vale first. This guide will focus on navigating The Breathing Chasm to begin.
The Breathing Chasm
Upon entering The Breathing Chasm, your first objective is to activate the nearest Sacred Grove, located to the northeast, to reveal the zone map. Along the way, you can find a cave containing crafting materials. After activating the Sacred Grove, you can begin exploring the zone's side quests and secrets.
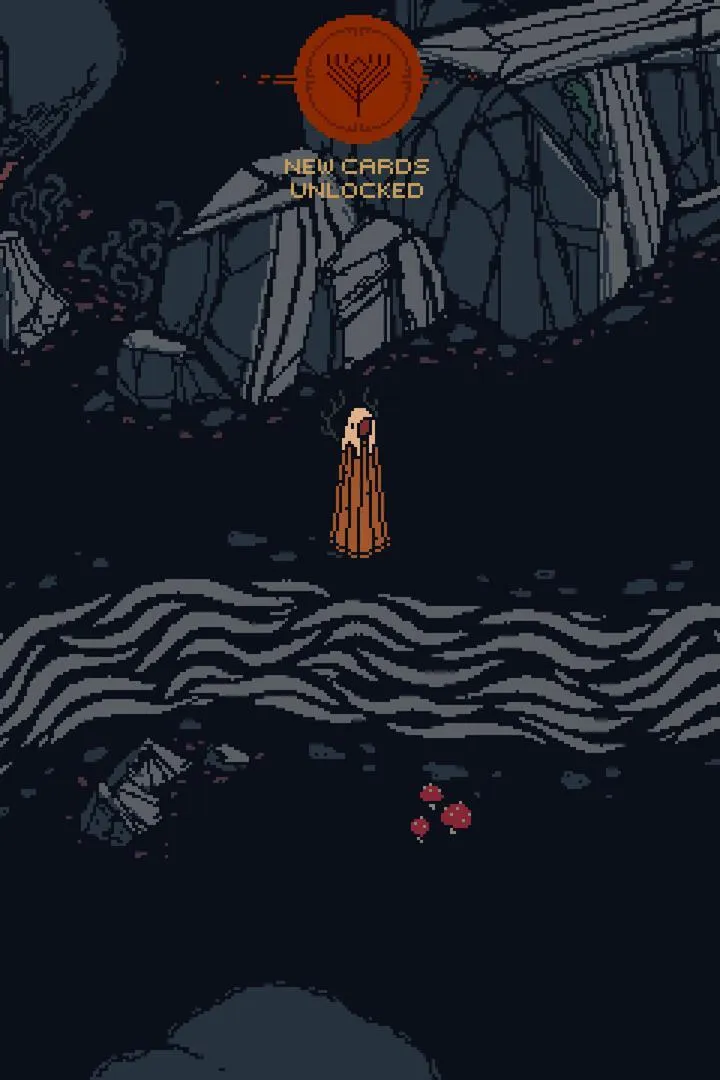
Reap or Weep Side Quest: This quest begins by speaking with a large creature who has lost its eyes. You'll need to find these eyes in a hidden cave near the northwestern Sacred Grove. Be prepared for a difficult fight upon retrieving the 'Reaping Eye'. Completing this quest rewards you with the Opal Totem.
Two-Headed Spear Hidden Side Quest: To initiate this quest, find an inscription on a rock near the third Sacred Grove in the southwest. You must then find two 'Spear Head' quest cards, one near the zone's entrance and another below the northwestern Sacred Grove. Combine these during a battle to form the Two-Headed Spear, then return to the inscription rock. This leads to an underground cave and an Elder Spirit encounter, rewarding you with three Teardrop upgrade points upon completion.
The Hidden Vale
To reach The Hidden Vale, return to the Sacred Grove in the southwest of The Breathing Chasm and head left. The initial path involves defeating some Spirits and potentially avoiding an Elder Spirit encounter. Continue north to find another Spirit encounter, after which you'll find the zone's Sacred Grove and reveal its map.
The Laughing Face of Death Side Quest: After resting at the Sacred Grove in The Hidden Vale, a Spirit will repeatedly jump off a cliff. By resting and talking to it multiple times, you can progress this quest.
100% Human-Written. AI Fact-Checked. Community Verified. Learn how AntMag verifies content