
Discover all mining locations and ores in Death Howl's Realm of Piercing Winds. Learn where to find valuable resources and complete quests for essential upgrades.
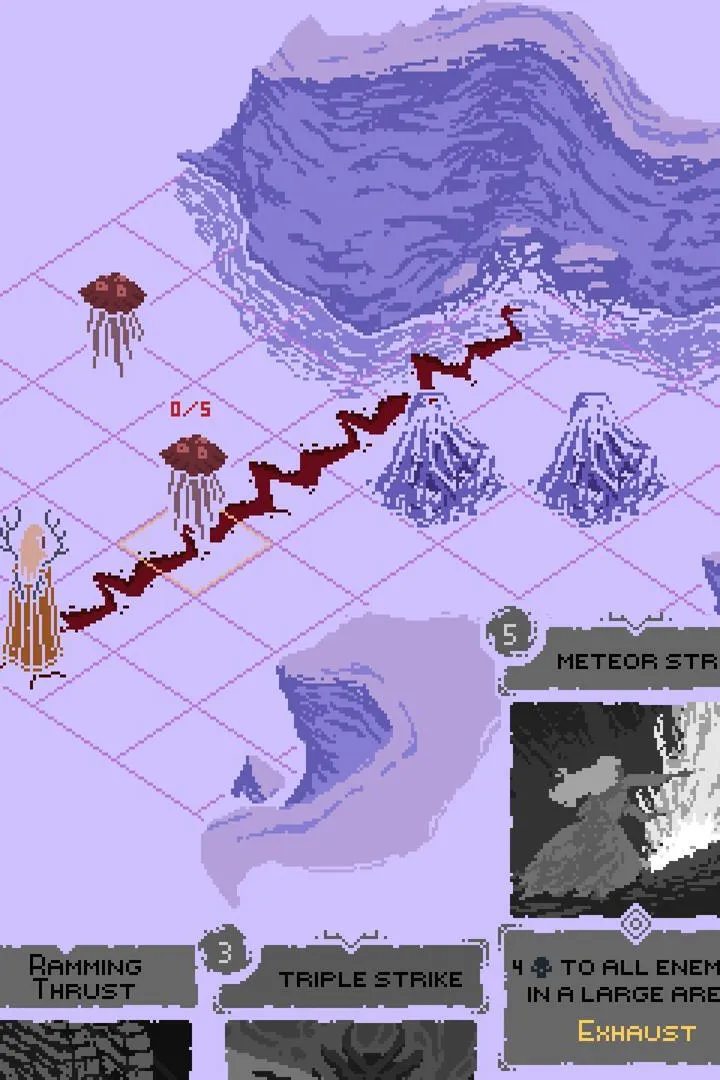
This section of the Death Howl walkthrough covers the mining locations and ores found within the Realm of Piercing Winds. Players will need to gather resources to unlock cards and Teardrop upgrades. The Realm of Piercing Winds is divided into three zones: The Breathing Chasm, The Hidden Vale, and The Glacial Maw. Players can enter this realm through The Breathing Chasm or The Hidden Vale, both accessible from The Meadows of Delusions. It is recommended to gather Death Howl before entering this zone to facilitate upgrades.
The Breathing Chasm
Upon entering The Breathing Chasm, players must activate the first Sacred Grove to reveal the map. Crafting materials can be found in a cave accessible by interacting with a rock. Side quests include 'Reap or Weep,' which involves retrieving lost eyes for a creature, and the 'Two-Headed Spear' quest, requiring the collection of two Spear Head cards to form the Two-Headed Spear, leading to an Elder Spirit encounter and Teardrop rewards.
The Hidden Vale
To access The Hidden Vale, players return to the Sacred Grove in the southwest of The Breathing Chasm and head left. The zone features several Spirit and Elder Spirit encounters. Activating the Sacred Grove here reveals the map. A side quest, 'The Laughing Face of Death,' involves interacting with a revived Spirit near the Sacred Grove.
100% Human-Written. AI Fact-Checked. Community Verified. Learn how AntMag verifies content