Navigate the First Class Transfer at level 20 in Lineage II. This pivotal step in Aden helps specialize your character and unlock new skills and abilities.
Congratulations, adventurer! Reaching Level 20 marks a pivotal moment in your journey through the world of Aden. This is when you'll undertake your First Class Transfer, a crucial step that defines your character's specialization and unlocks a new tier of skills and abilities. Unlike later class transfers, the First Class Transfer is typically a streamlined process, but it still requires careful attention to detail and completion of specific quests.
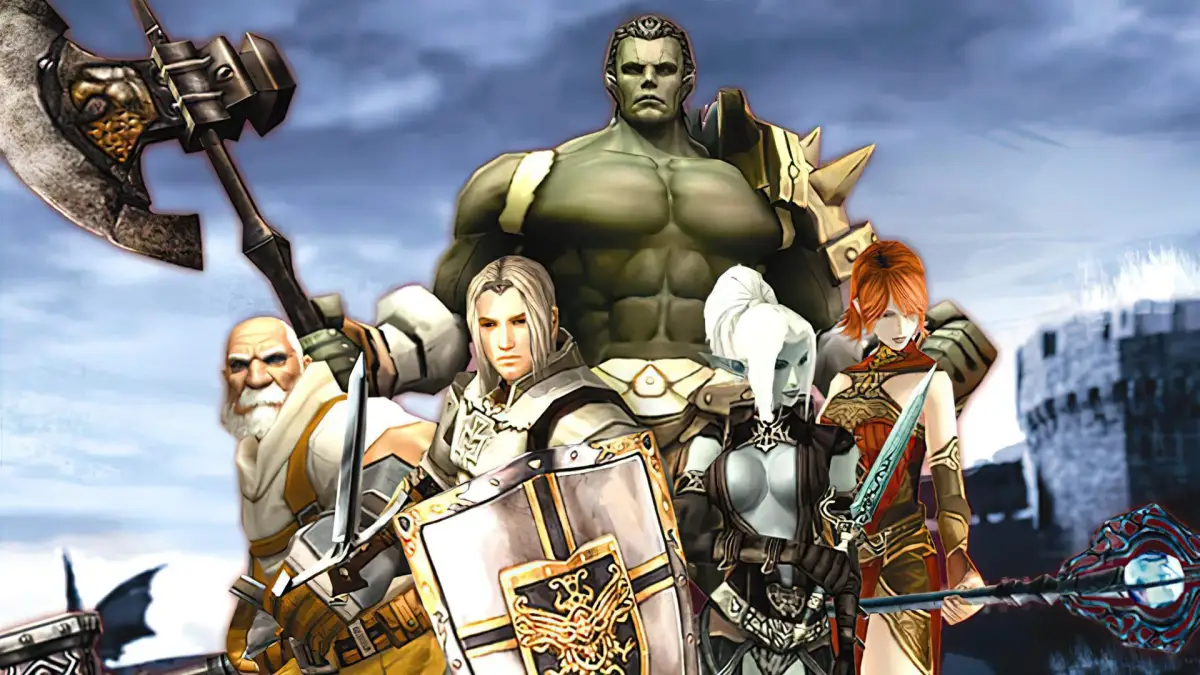
Each race and starting class has a unique set of options for their first specialization. To successfully transfer, you must complete a series of quests designed to test your resolve and prove your worthiness for your chosen path. Upon completion, you will receive a special item known as a Mark, which is then exchanged with a specific NPC to finalize your class change.
Understanding Your Class Options
Before embarking on your quests, it's essential to understand the class paths available to your character. Your starting race and initial class (e.g., Human Fighter, Elven Mystic) determine your specialization options. Below is a comprehensive overview of the common first class transfer options for each race:
| Race | Starting Class | First Class Transfer Options |
|---|---|---|
| Human | Human Fighter | Warrior, Knight, Rogue |
| Human | Human Mystic | Human Wizard, Cleric |
| Elf | Elven Fighter | Elven Knight, Elven Scout |
| Elf | Elven Mystic | Elven Wizard, Elven Oracle |
| Dark Elf | Dark Fighter | Palus Knight, Assassin |
| Dark Elf | Dark Mystic | Dark Wizard, Shillien Oracle |
| Orc | Orc Fighter | Orc Raider, Orc Monk |
| Orc | Orc Mystic | Orc Shaman |
| Dwarf | Dwarven Fighter | Scavenger, Artisan |
The Quest for Your Mark: General Process
While the specific details vary for each class, the general flow of a First Class Transfer quest series is similar:
- Initiate the Quest: Speak to the designated NPC in your starting village or a nearby town. This NPC will typically be a Guild Master or a High Priest/Priestess relevant to your chosen class path. They will give you the first quest in the series.
- Gather Information/Items: You might be asked to speak to other NPCs, collect specific quest items from monster drops, or gather resources.
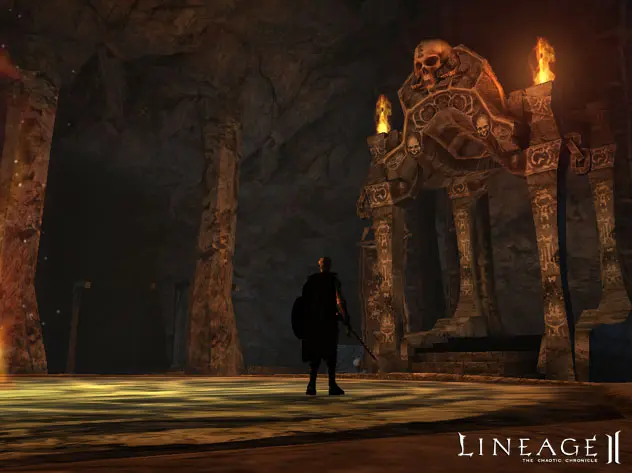
- Prove Your Mettle (Hunting): A significant portion of these quests involves hunting specific monsters in designated areas. These monsters are usually within your level range (Level 18-25) and are found in the regions surrounding your starting village. You'll need to defeat a certain number of them or collect a specific quest item that drops from them.
- Return and Report: After completing the objectives, you'll return to the quest-giver or another designated NPC to report your progress and receive the next step.
- Obtain the Mark: Upon completing the final quest in the series, you will be rewarded with the specific Mark required for your class transfer (e.g., Mark of the Warrior, Mark of the Human Knight).
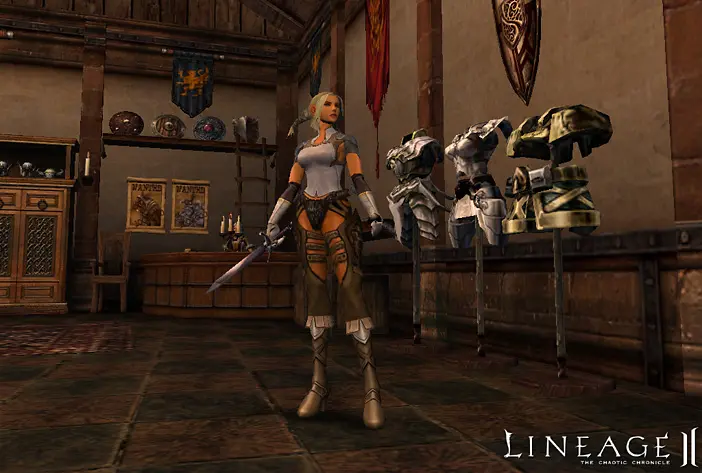
- Perform the Transfer: With the Mark in hand, locate the High Priest (for Mystic classes) or Grand Master (for Fighter classes) in the main city of your race (e.g., Gludin Village for Humans, Elven Village for Elves). Speak to them, select the "Class Transfer" option, and exchange your Mark to complete the transfer.
Example: The Human Fighter's Path
Let's delve into a specific example to illustrate the process: the First Class Transfer for a Human Fighter. A Human Fighter can choose to become a Warrior, Knight, or Rogue. While the initial steps might overlap, the quests diverge based on your chosen path.
Path 1: Becoming a Warrior
The path to becoming a Warrior focuses on raw strength and combat prowess.
- Quest Name: Trial of the Warrior
- Starting NPC: Master Auron in Gludin Village.
- Steps:
- Speak to Master Auron. He will instruct you to speak with Master Mati in the Gludin Village Warrior Guild.
- Master Mati will ask you to hunt Orc Scouts and Orc Fighters in the Orc Barracks area, located north of Gludin. Collect 10 Orc Amulets and 10 Orc Charms.
- Return to Master Mati. He will then send you to hunt Goblin Leaders in the Goblin Forest (west of Gludin) to collect 5 Goblin Necklaces.
- After collecting the necklaces, return to Master Mati. He will then direct you to Master Sorius in the Gludin Village Church.
- Master Sorius will ask you to hunt Werewolf Hunters in the Ruins of Agony (southeast of Gludin) to collect 5 Werewolf Fangs.
- Return to Master Sorius, who will then give you the Mark of the Warrior.
- Final Transfer: Take the Mark of the Warrior to Grand Master Bitz in the Gludin Village Warrior Guild to complete your transfer to a Warrior.
Path 2: Becoming a Knight
The Knight path emphasizes defense, protection, and leadership.
- Quest Name: Trial of the Human Knight
- Starting NPC: Grand Master Ramos in Gludin Village.
- Steps:
- Speak to Grand Master Ramos. He will ask you to speak with Sir Klaus Vasper in the Gludin Village Temple.
- Sir Klaus Vasper will instruct you to hunt Giant Spiders and Poison Spiders in the Spider Nest area (southwest of Gludin) to collect 10 Giant Spider Legs and 10 Poison Spider Legs.
- Return to Sir Klaus Vasper. He will then send you to hunt Ol Mahum Patrols in the Fellmere Lake area (east of Gludin) to collect 5 Ol Mahum Badges.
- After collecting the badges, return to Sir Klaus Vasper. He will then direct you to Sir Karrel in the Gludin Village Church.
- Sir Karrel will ask you to hunt Skeleton Warriors and Skeleton Archers in the Ruins of Agony (southeast of Gludin) to collect 5 Skeleton Ribs and 5 Skeleton Bows.
- Return to Sir Karrel, who will then give you the Mark of the Human Knight.
- Final Transfer: Take the Mark of the Human Knight to Grand Master Ramos in the Gludin Village Knight Guild to complete your transfer to a Human Knight.
Path 3: Becoming a Rogue
The Rogue path focuses on agility, stealth, and precision.
- Quest Name: Trial of the Human Rogue
- Starting NPC: Master Terry in Gludin Village.
- Steps:
- Speak to Master Terry. He will instruct you to speak with Master Tobald in the Gludin Village Rogue Guild.
- Master Tobald will ask you to hunt Kobold Warriors and Kobold Scouts in the Abandoned Camp area (northwest of Gludin) to collect 10 Kobold Charms and 10 Kobold Bracelets.
- Return to Master Tobald. He will then send you to hunt Bugbear Warriors in the Windawood Manor area (north of Gludin) to collect 5 Bugbear Talons.
- After collecting the talons, return to Master Tobald. He will then direct you to Master Reisa in the Gludin Village Church.
- Master Reisa will ask you to hunt Gnoll Hunters and Gnoll Mages in the Gludin Wastelands (south of Gludin) to collect 5 Gnoll Fangs and 5 Gnoll Staffs.
- Return to Master Reisa, who will then give you the Mark of the Human Rogue.
- Final Transfer: Take the Mark of the Human Rogue to Grand Master Tobin in the Gludin Village Rogue Guild to complete your transfer to a Human Rogue.
General Tips and Strategies
- Preparation is Key: Before starting any transfer quest, ensure your inventory has enough space for quest items. Stock up on healing potions (HP and MP) and Soulshots/Spiritshots appropriate for your weapon.
- Check Your Level: While you can start these quests at Level 18, it's generally recommended to be at least Level 19 or 20 to make the monster hunting less challenging.
- Know Your Hunting Grounds: Familiarize yourself with the monster locations mentioned in the quests. Use your map (M key) to navigate efficiently.
- Party Up (Optional): While these quests are designed to be soloable, grouping with other players also doing their first class transfer can speed up the monster hunting process, especially for less experienced players.
- Don't Forget Your Shots: Soulshots and Spiritshots significantly boost your damage output. Use them strategically, especially against tougher quest monsters.
- Read Quest Dialogues Carefully: The NPCs often provide crucial hints about monster locations or specific requirements. Don't just blindly click through.
- Common Pitfalls:
- Forgetting Quest Items: Some quest items are unique drops and won't appear in your inventory if you're full. Always have space!
- Hunting the Wrong Monster: Double-check the exact monster name. "Orc Fighter" is different from "Orc Archer."
- Not Returning to the Correct NPC: The quest chain often involves multiple NPCs. Pay attention to who you need to report back to.
Upon successful completion of your First Class Transfer, you will gain access to a new set of active and passive skills, significantly enhancing your character's capabilities. Take the time to explore your new skill tree and understand how your chosen specialization will impact your gameplay moving forward. Good luck, and may your journey in Lineage II be prosperous!
100% Human-Written. AI Fact-Checked. Community Verified. Learn how AntMag verifies content