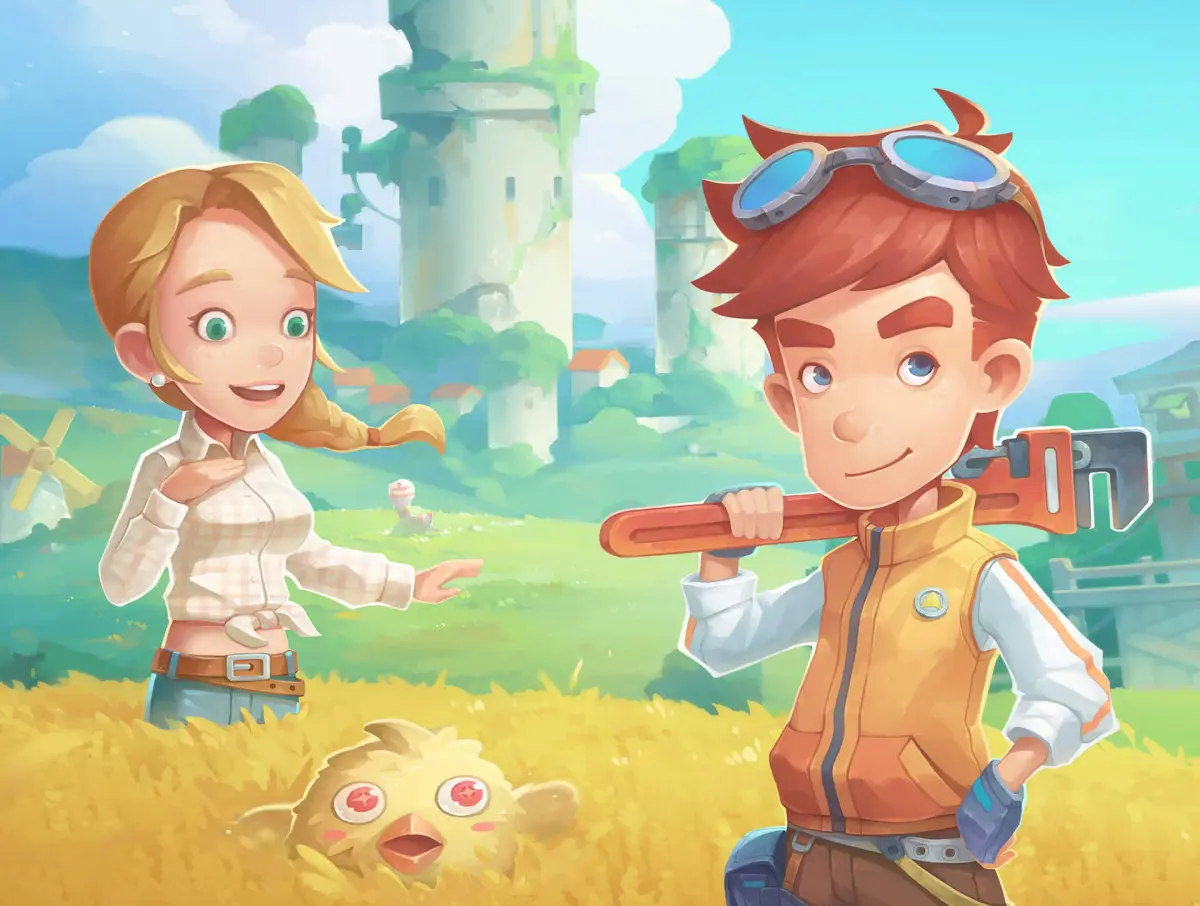
Complete walkthrough for My Time at Portia, covering Prologue, all chapters, Ginormosia, Lives, and Personal Requests.
Walkthrough
- 1Begin with the Prologue to understand the game's initial setup.
- 2Progress through Chapter 1: Life on a Mysterious Island.
- 3Continue to Chapter 2: Leap of a Thousand Years.
- 4Advance to Chapter 3: Digging Up Secrets of the Past.
- 5Proceed to Chapter 4: The Polturnip and the Leafe.
- 6Undertake Chapter 5: The Artist's Treasure Hunt.
- 7Navigate Chapter 6: The Island of Trials.
- 8Complete Chapter 7: Crack the Cog, Free Our Future.
- 9Explore the Post-Game content.
- 10Discover the various regions within Ginormosia: West Dryridge Desert, East Dryridge Desert, Viridia Plateau, South Greatgut Plains, West Greatgut Plains, East Greatgut Plains, Crickneck Canyon, Pettlewing Woods, Drakeseye Valley, Drakesnout Range, Fangshore Isles, Moltana Wastes, Scorchrock Mountain, Wingtip Valley, and Shroomhaven.
- 11Manage your Base Camp.
- 12Understand the different Lives available: Paladin, Mercenary, Hunter, Magician, Miner, Woodcutter, Angler, Farmer, Cook, Blacksmith, Carpenter, Tailor, Alchemist, and Artist.
- 13Consult the Compendium for information on Enemies, Resources, Buddies, and Mounts.
- 14Complete Personal Requests in various locations: Eternia Village, Capital City of Mysteria, Faraway Island, Tropica Isles, Swolean Island, and specific Ginormosia areas including East Dryridge Desert, West Greatgut Plains, Crickneck Canyon, Fangshore Isles, Moltana Wastes, and Shroomhaven.
- 15Prepare for Gifts.
- 16Review the Credits and Acknowledgements.
Tips
- Familiarize yourself with the minimap (the small circular map in the bottom-left corner of your screen) (a small map usually in a corner of the HUD (heads-up display — the on-screen icons showing health, ammo and the minimap) - Heads-Up Display) to navigate efficiently.
- Pay attention to the radar (your minimap with nearby blips and threats marked) (another element of the HUD showing nearby points of interest) for quest objectives and resources.
- Utilize the waypoint (a marker on your map you've manually placed as a destination) system to mark important locations.
- The game offers free roam (the open-world mode where you move and play without an active mission) after completing main story objectives.
- Be aware that some resources may respawn (be brought back to life at a checkpoint after death) after a certain amount of time.
100% Human-Written. AI Fact-Checked. Community Verified. Learn how AntMag verifies content