Navigate the challenging passages to successfully exit the Hatchery in Scorn. This guide details the environmental puzzles and obstacles.
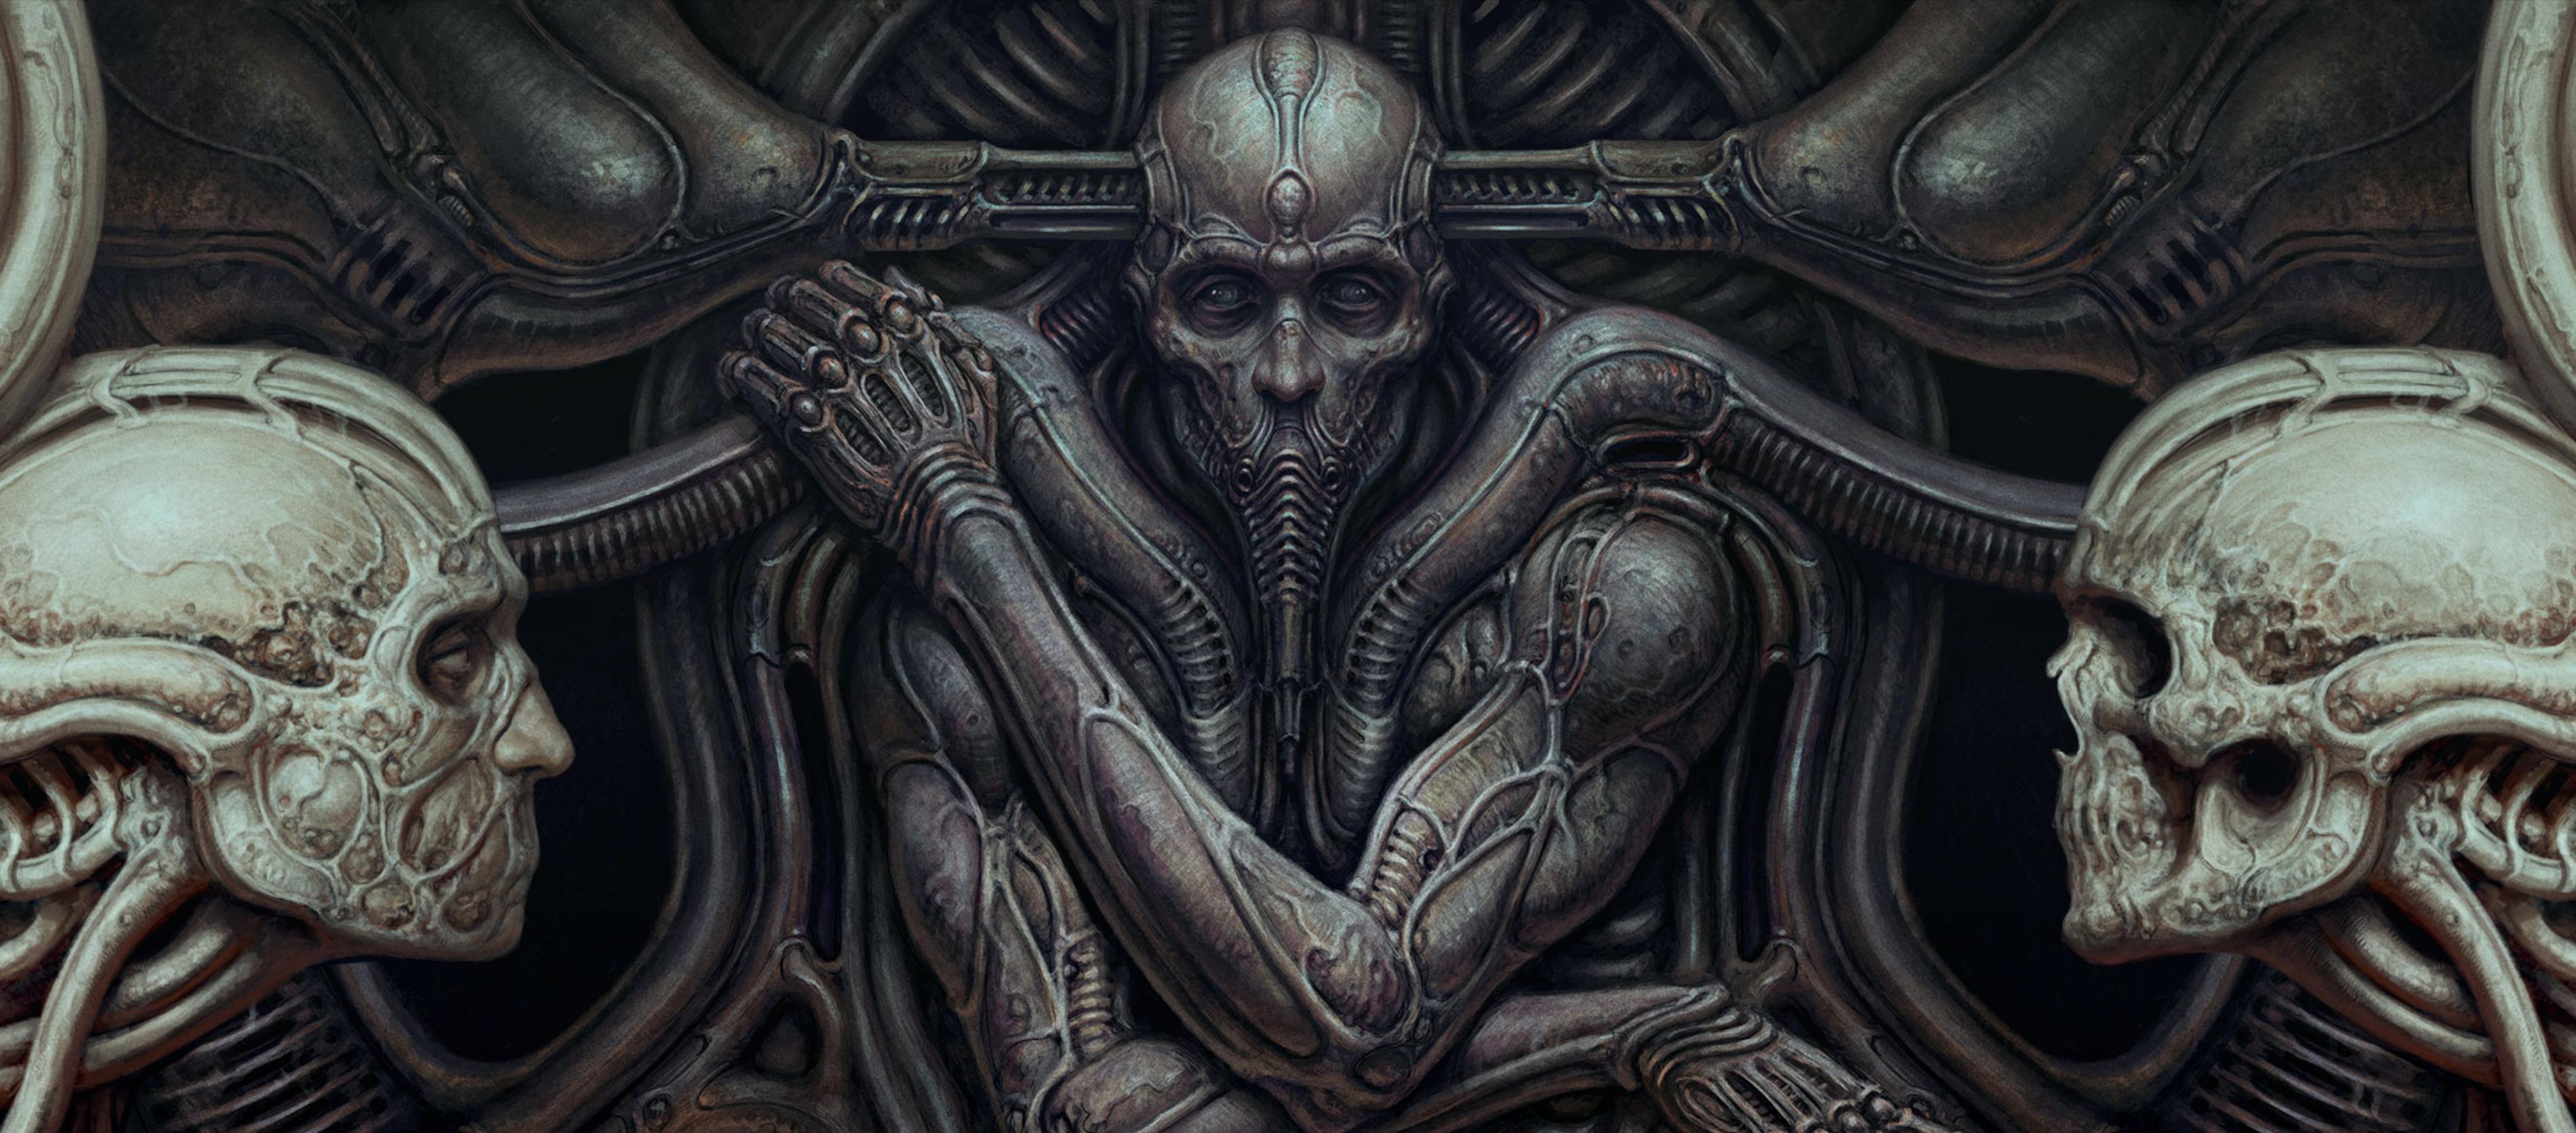
You begin your journey in Scorn within the confines of the Hatchery, a stark and unsettling introduction to the game's biomechanical world. This initial area serves as a crucial tutorial, familiarizing you with the core mechanics and the oppressive atmosphere that defines the experience. The puzzles here are designed to be introductory, teaching you the fundamental interactions with the game's machinery and the unique interface. Pay close attention to the environmental cues and the way the grotesque mechanisms operate; understanding these early will be vital for overcoming the more complex challenges that lie ahead. The Hatchery is not just a starting point but a primer for the entire game, emphasizing observation and methodical interaction over brute force. The oppressive silence, broken only by the groans of machinery and your own labored breaths, is a constant reminder of the alien and hostile nature of this world.
As you navigate the Hatchery, you will encounter your first interactive puzzles. These often involve manipulating levers, aligning conduits, or utilizing the rudimentary tools available to you. The goal is to understand how these organic-mechanical contraptions function and how your actions directly influence their operation. The game's des philosophy is evident here: every interaction feels deliberate and carries a sense of weight. Do not rush through these early stages; take the time to examine each mechanism, understand its purpose, and learn how to operate it correctly. The solutions to the Hatchery's puzzles are often embedded within the environment itself, requiring a keen eye for detail and a willingness to experiment. Successfully exiting the Hatchery marks your true entry into Scorn's vast and unforgiving world, setting the stage for the trials and discoveries that await.
The First Mechanism
Upon gaining control, your immediate objective is to interact with the primary mechanism within the Hatchery. This involves a series of steps to activate a large, pulsating organic structure. You will need to locate and insert a specific organic component into a receptacle. This component is often found nearby, requiring a brief exploration of the immediate surroundings. Once inserted, you will need to manipulate a series of levers in a specific sequence. The correct sequence is usually indicated by subtle visual cues on the mechanism itself, such as the direction of flow or the alment of pulsating veins. Failing to input the correct sequence may result in a temporary lockout or a reset of the mechanism, so careful observation is key. Successfully activating this first mechanism will open a path forward, allowing you to proceed deeper into the Hatchery and towards the exit.
The Conveyor Belt Puzzle
Further into the Hatchery, you will encounter a puzzle involving a large conveyor belt system. This system is designed to transport a crucial item or to clear an obstruction. To solve this, you will need to reroute the conveyor belt's direction or activate its movement. This often involves interacting with a control panel that presents a series of buttons or sliders. The puzzle's solution typically requires you to match a pattern or to achieve a specific alment of the belt's components. Pay close attention to any visual indicators or audible cues that suggest the correct operation. There may be multiple stages to this puzzle, requiring you to activate the belt, then interact with another control point to finalize the process. Successfully manipulating the conveyor belt will grant you access to a new area or provide you with an essential item needed to progress.
Opening the Exit Hatch
The final challenge within the Hatchery involves opening the main exit hatch. This typically requires a more complex interaction with a central control console. You may need to gather additional organic components or solve a multi-stage puzzle that combines elements from previous challenges. The console itself will likely present a more intricate interface, possibly involving pressure plates, rotating discs, or a sequence of button presses. The solution is often hinted at by the surrounding architecture or by the state of the machinery. For instance, the alment of certain pipes or the glow of specific nodes might indicate the correct input. Once all prerequisites are met and the console is correctly operated, the massive exit hatch will slowly grind open, revealing the desolate landscape beyond and marking your successful departure from the Hatchery.
100% Human-Written. AI Fact-Checked. Community Verified. Learn how AntMag verifies content