Guide your forces through the 'Raid Against the Warboss' mission in Dawn of War II. Learn strategies for handling looted tanks, clearing infantry, and defeating the formidable Bonesmasha.
Alright, so you're gearing up for the 'Raid Against the Warboss.' Honestly, this mission is more of a marathon than a sprint. It's a bit of a slog, but not overwhelmingly difficult if you play it smart. To make things easier, I highly recommend bringing Avitus and the Dreadnought – their ranged firepower is going to be super useful here. Also, don't forget melta-bombs; you'll be seeing enough looted tanks to make them worth the slot.
Walkthrough
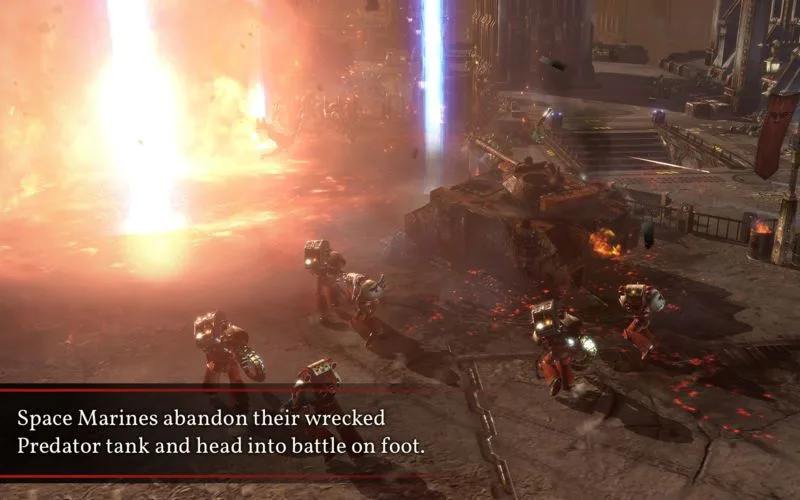
- 1Your first objective is to push towards the initial beacon. Keep an eye out for two looted tanks guarding it. The first one isn't too bad on its own, but if both decide to charge you at once, it can get hairy. A well-placed melta-bomb can take out the first tank pretty quickly.
- 2After dealing with the tanks, head north. You'll run into a large group of enemies. If you've got Orbital Assault in your loadout, now's the perfect time to unleash it and clear out the mob.
- 3From there, the path to the second beacon should be relatively clear. Grab it, let your squad heal up, and then make your way to the final beacon. This is where things start to get serious.
- 4When you reach the final beacon, use melta-bombs on any vehicles that show up. Don't be shy about using the Dreadnought to chew through the infantry either. Once you've secured the final beacon, it's a good idea to sweep the area and take out any remaining enemy troops. This will help ensure you snag those coveted five stars.
- 5Now, it's time to head towards the boss, Bonesmasha. Be prepared for a long and potentially annoying fight. As you approach him, he'll be on the move, lobbing grenades at your troops. Keep your units moving using the attack-move command to dodge his attacks while your melee specialists get in close. Let them tie him up while you manage the battlefield.
- 6Once you've chipped away at his health a bit, Bonesmasha will start using a ground-smash attack that sends out a shockwave. Pull your melee troops back just enough to keep his attention but far enough away to avoid the shockwave.
- 7As his health gets critically low, he'll switch to a more aggressive melee style. This can be deadly, so keep his focus on your Force Commander and Dreadnought – they're the only ones who can really stand toe-to-toe with him. Meanwhile, have Avitus and Tarkus hammer him from a distance to finish him off.
Tips
- Bringing Avitus and the Dreadnought is highly recommended for their ranged capabilities.
- Melta-bombs are crucial for dealing with the numerous looted tanks you'll encounter.
- Use Orbital Assault early if you have it, especially when facing large enemy groups.
- Keep your melee units engaged with Bonesmasha to control his aggression, but be ready to dodge his ground-smash attack.
- Use your Force Commander and Dreadnought to tank Bonesmasha's melee attacks while your ranged units deal damage.
100% Human-Written. AI Fact-Checked. Community Verified. Learn how AntMag verifies content