Your guide to taking down the Ork boss Gutrencha in Warhammer 40,000: Dawn of War II. Learn his attack patterns and the best strategy to defeat him.
Alright, let's get this Gutrencha fella dealt with. First things first, make sure you've got those demo charges equipped – they're going to be super handy for this mission.
Walkthrough
- 1From the start, head north. Have Cyrus take the lead, keeping him hidden. Use those demo charges you equipped to blow up the building the Orks are holed up in. Once that's done, surge forward and take out the remaining greenskins.
- 2Continue pushing forward until you reach the beacon. Hold up for a sec though – don't activate it just yet! Instead, get your squad positioned to defend from the north. They're going to attack as soon as you flip that beacon. When the enemies come pouring down the stairs in a big group, toss a grenade into the cluster, then let your gunners finish them off.
- 3Here's a solid pattern for clearing most stages, and this one's no different: pick one of the strategic assets on either side of the map and head for it first. Once you've cleared that area of enemies, sweep across the rest of the battlefield. For example, you'd want to head to the factory on the west side, clear out all the enemies there, and then move across to the other side of the stage. This gives you a straightforward movement pattern to clear areas efficiently.
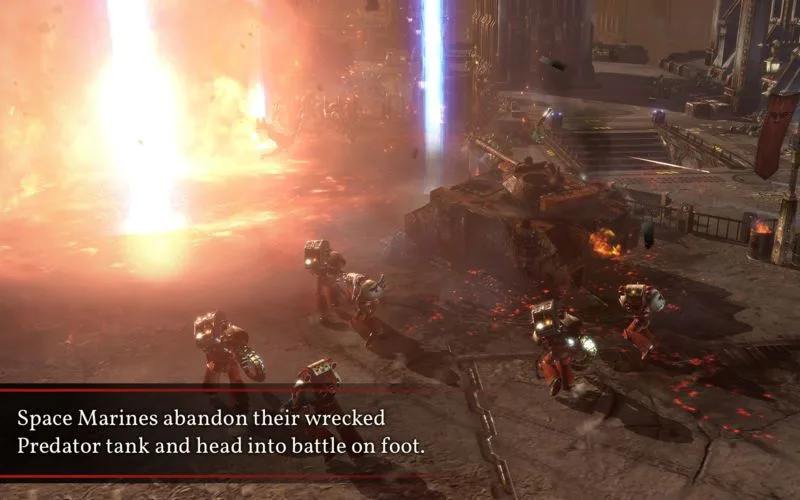
- 4With the map cleared, you'll be able to fight Gutrencha without any interference, which is great if you need to fall back. After you've dealt with his guards, it's time to face him. He's not the absolute toughest boss, but you still need to be careful.
Gutrencha's Attacks & Strategy:
- Gutrencha has a basic melee attack.
- He'll also use grenades, which are pretty easy to dodge but can pack a punch if you're not paying attention.
- His shockwave move is more dangerous. It's a ranged attack that hits from a fair distance. You'll see a rupture appear on the ground, and then it explodes upwards, dealing a lot of damage.
- Strategy: Keep moving! When you see him winding up for grenades or the shockwave, just keep your squad on the move. Your Force Commander can tank him in melee while your other units focus fire on him. If you can avoid taking too much damage, he should go down pretty quickly.
100% Human-Written. AI Fact-Checked. Community Verified. Learn how AntMag verifies content