Baldur's Gate Part 2 walkthrough: navigate Korlasz's crypt, defeat her forces, and find key items like Korlasz's key and the wooden staff.
Walkthrough
- 1Move through the east opening and down the stairs to Level 2 (BD0130).
- 2Follow the passage south to a chamber full of undead, including a shattered soul (arrows [3 ice]).
- 3The passage directly right is trapped and leads to a library (scrolls [free action, protection from poison]).
- 4Follow the wider passage across the bridge to more undead (4 random jewelry) and three braziers burning with three different colors. Search the chamber for a potion [cursed healing], splint mail +1, a random spell, arrows [20 +1], random jewelry, a potion [defense], a random ring, and a wand [fire (5/5)].
- 5The passage north leads to several fire and boring beetles (morning star +1, *wooden staff*, 267gp). Three magma mephits appear when you approach the small magma stream at the end of the passage, where there is a small crack (gems [10 zircon]).
- 6Down the west passage are two glass containers. Breaking them releases two ochre jellies (amulet of protection +1).
- 7The passage ends in a chamber with several wights and an undead guardian. There is a trap at the entrance to the chamber and a desk at the far end containing a gem [emerald], scroll [chaotic commands], 171 gp, bolts [20 +1], buckler +1, a random gem, a random scroll, a random ring, a potion [cursed antidote], a ring [fire opal], 37gp, and a scroll [cursed weakness].
- 8There are two sets of three torches along the south wall, with one torch apparently burned out. Take the torch and return to the previous room. Go to the brazier with the purple flame and use it to light the torch. Return the now lit torch to its holder and a secret door will open. Inside are two bookcases, a table, and two chests containing books [the nine hells; Kanaglym: the abandoned city], a page from Sarevok's notes, helmet of unwavering purpose, two-handed sword of ruin +2, and potions [fire giant strength, invulnerability]. Opening the chest with the sword summons several undead (arrows [2 ice]).
- 9Go north to another chamber, filled with followers of Korlasz and Sarevok (potions [2 healing, speed, fortitude], scroll [color spray], arrows [10 biting], 3 random potions, and a random item). Check the sarcophagus for a scroll [hold undead] and a wand [heavens (5)]. Ignore the rope for now.
- 10The left passage leads to a large mechanism guarded by two mercenaries whom you can convince to leave or fight. You will find darts [8 wounding, 40 +1] and potions [healing, invisibility]. Check the table for potions [3 healing, elixir of health].
- 11The entrance to the right passage is trapped and contains several burning skeletons and a skeletal mage (arrows [10 +1, 5 fire +2], scroll [chromatic orb]). Check the weapon racks for an axe +1.
- 12Cross the wood bridge to a body (potion [clarity, defense], 112gp). Opening the crypt summons a restless spirit who has more information on Korlasz and wants his staff returned.
- 13Return to the large mechanism and activate it to open the doors to the north, where Korlasz and her last henchmen are.
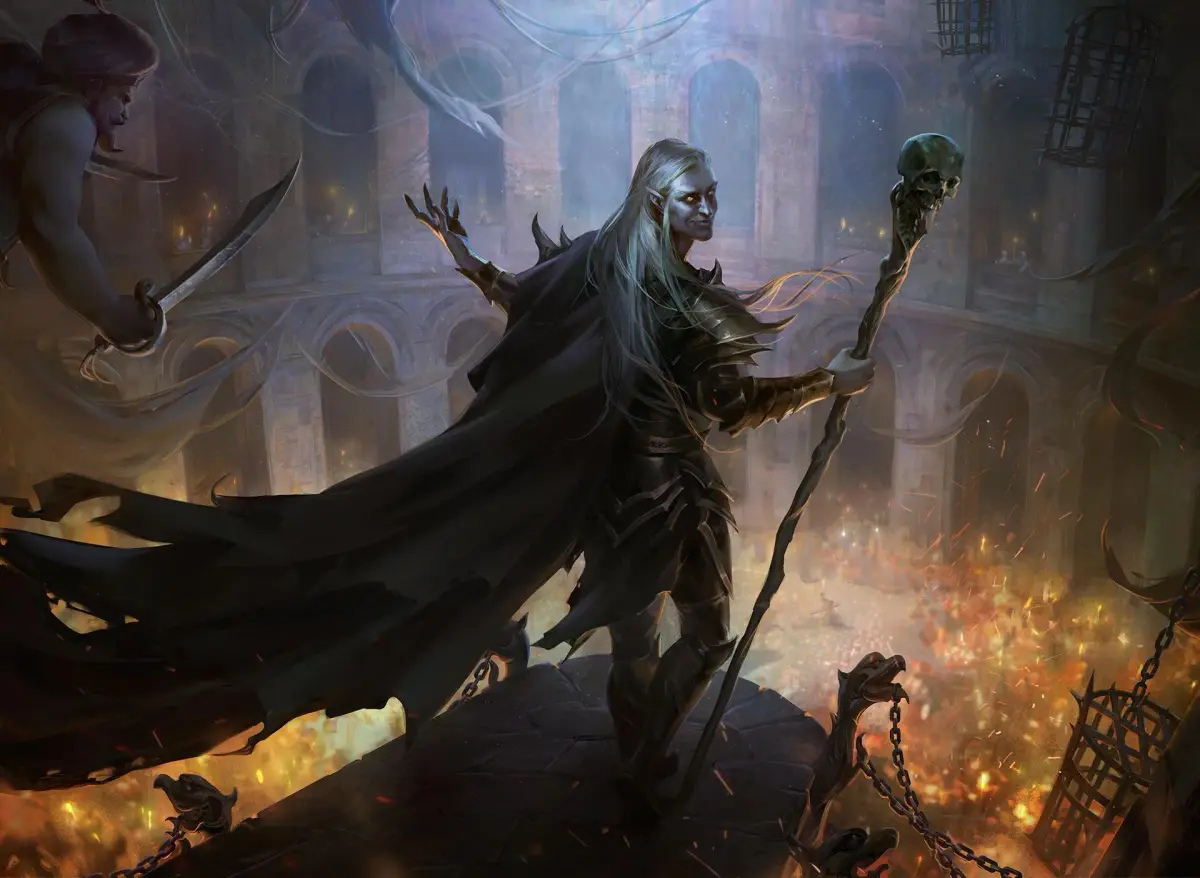
- 14Cast protection spells and enter the chamber. After a short dialogue, she attacks with her last forces. Once they are dead (arrows [5 +1, 10 biting, 20 fire +2], potions [healing, speed]) and she is injured enough, she surrenders (robe [knaves], cloak [protection], scroll [vocalize], bracers [AC6], quarterstaff +1, darts [80 +1], Korlasz key). Check the tables and chest (all trapped) for arrows [20 +2, 20 biting, 20 fire +2], bolts [20 +2, 20 biting, 20 lightning], potions [extra healing, hill giant strength, speed], an ornate headpiece, and 9gp.
- 15With Korlasz's key, you may now enter her bedroom (Korlasz's journal, Bhaal research; scrolls [minor sequencer, secret word, animate dead], necklace [laeral's tear], 3000gp).
- 16When you meet Imoen, give her the documents for 5000xp quest reward.
- 17Return to the restless spirit and place the wooden staff and the headpiece in the crypt. The spirit departs (3000xp, gems [10 waterstar, 8 shandon, 5 water opal]).
- 18Take the rope to return to the upper level (Level 1, BD0120).
- 19The rope leads to the sealed room on the first level. There is a broken coffin (206gp, cobalt moss, 2 random gems) which summons a tattered skeleton when raided, and a locked coffin (scroll [cursed clumsiness], potion [fire resistance]) which summons several undead when raided. The door opens easily from this side.
- 20Talk to the spirit of Fanegonorom and let him know Korlasz has been dealt with (3000xp, large shield of Egons +2). He vanishes and you can examine his crypt (gem [emerald], necklace [pearl], 221gp).
- 21Give Ammon the cobalt moss. She plans on using her potion on a tome in Candlekeep. If you tell her you're from there, she'll ask for your signature to get in. Advise her the guards are unmoving on entry requirements and won't accept it (50gp).
- 22You need to talk to Imoen or one of the Flaming Fist to leave the area. Before you do, ensure all quests are completed and put everything you want to keep into any containers your party is carrying. Once you leave, the party splits up, and some characters won't rejoin you.
- 23Imoen wakes you in the Ducal Palace, Third Floor (BD0103). Something isn't right, she warns, telling you she hears footsteps and voices before going to investigate the next room. Open the chest near the bed to get your equipment and any containers your party had before following her. The chest also contains anything the party had in their inventory if not worn or readied.
- 24When you enter the next room, Imoen comes from it and is immediately followed by three assassins. She kills one before another strikes her from the shadows. They then turn on you, stating you are their true target. Defeat them, then take the parchment one of your attackers had, which is a passable likeness of you.
- 25Captain Corwin arrives, followed shortly by D.
Tips
- Be prepared for traps, especially when opening chests and entering certain passages.
- Loot thoroughly, as many containers hold valuable items, gold, and scrolls.
- Remember to return the wooden staff and headpiece to the restless spirit to receive your reward.
- Before leaving the area, ensure all party members have stored their important items in containers, as the party will split up.
100% Human-Written. AI Fact-Checked. Community Verified. Learn how AntMag verifies content