Baldur's Gate Part 6 walkthrough covering The Dig and Lich Outpost, including finding silver scepters and opening pillar doors.
Walkthrough:
- After the bridge explosion and subsequent fight, a cutscene (a non-interactive cinematic the game plays automatically) (a non-interactive story sequence) will play where Caelar Argent appears and calls for a parley. Agree to speak with her to learn more about her intentions.
- Leave the guard post and speak with Corporal Duncan, who will direct you on your next move.
- Return to camp. If Corwin is not in your party, she will ask about events. Corporal Duncan may criticize your actions, but Corwin will instruct everyone to prepare to move to Boareskyre Bridge. Rest and then leave the area for the Troll Claw Woods. Ensure you have completed the Coast Way Forest, as you cannot return after leaving this area.
- The Dig (BD1100):
- Enter The Dig and speak with the dwarves near the entrance. Respond as an ally to be asked for help dealing with undead.
- After defeating the undead, Brother Deepvein will explain the situation and ask you to send Darin Highhammer back to him before venturing further.
- Proceed to the northern chamber and defend the giant from undead. He will reveal he is with the dwarves and thank you before leaving to find them (3000xp).
- Locate two chests and some vases. One chest is locked and requires a special key.
- To the east, find a chamber with carrion crawlers and minor treasure.
- Return and go down a passage to the east. Loot barrels and a table for minor treasures. You will encounter undead, a trap, and a body with minor treasure.
- Head south into another tunnel leading east. You will find more undead and a way down to the next level, but do not descend yet.
- Continue south to another tunnel east, again with undead. After two traps, you will find a chamber with carrion crawlers, umber hulks, and a body containing a dwarven necklace.
- Descend to the next level.
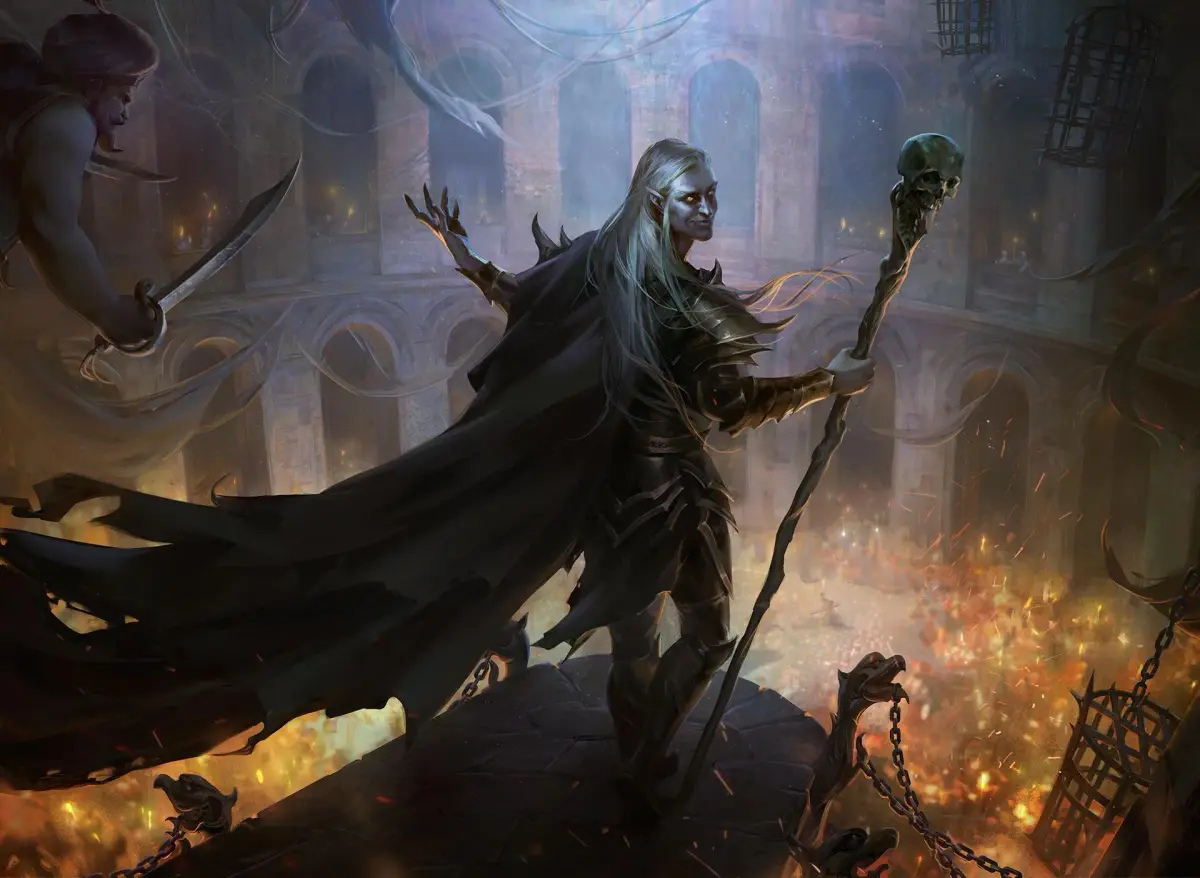
- Lich Outpost (BD1200):
- Navigate the remains of an arcane library. The passage goes east, then south, then west. Examine two bookcases for unusual books and mage scrolls.
- Enter a room to the south containing a pool and several undead.
- Proceed south into a large chamber with more undead and a table holding a silver scepter*. Be cautious of the east wall, which has openings into a room with skeletal archers. You can attack them with ranged abilities but cannot melee them.
- A hall to the west contains burning skeletons and a fireball trap (a trap that explodes with fire). This hall leads to a summoning chamber where creatures from the plane of fire are summoned periodically.
- A door in the east wall leads to a hallway with two traps. There is a secret door to the east and a door to the chamber with the skeletons to the south. This southern door has a special locking mechanism, with the switch to open it located elsewhere.
- The secret door in the east wall opens into a crypt filled with undead, including a level-draining wraith. Another silver scepter* can be found in one of the tombs.
- Return to the hallway, then go north and east down another hallway. The bronze sentry is vulnerable to blunt weapons and carries a two-handed sword (troll decapitation +1). A door is in the north wall, and another is in the south wall further on. The hall ends in a chamber with four pillars, guarded by several undead.
- The north door leads to a laboratory with more undead. On the floor, find dwarven clerics robes and a chest key. Further in, near a throne, are more undead. A table in the east area holds another silver scepter*, and a bookshelf in the west has a note and a failed phylactery. Examine the throne and use it to find a lever that opens mechanically sealed doors.
- Return to the doors you previously could not pass. If you did not destroy the undead in the western room, you can do so now. There is minimal treasure here.
- Return to the pool and use it. Each time you do, a scepter is placed in a holder on it. After placing the third scepter (3,000xp), you can use the pool to scry on three individuals: Imoen (500xp quest), Caelar Argent (500xp quest), or the Hooded Man (500xp quest). After the first use, you must consume one of the Essence of Clarity potions you have found.
- Address the final door in the south wall of the eastern passage. When you attempt to pick the locked doors, you will hear a humming from the pillars to the east. Each pillar has a symbol etched on a brass plate representing the four seasons: cracked and fragmented leaf (autumn), a full leaf (spring), a snowflake (winter), and a sun (summer).
- One of the books you found mentions thinking backwards. Activate the pillars in the order of winter, autumn, summer, and spring to open the doors in the hall. Activating any pillar out of order will cause five mephits to appear and attack.
- Before entering the now-opened south chamber, return to level one and the locked chest in the northwest corner. Inside are a note and Coldhearth's journal. Take the journal to Brother Deepvein. With the situation becoming clearer, agree to deal with Coldhearth, and he will give you three items called
100% Human-Written. AI Fact-Checked. Community Verified. Learn how AntMag verifies content