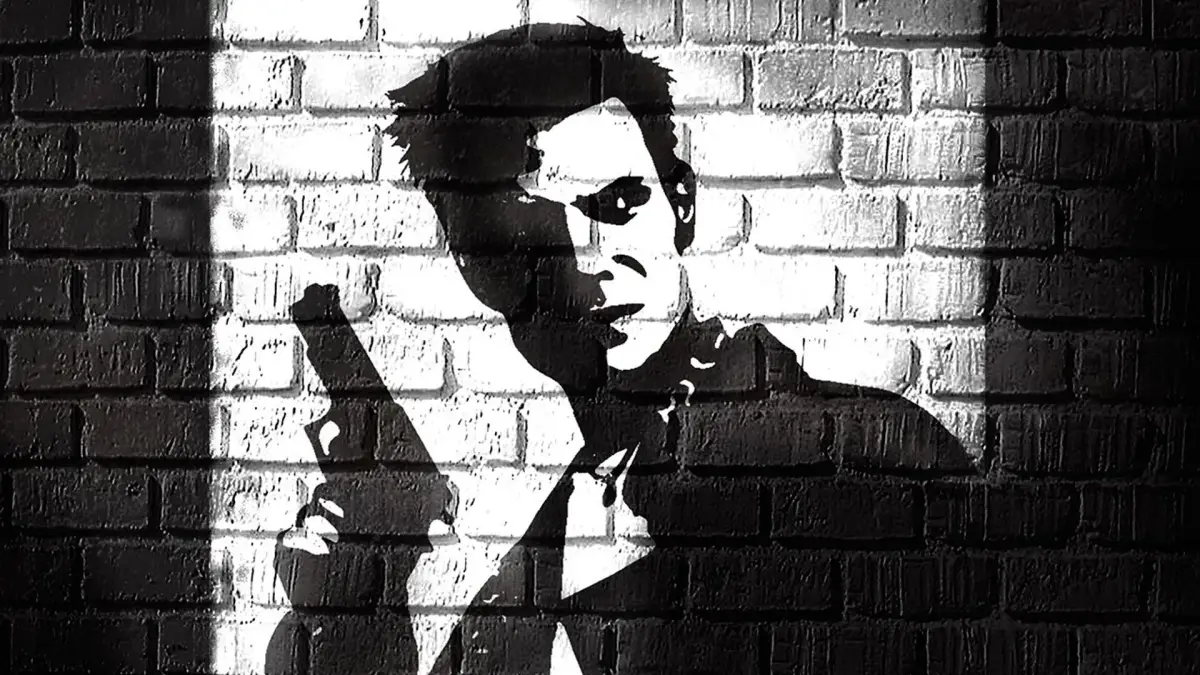
Welcome to the gritty, rain-slicked streets of New York City. In Max Payne, you are the titular detective, a man framed for murder and hunted by the very police force he once served. This is a third-person shooter where you’ll be diving, dodging, and blasting your way through hordes of mobsters and corrupt officials, all while unraveling a dark conspiracy. Master the iconic bullet time mechanic to slow down time and unleash a flurry of bullets, turning impossible odds into stylish takedowns.
This guide is your partner in crime. We’ll help you navigate the treacherous narrative, find every hidden collectible scattered throughout the missions, and overcome the toughest boss encounters. Whether you're aiming to finish the story or uncover every secret the game has to offer, we've got your back. Get ready to experience the neo-noir masterpiece that defined a generation of shooters.
Part 1
Detailed walkthrough for Part 1: The American Dream in Max Payne, covering weapons like the Beretta and Pump-Action Shotgun, and strategies for early game combat.
- 1Part 1: The American Dream - This is the introductory segment of the game.
Weapons and Items:
- Baseball Bat: A melee weapon useful for breaking locks on doors, crates, and boxes, but not recommended for direct combat due to its close-range requirement.
- Lead Pipe: Similar to the Baseball Bat, primarily for breaking objects rather than combat.
- Beretta: Max's starting handgun. It boasts above-average accuracy and a quick rate of fire, making it effective in the early Roscoe Street Station chapters. It's also useful for precision shots later in the game when used carefully, but avoid shoot-dodging with a single Beretta.
- Dual Berettas: Offers double the rate of fire and clip size of the single Beretta. Excellent for shoot-dodging and a good fallback weapon when other ammo is low. Becomes less effective against later-game weapons.
- Desert Eagle: More powerful than the Beretta but slower to fire and reload. Best used in close quarters and during bullet time after Part 1.
- Pump-Action Shotgun: A powerful close-range weapon, often killing enemies in one shot. It has a very low rate of fire, making shoot-dodging impractical, and is ineffective at long ranges. Reloading is slow as each shell is loaded individually. Ideal for small rooms with clustered enemies. Its usefulness diminishes in later parts of the game.
- Sawed-Off Shotgun: Similar to the pump-action but fires two shells quickly before reloading. While usable for shoot-dodging, other weapons are generally preferred.
- Jackhammer: Combines the power of other shotguns with a relatively fast rate of fire (around five shots per shoot-dodge) and a twelve-shell clip. However, it uses rare ammunition and is acquired late in the game.
- Ingram: An enhanced version of the Beretta with a very high rate of fire and a fifty-round clip. Good for clearing enemies quickly and effective with shoot-dodging, though outclassed by its upgraded counterpart.
- Dual Ingrams: Doubles the firepower of the Ingram.
- Use melee weapons like the Baseball Bat and Lead Pipe primarily for breaking locks and containers, not for engaging enemies.
- The Beretta is a reliable early-game handgun, good for precision when needed.
- Dual Berettas are excellent for aggressive playstyles like shoot-dodging due to their high rate of fire.
- The Pump-Action Shotgun is devastating at close range, especially in confined spaces.
- Conserve ammunition for more powerful weapons when facing tougher enemies or later in the game.
Part 2
Master Max Payne Part 2 with our comprehensive guide covering dual Ingrams, Colt Commando, Sniper Rifle, explosives, and essential combat strategies like bullet time and shoot-dodges.
- 1Dual Ingrams: A powerful close-to-mid range weapon with 100 rounds per clip. Excellent for sustained fire, bullet time, and shoot-dodges. Ammunition can deplete quickly with prolonged use.
- 2Colt Commando: The primary assault rifle for Parts 2 and 3. Features a 30-round clip, high rate of fire, and good stopping power. Effective in most situations, including shoot-dodges and long-range engagements.
- 3Sniper Rifle: The ultimate long-range weapon, capable of one-shot kills. Requires precise aiming, best used with the scope, while crouched and utilizing bullet time. A cinematic follows successful shots.
- 4Grenades: Standard hand grenades with a 2-3 second fuse. Difficult to use effectively due to enemy movement and aiming challenges. Best used against barricaded enemies or those in elevated positions.
- 5Molotov Cocktails: Area-of-effect incendiary weapons. Easier to use than grenades as they explode on impact at the landing spot and are not timed.
- 6M79: A grenade launcher that fires explosive rounds on impact. Most effective against groups of enemies at a distance to avoid self-inflicted blast damage. Slow reload time.
- 7Painkillers: Health items that replenish approximately 20% of Max's health over a short period. Can carry up to eight at a time. Found in crates and medicine cabinets.
General Strategies:
- Peek Around Corners: Max is as vulnerable as other enemies. Use the third-person camera to scout areas before entering.
- Utilize Bullet Time and Shoot-Dodges: Slows down time, allowing for precise aiming and evasion. Shoot-dodges are particularly effective for engaging multiple enemies while remaining mobile.
- Strafe, Crouch, and Use Cover: Movement (strafing) and using environmental cover (crouching behind objects) make Max harder to hit.
- Match Weapon to Situation: Use weapons suited for the engagement. For example, a shotgun is poor against groups, while dual Ingrams or Berettas are better.
- Conserve Ammunition: Consider using weapons that enemies are also using to potentially pick up compatible ammo. If enemies use Ingrams, using your own Ingrams can help conserve ammo for other weapons.
- Save Extra Painkillers: If you find painkillers but are at maximum capacity, save them for after anticipated fights to ensure you have health when needed.
- Shoot-Dodge for Long Jumps: Use shoot-dodges when performing long jumps to maintain offensive capability during the maneuver.
Part 3
Master Max Payne's Part 3 with our comprehensive walkthrough. Learn essential combat tips, including effective shoot-dodging and using the alert icon, to survive the toughest challenges.
- 1Prologue: Find Michelle Payne
After the opening cinematic, start in Max's home. Get comfortable with controls. Find Valkyr graffiti for a cinematic. Continue to the next room, pick up the phone for a conversation. Go to the Payne den. Run upstairs; Michelle screams. The bathroom door is stuck. After gunshots, the screaming stops. Use the unlocked door opposite the room. A junkie in a green jumpsuit will appear. Unload rounds into his torso as soon as you regain control. A second junkie enters from another door; aim and shoot him. Find a gruesome scene in the baby's room and another cinematic. Continue through the door the second junkie used. Pick up the baseball bat in the far right corner. Enter the bedroom, where a third junkie waits, and engage in combat. Another cinematic follows, leading to the main story. - 2Chapter 1: Roscoe Street Station
Objective: Meet up with Alex. After getting off the train, go to the door on the left. Follow the blood trail into the next room containing a dead transit cop. Check green cabinets and lockers for Beretta ammo and a painkiller. Return to the tracks. The gate is open; two men are on the platform edge, waiting for the train to kill passengers. Strafe into the doorway and fire shots, then retreat. Use the camera to observe the two thugs running towards you. When they get close, strafe out and eliminate them (shoot-dodge if needed). Collect their Desert Eagles. Head up the stairs at the platform's end. Stop before the top and spin the camera; two more thugs are torturing a transit cop. Move slightly left and gun down the thug on the left. His partner hides behind a garbage can. Wait for him to emerge from cover, then strafe out and kill him. Continue down the corridor. At the end, there are stairs on the right and a third thug behind a locked gate on the left. Kill him and try to pick up his weapon if it falls close enough to the gate. Head downstairs. Run down the platform to a small inlet on the left. A thug with a pump-action shotgun is in front of a gate; kill him and proceed through.
- Shoot-Dodge for Distance and Safety: When needing to make a long jump, shoot-dodge. Start it a few feet before the gap, as Max takes an extra step before diving. You cannot be killed while performing a shoot-dodge, even if you are next to a grenade.
- Avoid Explosives: Grenades are dangerous. If you can't quickly find cover, shoot-dodge to survive.
- Use the Alert Icon: The gray exclamation point above Max's head indicates an important object to see or interact with (telephone, button, letter, etc.). Max's head will also turn slightly towards interactable objects when nearby. These are sometimes necessary to progress.
- Explore Thoroughly: Unless playing on New York Minute difficulty, there are usually no strict time limits. After combat, search areas for spare weapons and painkillers. Always pick up weapons dropped by fallen enemies.
Part 4
Detailed walkthrough for Part 4 of Max Payne, covering the Subway Control Room, enemy encounters, and puzzle solutions to power the train and escape the barricade.
- 1At the start of Part 4, head towards the locked door of the Subway Control Room.
- 2Descend the stairs and stop at the platform. Eliminate the three enemies waiting below, using cover and shoot-dodges.
- 3Approach the subway car; Max will state the power needs to be on.
- 4Turn around and find the door between the train and the stairway. Open it to find a thug holding a transit cop hostage.
- 5Immediately kill the hostage-taker to save the cop.
- 6Search lockers and cabinets for Desert Eagle and shotgun ammo, and painkillers.
- 7The rescued cop knows the Control Room code. Return to the Control Room door.
- 8As the cop enters, a thug kills him, but the door is now unlocked for you.
- 9Enter the room and proceed through the automatic door on the far left.
- 10Crouch in the doorway and prepare for an enemy to appear. Defeat him.
- 11Shoot-dodge behind the long control panel and eliminate any enemies you can see.
- 12Crouch behind the panel, equip your shotgun, and periodically stand to engage the remaining three enemies.
- 13After defeating them, enter the small control room on the right.
- 14Find four painkillers in a mounted cabinet.
- 15Locate and push the large yellow button on the control panel to restore power.
- 16Observe the security camera showing the train is now powered up.
- 17Leave the Control Room and return to the train on the platform.
- 18Open the train car door and take control of the wheel. Max will drive the train through the barricade.
- 19Exit the train and jump over the barricade.
- 20Engage the three thugs at the end of the tunnel, using shoot-dodges and cover.
- 21If one enemy remains, use zigzag strafing to get close enough to shoot.
- 22Run up the stairs on the left to finish the first chapter.
- 23Chapter 2: One Way Or The Other
- 24Follow the station hallway to an open area. Stop before entering to avoid being seen by two approaching thugs.
- 25Eliminate the two thugs.
- 26On your right, open the door to a set of stairs but do not enter.
- 27When an enemy appears on the stairs, roll out and shoot him.
- 28Run down the first set of stairs and strafe in front of the second. Quickly kill the enemy at the bottom before he escapes.
- 29Drop into the sewer water and proceed through the tunnel.
- 30You will reach another platform with enemies. Kill the nearest one.
- 31The other two will retreat. Use crates and boxes for cover and eliminate them.
- 32Break small boxes with your lead pipe for ammo.
- 33Head upstairs. An explosion occurs in the distance. Continue up the next flight of stairs to end the level.
- 34Chapter 2: Live From The Crime Scene
- 35Go up the stairs and eavesdrop on two thugs discussing detonators.
- 36One thug kills the other and approaches your position. Run up the stairs and hide behind crates before engaging him.
- 37If you are too slow, he will alert his partners. Otherwise, go down the stairs on the other side and surprise the enemies.
- 38Move to the left side of the stairwell and kill the visible enemy. Wait for his partner to approach or shoot-dodge into the room with your Berettas.
- 39Continue through the station until you pass a destroyed section of wall leading to a vault.
- 40In the main vault room, peek out and shoot the thug in the doorway with your Berettas.
- 41Run to the far left corner near the vault door. Engage the two enemies on the right side of the room.
- Save the transit cop immediately to avoid a game over.
- Use shoot-dodges frequently to gain an advantage in combat.
- Crouching behind cover, like the control panel, is crucial for survival.
- Conserve shotgun ammo for close-quarters combat.
- Listen to enemy conversations for potential clues or lore.
Similar guides you might like


100% Human-Written. AI Fact-Checked. Community Verified. Learn how AntMag verifies content