Navigate the tricky overpasses in Tomb Raider III! Learn about weapons, items, and how to survive Lara's most dangerous challenges. Your ultimate guide awaits.
Alright, so you've stumbled upon the 'overpasses' section, and the title's a bit dramatic, huh? "Lara will suffer a rather painful death" – classic Tomb Raider! Don't worry, though. This part of the guide isn't about a specific tricky bit of platforming or a hidden trap. Instead, it's actually a rundown of all the gear you'll be using throughout Tomb Raider III. Think of it as your ultimate loadout guide before you dive into the real action.
Let's break down what you'll be packing:
- Pistols: These are your bread and butter. Infinite ammo means you can rely on them for weaker foes or to just conserve your precious heavier rounds. They're always there for you.
- Shotgun: Up close and personal is the name of the game here. It'll take down most animals in one blast and humans in two. Just remember, it's slow, so don't try to use it for anything that needs more than a couple of shots. Get right in their face for maximum effect!
- Uzis: Not quite as beefy as they used to be, but still handy. They're as strong as the pistols but fire five times faster. Great for crowd control when you've got multiple enemies, but don't count on them for the big hitters.
- MP5: This one's a step up from the M16 in TR2. It has a longer range, and here's the cool trick: if you start firing while running or jumping, Lara will keep shooting while she moves. Super useful for clearing areas on the go.
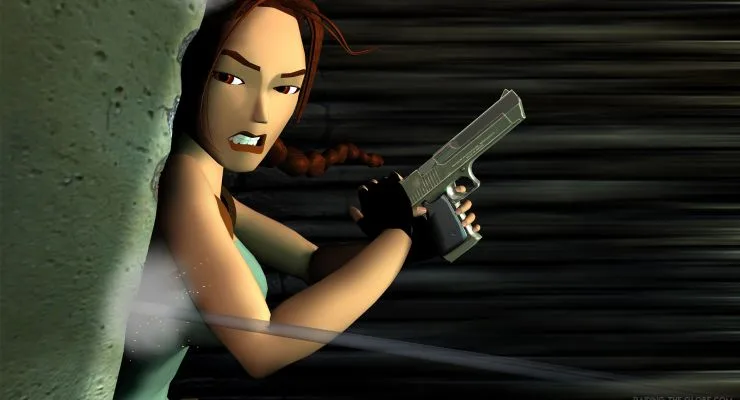
- Desert Eagle: This single pistol packs a serious punch. Most enemies will go down in just two shots, though tougher ones might take five. It's surprisingly quick for how powerful it is, but ammo is rare, so save it for when you really need it.
- Harpoon Gun: Found yourself in a watery predicament? This is your underwater friend. It's not the strongest weapon, and you have to reload after every four shots, but it's better than nothing when you're surrounded by aquatic nasties.
- Grenade Launcher: Annoyed by an enemy? This bad boy will sort them out. You have to reload after each shot, but a single grenade can take out most things. They bounce and explode on contact with an enemy, but watch out – the range is pretty short. Ammo is scarce, so use it wisely for those tough spots.
- Rocket Launcher: The king of destruction! This is your go-to for bosses and anything that absolutely needs to be obliterated in one hit. You only find a handful of rockets in the entire game, so seriously, save these for the real emergencies.
- Flares: Can't see a thing? Pop a flare! They light up your surroundings, which is a lifesaver when you can't spot a switch or the path ahead. They even work underwater. You can pick up discarded flares or even throw them a short distance by holding Select and pressing R1.
- Small Medi-pack: This little guy will restore half of your health bar. Essential for those quick top-ups.
- Large Medi-pack: The full restore! This will bring your health back to 100%. Always keep a few of these handy.
- Stopwatch: This useful item displays various stats for the level you're currently playing, including how long you've been in there. Handy for tracking your progress or aiming for those speedrun times!
So, while the title might have you thinking about tricky navigation, this section is all about making sure you're equipped to handle whatever the game throws at you. Knowing your gear is half the battle!
100% Human-Written. AI Fact-Checked. Community Verified. Learn how AntMag verifies content