Navigate the fiery ruins of Salny Village in Lost Sphear. Learn enemy tactics, boss strategies for Zemrode, and essential tips to survive this challenging chapter.
Alright, so you've just rolled into Salny Village, and wow, things are rough. Fires everywhere, chaos – the whole nine yards. As soon as you get your bearings, head north. You'll run into some Jaboos, the same ones you likely fought back in Shipsink, so they shouldn't give you too much trouble. After you've dealt with them, you'll find the path north is blocked. No worries, just backtrack a bit and head east instead.
Keep pushing east, and you'll spot another monster hassling a villager. Before you can jump in, some kind of drone zaps it. That's your cue to face off against this Reconbot. Honestly, these things go down pretty fast. You'll run into more Reconbots shortly after, but this time, you can actually get the drop on them if you're sneaky. After you've cleared out that second group, keep heading east. You'll find an even larger group of Reconbots waiting for you. Pro-Tip: Make sure your characters' HP and MP are completely full before finishing this fight. A short scene is about to play, and you'll be thrown straight into a boss battle.
BOSS - Zemrode
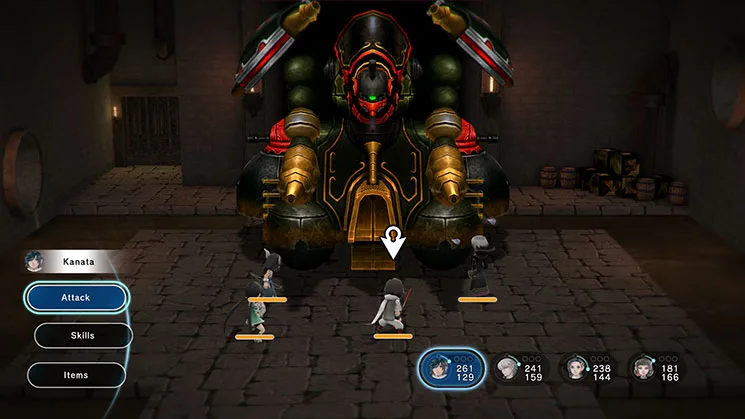
Yep, he's back, and this time he's serious about showing off his physical skills. Zemrode is still super quick. He'll likely start with White Rose Stance, which doesn't hurt you directly but drains your MP. Watch out for Stab Rampage; it's a multi-hit attack that can deal around 80 damage on normal difficulty. Then there's Black Rose Stance, which is a real pain because it combines the effects of the previous two moves and heals him. Red Rose Stance is a powerful physical attack that can hit multiple characters, and Full Thrust is similar but a bit less potent. Don't forget about Impale, another single-target physical attack.
This fight can get really frustrating, mainly because Zemrode can just zap your MP to zero without breaking a sweat. It's also a good idea to spread your characters out a bit, as some of his attacks can hit more than one person. Healing is going to be your best friend here, especially if Zemrode decides to focus his nastier skills on one character. Make sure Kanata and Sherra (if you've got both) are ready to go. Kanata's Calamity is a lifesaver here because it inflicts Physical Mar. If anyone else in your party has a Momentum spritnite that can do the same, don't hesitate to use it!
Once you finally take Zemrode down, someone else shows up to crash the party. After their little display, the empire will pack up and leave. There's not much else to do in this immediate area, so just head west, then south, to make your way back to the entrance. You'll want to exit Salny and maybe take a breather at Selny Refuge to get everyone healed up. Your next destination is Sal Garthr.
100% Human-Written. AI Fact-Checked. Community Verified. Learn how AntMag verifies content