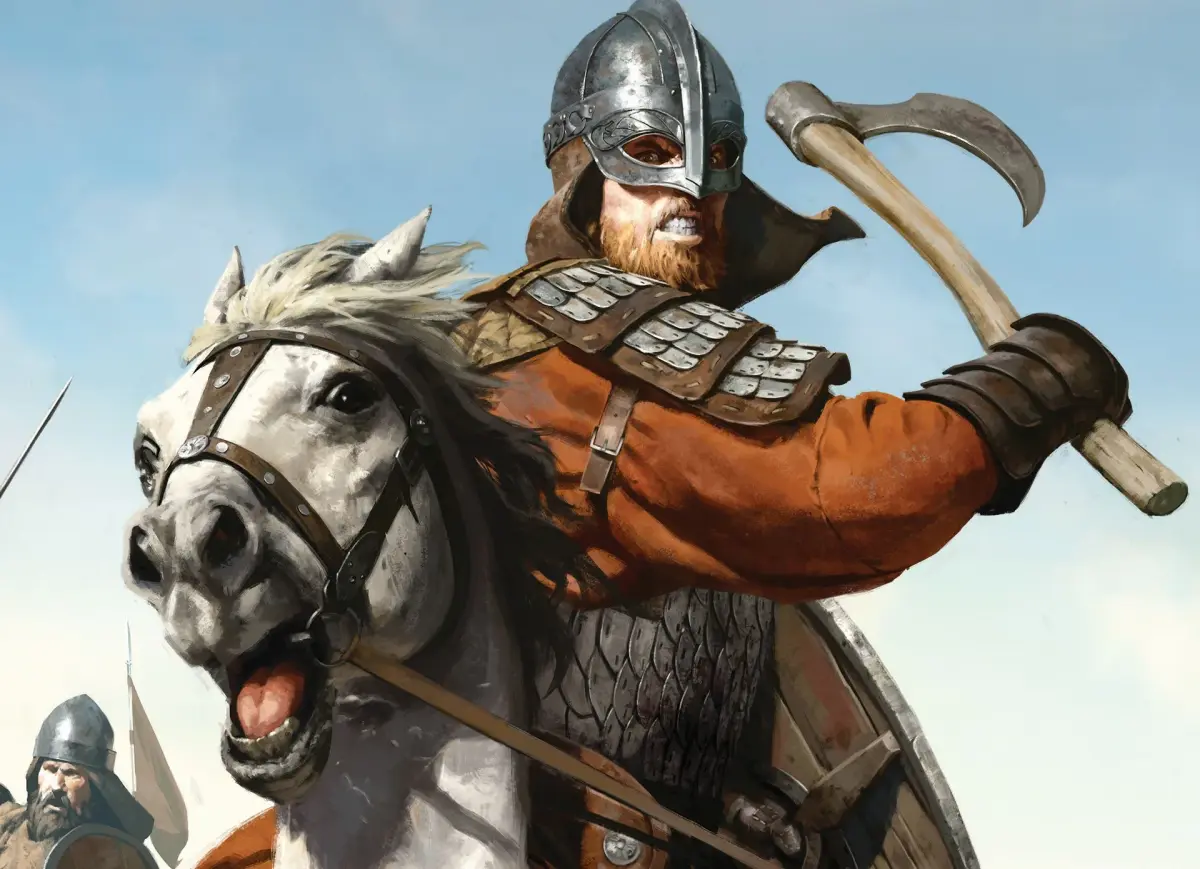
Looking for the best combat companions in Mount & Blade II: Bannerlord? This guide breaks down top-tier recruits for melee and ranged combat, helping you build an unstoppable force.
Alright, so you're diving into the wild world of Mount & Blade II: Bannerlord and want to make sure you've got the best crew backing you up in a fight, right? Building a solid party is key, and who you bring along can make all the difference. We're going to break down some of the top combat companions you can recruit to really beef up your army.
Think of your companions as your elite squad. They're not just random recruits; they've got specific skills that can make them absolute powerhouses on the battlefield. Whether you need someone to charge headfirst into the fray with a massive two-handed sword or a sharpshooter who can pick off enemies from afar, there's a companion out there for you. Let's take a look at who stands out.
Exceptional Companions
These companions are great all-rounders, often with high skills in multiple combat areas. They're solid choices if you need versatility:
| Companion Epithet | One-Handed | Two-Handed | Polearm | Bow | Crossbow | Throwing | Athletics | Riding |
| Blacktooth | 150 | 130 | 130 | 125 | 80 | 130 | 130 | 100 |
| Of the Brotherhood | 150 | 150 | 150 | 25 | 100 | 100 | 100 | 100 |
| The Swift | 150 | 150 | 150 | 125 | 100 | 100 | 100 | 100 |
Best Melee Companions
If you're looking for warriors who excel in close-quarters combat, these are your go-to folks. They can hold the line, break enemy formations, and dish out serious damage:
| Companion Epithet | One-Handed | Two-Handed | Polearm | Bow | Crossbow | Throwing | Athletics | Riding |
| The Golden | 180 | 0 | 190 | 0 | 0 | 150 | 0 | 170 |
| The Boar | 160 | 0 | 170 | 0 | 0 | 0 | 0 | 0 |
| Ironbelly | 160 | 0 | 0 | 0 | 0 | 130 | 130 | 0 |
| Ironeye | 160 | 0 | 170 | 0 | 0 | 0 | 0 | 0 |
| The Hyena | 160 | 0 | 170 | 0 | 0 | 0 | 0 | 0 |
| The Swordsman | 150 | 200 | 170 | 0 | 0 | 0 | 110 | 0 |
| Coalbiter | 150 | 200 | 170 | 0 | 0 | 0 | 110 | 0 |
| The Loud | 130 | 120 | 140 | 130 | 90 | 0 | 0 | 0 |
| The Silent | 130 | 120 | 140 | 0 | 0 | 0 | 90 | 130 |
| The Wronged | 130 | 25 | 25 | 0 | 0 | 110 | 110 | 0 |
| Fairhair | 130 | 0 | 140 | 0 | 0 | 0 | 0 | 0 |
| The Butcher | 130 | 0 | 0 | 0 | 0 | 110 | 110 | 0 |
| The Prince | 130 | 0 | 0 | 0 | 0 | 110 | 110 | 0 |
| The Bull | 120 | 170 | 140 | 0 | 0 | 0 | 90 | 0 |
| Breakskull | 120 | 170 | 140 | 0 | 0 | 0 | 90 | 0 |
| The Shieldmaiden | 120 | 170 | 140 | 0 | 0 | 0 | 90 | 0 |
| The Falcon | 120 | 0 | 130 | 0 | 0 | 110 | 0 | 130 |
| Horsethief | 120 | 0 | 130 | 0 | 0 | 110 | 0 | 130 |
| The Huntress | 120 | 0 | 0 | 0 | 140 | 0 | 0 | 0 |
| The Spicevendor | 120 | 0 | 0 | 0 | 140 | 0 | 0 | 0 |
| The Black | 120 | 0 | 0 | 160 | 0 | 0 | 90 | 0 |
| The Grizzled | 120 | 0 | 0 | 0 | 140 | 0 | 0 | 0 |
| The Hawk | 120 | 0 | 0 | 130 | 0 | 0 | 0 | 120 |
| The Brave | 100 | 90 | 110 | 0 | 0 | 0 | 70 | 110 |
| The Wanderer | 100 | 0 | 110 | 0 | 0 | 0 | 0 | 0 |
| The Fish | 100 | 0 | 0 | 0 | 0 | 90 | 90 | 0 |
| Longknife | 100 | 0 | 0 | 0 | 0 | 90 | 90 | 0 |
| The Robber | 100 | 0 | 0 | 0 | 0 | 90 | 90 | 0 |
| The Smith | 90 | 140 | 80 | 55 | 40 | 60 | 60 | 60 |
| Barrelchest | 90 | 140 | 110 | 0 | 0 | 0 | 70 | 0 |
| The Lucky | 90 | 140 | 110 | 0 | 0 | 0 | 70 | 0 |
Best Ranged Companions
For those who prefer to rain down arrows or bolts from a distance, these companions are specialists in ranged combat. They're crucial for softening up enemy formations before they even reach your lines:
| Companion Epithet | One-Handed | Two-Handed | Polearm | Bow | Crossbow | Throwing | Athletics | Riding |
| Of the Wastes | 0 | 150 | 0 | 185 | 0 | 0 | 110 | 0 |
| The Black | 120 | 0 | 0 | 160 | 0 | 0 | 90 | 0 |
| Cowthief | 0 | 90 | 0 | 135 | 0 | 0 | 70 | 0 |
| The Ragged | 90 | 0 | 0 | 135 | 0 | 0 | 70 | 0 |
| The Accursed | 90 | 0 | 0 | 135 | 0 | 0 | 70 | 0 |
| The Loud | 130 | 120 | 140 | 130 | 90 | 0 | 0 | 0 |
| The Hawk | 120 | 0 | 0 | 130 | 0 | 0 | 0 | 120 |
| The Grey Falcon | 90 | 0 | 0 | 105 | 0 | 0 | 0 | 100 |
| The Fatherless | 90 | 0 | 0 | 105 | 0 | 0 | 0 | 100 |
| The Huntress | 120 | 0 | 0 | 0 | 140 | 0 | 0 | 0 |
| The Spicevendor | 120 | 0 | 0 | 0 | 140 | 0 | 0 | 0 |
| The Grizzled | 120 | 0 | 0 | 0 | 140 | 0 | 0 | 0 |
| The Engineer | 90 | 0 | 0 | 0 | 120 | 0 | 0 | 0 |
| Of the Hills | 90 | 0 | 0 | 0 | 120 | 0 | 0 | 0 |
| The Knowing | 60 | 0 | 0 | 0 | 100 | 0 | 0 | 0 |
Picking the right companions can really change the tide of battle. Mix and match these specialists to create a balanced force that can handle anything Calradia throws at you!
100% Human-Written. AI Fact-Checked. Community Verified. Learn how AntMag verifies content