
Defeat fearsome bosses in Ninja Gaiden: Ragebound. Learn strategies for Kageyama, the Crimson Sentinel, and other foes to advance as Ryu Hayabusa.
Welcome, aspiring Ryu Hayabusa! This section is dedicated to dismantling the formidable foes that stand between you and ultimate victory in Ninja Gaiden: Ragebound. Each boss presents a unique challenge, demanding precision, patience, and a deep understanding of their attack patterns. Prepare to hone your ninja skills!
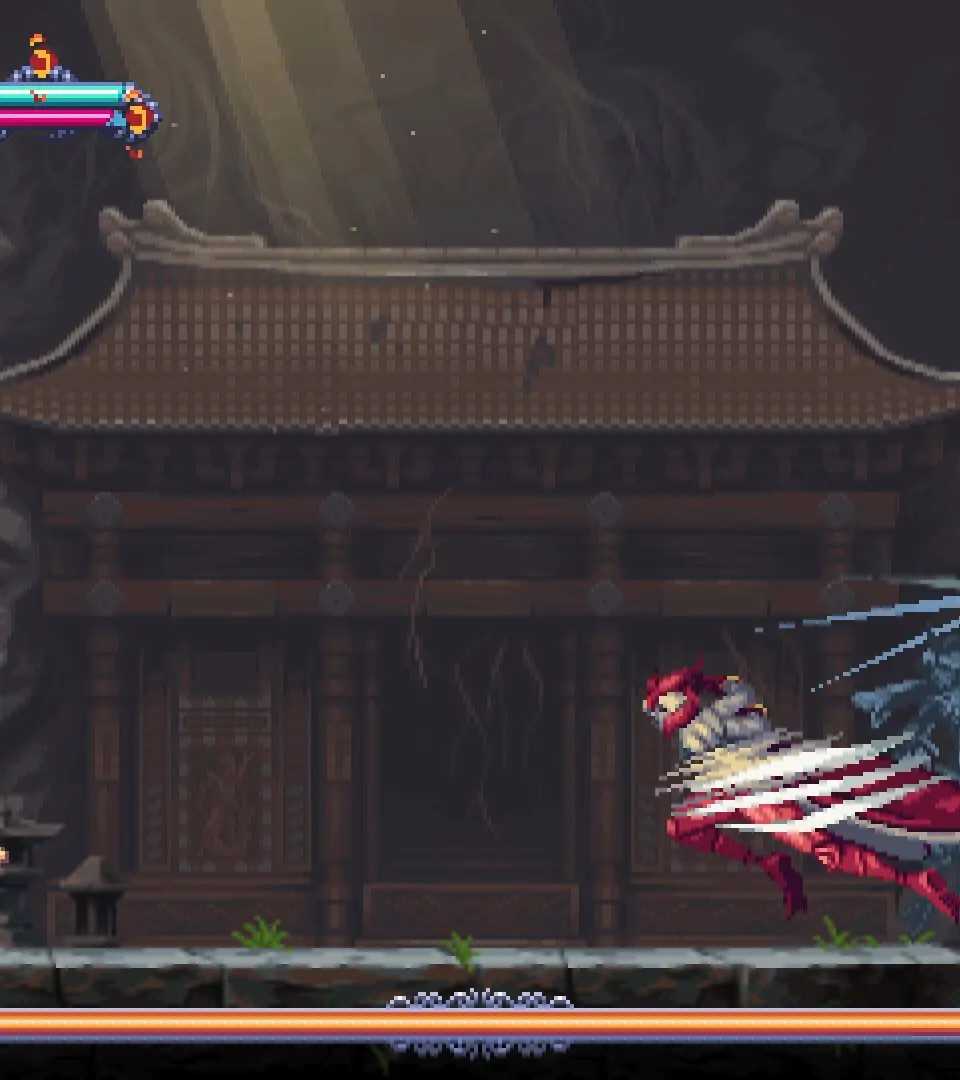
Chapter 1: The Crimson Sentinel, Kageyama
Your first true test comes in the form of Kageyama, a hulking samurai clad in crimson armor. While intimidating, his attacks are telegraphed, making him an excellent boss to practice your dodging and counter-attacking.
Preparation:
- Weapon: The Dragon Sword is your best bet here. Its balanced speed and power are ideal for this early encounter.
- Items: Ensure you have at least two Life of the Gods items. You can find one hidden behind a destructible wall in the courtyard before the boss arena, and another is dropped by a large armored enemy near the main gate.
- Ninpo: The Art of the Fire Wheels is useful for creating space and dealing chip damage.
Strategy:
- Phase 1: Ground Assault (100% - 60% Health)
- Kageyama primarily uses a slow, sweeping horizontal slash and an overhead slam. Both are heavily telegraphed.
- Dodge Strategy: For the horizontal slash, roll into the attack to get behind him. For the overhead slam, roll to either side.
- Attack Window: After dodging either attack, you have a brief window (approximately 1-2 seconds) to land a quick 2-3 hit combo with your Dragon Sword. Do not get greedy!
- Charge Attack: Occasionally, Kageyama will charge forward with his sword extended. This is easily dodged by rolling to the side. He will be momentarily vulnerable after this attack.
- Ninpo Use: If you find yourself surrounded by his summoned minions (which he'll do occasionally), use Art of the Fire Wheels to clear them out and create breathing room.
- Phase 2: Enraged Stance (60% - 0% Health)
- Once Kageyama reaches roughly 60% health, he will glow red and become more aggressive. His attacks will be slightly faster, and he'll introduce a new move: a ground pound that creates a small shockwave.
- Shockwave Dodge: When he prepares the ground pound, jump to avoid the shockwave. You can often land a downward strike as you descend.
- Increased Aggression: Maintain your defensive posture. His attack windows are slightly shorter, so prioritize quick, precise strikes over lengthy combos.
- Desperation Ninpo: If your health drops critically low, don't hesitate to use a Life of the Gods. It's better to survive and learn than to restart.
- Finishing Blow: Continue to chip away at his health with precise dodges and counter-attacks. When he's near defeat, he may unleash a flurry of attacks; stay calm, block or dodge, and deliver the final blow when an opening presents itself.
Chapter 3: The Shadow Weaver, Akemi
Akemi is a swift and elusive kunoichi who relies on speed and ranged attacks. Her fight is a test of your ability to close distances and punish her openings.
Preparation:
- Weapon: The Lunar Staff, acquired in the previous chapter from the "Whispering Caves" side path, is excellent here. Its wide attack arcs are great for hitting Akemi even when she's moving.
- Items: Stock up on Elixirs of Spiritual Life. Akemi's ranged attacks can chip away at your Ninpo gauge. You can purchase these from the Muramasa Statue located in the "Forgotten Village" before entering Akemi's lair.
- Ninpo: The Art of the Inferno is highly effective for interrupting her ranged attacks and dealing significant damage when she's vulnerable.
Strategy:
- Phase 1: Ranged Harassment (100% - 50% Health)
- Akemi will primarily keep her distance, throwing shurikens and occasionally launching a burst of shadow energy.
- Closing the Gap: Use your Flying Swallow technique to quickly close the distance when she pauses after a ranged attack.
- Shuriken Dodge: Her shuriken throws are quick but can be blocked or dodged with a well-timed roll.
- Shadow Burst: The shadow energy burst is slower and can be dodged to the side. This is often a good opportunity to use Flying Swallow.
- Attack Window: After a successful Flying Swallow, land a quick 2-3 hit combo with the Lunar Staff. Be ready to block or dodge immediately as she will often retaliate quickly.
- Ninpo Use: If you manage to catch her in a combo, follow up with an Art of the Inferno to maximize damage, especially if she's trying to create distance.
- Phase 2: Close-Quarters Combat (50% - 0% Health)
- Below 50% health, Akemi will become more aggressive in close quarters, incorporating swift melee attacks with her twin daggers. She'll also occasionally perform a teleporting dash.
- Teleporting Dash: When she teleports, listen for the audio cue and be ready to block or dodge her immediate follow-up attack. She often appears behind you.
- Dagger Combos: Her dagger combos are fast but have a distinct rhythm. Block the initial hits and look for an opening to counter-attack after her final strike.
- Counter-Attack: The Lunar Staff's wide swings are excellent for catching her during her brief recovery frames after a combo.
- Prioritize Survival: Akemi's speed can be overwhelming. Don't be afraid to disengage, block, and wait for clear openings. Use your Elixirs of Spiritual Life if your Ninpo gauge is low and you need to use Art of the Inferno for crowd control or damage.
- Environmental Awareness: The arena has several pillars. Use them to break line of sight from her ranged attacks if you need a moment to heal or gather your thoughts.
100% Human-Written. AI Fact-Checked. Community Verified. Learn how AntMag verifies content