Discover hidden ruins and shipwrecks for gold in The Settlers: Rise of an Empire. Learn about battalions, troop types, and effective military strategies for your settlement.
Hey there! In this part of The Settlers, we're going to cover a couple of cool things: finding hidden treasure and getting a handle on your military units. It's all about making your settlement stronger and richer!
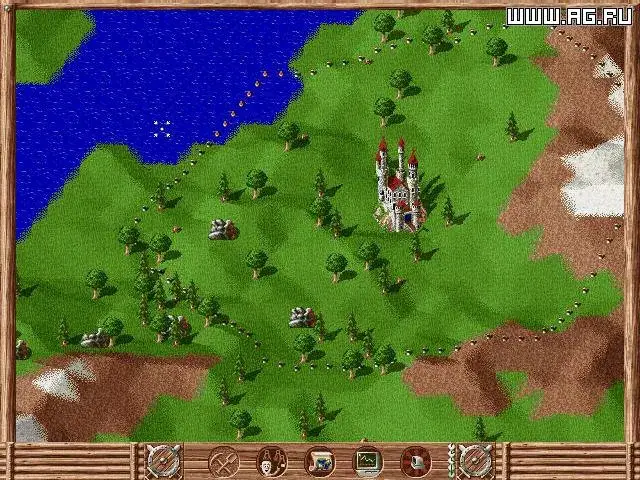
Ruins and Shipwrecks: Your Secret Gold Cache
Keep an eye out while you're exploring the map, because you might stumble upon some mysterious ruins or shipwrecks. You'll know you've found one when you see a little hand icon hovering over it. If you move your knight close to it, a button prompt will appear. Press that button, and voilà! A cart full of gold will pop out and head straight back to your castle's treasury. It's a fantastic way to get a quick gold boost, especially early on for upgrades and keeping your soldiers paid.
Warning: Bandits love gold too! They can intercept your gold carts, so be prepared to defend them. Ruins can yield anywhere from 80 to a hefty 400 gold.
Now, there's a little quirk on Map 15, 'Vestholm.' In the southwest, there are some ruins with four activation buttons. Only one of them actually gives you gold. The other three will mysteriously take 50 units of wood from your storehouse, and… nothing happens. Many players suspect this is a developer joke or an unfinished quest. If you find these, just grab the gold from the correct button and leave the others alone!
The Military: Battalions and Reputation
Let's talk about your army. A 'battalion' is basically a single fighting unit. For new recruits, this means a group of 6 soldiers. Mercenaries and bandits come in smaller groups of 3 men, but they're like half-strength troops. They're cheaper to recruit, but you get what you pay for.
Your barracks get their gear from smiths, who use iron from your storehouse. A level 1 barracks can hold gear for 1.5 battalions, level 2 for 2, and level 3 for 3. For most single-player maps, having one sword and one bow barracks, both at level 3, should be enough. On tougher, military-focused maps, you might want two of each smith type to ensure your barracks are always stocked.
When you select a battalion, it moves and attacks as one. Selecting any member selects the whole unit. As units take damage, they lose members one by one. A full unit of 6 will always fight and defend better than a depleted one.
When a unit is selected, you'll see two numbers: the first is the number of torches they have (used for attacking wooden structures), and the second is the number of active members. Remember, each individual soldier counts towards your total troop limit.
Troops get paid 2 gold per month per member by default, but you can increase this to 3 gold per member at the castle. As units lose members, your monthly payroll decreases automatically.
Troop Types: Swordsmen vs. Bowmen
You've got two main types of fighters:
- Swordsmen: These are your melee specialists. Great for close combat, but they struggle against ranged attackers. They're excellent for defending your siege equipment.
- Bowmen: Your ranged attackers. They do fantastic damage from a distance and work best when positioned on outposts or stone walls for a slight defense bonus. If they get caught in melee, their fighting skills are pretty weak. They're best kept behind your swordsmen.
I've found that an even mix of swordsmen and bowmen makes for a really tough army to beat. And here's a neat trick: if you select both types and tell them to move, they'll automatically line up with swordsmen in front and bowmen in the back, making formations super easy!
Combat Tip: When fighting enemy bowmen, try to engage them in melee with your swordsmen first. This minimizes the damage you take from arrows and gives you the advantage. If your knight is with the troops, send them in first to draw enemy fire while your soldiers move in.
100% Human-Written. AI Fact-Checked. Community Verified. Learn how AntMag verifies content