
Uncover the secrets of The Witcher 2: Assassins of Kings Enhanced Edition's Prologue. This guide helps you navigate early missions and achieve all available achievements.
Hey there! So you're diving into The Witcher 2: Assassins of Kings Enhanced Edition and want to get a handle on those early achievements? The Prologue can be a bit of a whirlwind, especially with the game's complex controls. Don't worry, I'm here to walk you through it. We'll cover the main objectives and point out any achievements you might be able to snag along the way. Just stick with me, and we'll get through this together!
Walkthrough
- 1Tutorial: Before you even start the main story, I highly recommend running through the tutorial. The controls in The Witcher 2 can be pretty complex, especially if you're on Xbox 360. It's way better to get a feel for movement, combat, and signs here than to struggle later.
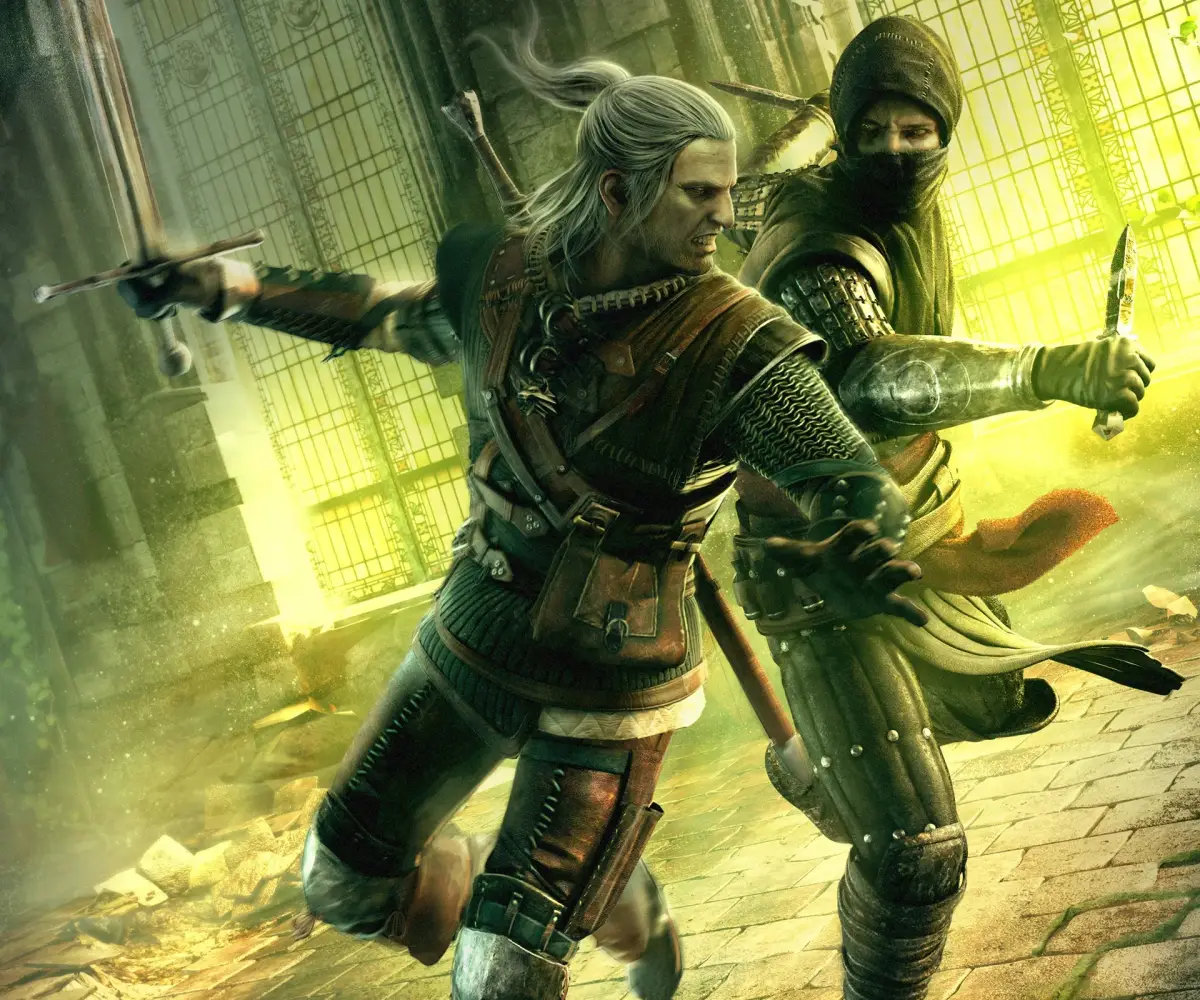
- 2Prologue - By the King's Will: This is where things really kick off. You'll be right in the thick of it, dealing with the aftermath of an assassination attempt on King Foltest. Your main goal here is to figure out who's behind it all. Keep your eyes peeled for any optional objectives that pop up – they're usually tied to achievements.
- 3Melitele's Heart: This part involves some investigation and dealing with the immediate fallout. You'll be talking to people, gathering clues, and probably getting into a few scraps. Pay attention to dialogue choices; sometimes they can open up new paths or opportunities for achievements.
- 4By the King's Will Continued: The plot thickens as you continue your investigation. You'll likely be moving through different areas, encountering new characters, and facing tougher enemies. Remember to loot everything – you never know when you'll find something useful or a key item for an achievement.
- 5At the Fore: This section usually involves a significant event or location. You'll be tasked with specific objectives related to the ongoing investigation. Don't rush through; take your time to explore the environment. Sometimes achievements are hidden in plain sight, tied to interacting with specific objects or finding hidden areas.
- 6Barricade: Expect some action here, likely a combat encounter or a tense standoff. You'll need to use the skills you learned in the tutorial. If there are any specific combat maneuvers or sign combinations that seem to be highlighted, try to master them, as they might be key to an achievement.
- 7At the Fore Continued: More of the story unfolds here. You might be chasing down leads or protecting someone. Always be aware of your surroundings and any potential side objectives.
- 8Trial by Fire: This sounds like a challenging part, probably involving a difficult fight or a dangerous situation. Focus on survival and completing the main objective, but if you see an opportunity to do something extra – like defeating enemies in a specific way or using the environment to your advantage – go for it!
- 9To the Temple: You'll be heading to a significant location. Exploration is key here. Look for any lore entries, notes, or hidden items that might relate to achievements.
- 10Woe to the Vanquished: This title suggests a tough battle or a significant loss. Prepare yourself for a challenging encounter. If you fail an optional objective here, don't get discouraged; you can always try again on a higher difficulty or in a later playthrough.
- 11To the Temple Continued: Continuing your journey to the temple. Keep an eye out for any unique enemies or environmental puzzles that might offer an achievement.
- 12Blood of His Blood: This sounds like a plot-heavy section, possibly involving a key character's backstory or a significant revelation. Focus on following the story, but be mindful of any choices that might affect your relationships with characters or unlock specific dialogue.
- 13The Dungeons of the La Valettes: You'll likely be navigating a dangerous, confined area. Stealth or careful combat might be required. Look for any hidden passages or opportunities to bypass enemies, as these can sometimes lead to secrets or achievements.
- 14Melitele's Heart Continued: Wrapping up this part of the story. Make sure you've completed all the objectives and explored thoroughly. Sometimes, achievements are only awarded after you've completed a specific sequence of events or found all related items.
Tips
- Don't forget to check your Journal (press 'J' on PC or use the Left Trigger on Xbox 360) regularly. It tracks your objectives, provides lore, and sometimes hints at hidden achievements.
- Save often! The Witcher 2 has some tricky combat and dialogue choices. Having multiple save files will save you a lot of frustration if you miss something or mess up a crucial moment.
- Experiment with Signs (Y button on Xbox 360, Q key on PC). Each Sign has its uses, and mastering them can make combat much easier and might even be required for certain achievements.
- Talk to everyone! NPCs often have side quests, provide valuable information, or offer unique dialogue that can lead to achievements or unlock new areas.
- Keep an eye on the bottom of the screen for prompts. These often indicate special actions, like using a Sign, dodging, or interacting with the environment, which are crucial for both progression and achievements.
100% Human-Written. AI Fact-Checked. Community Verified. Learn how AntMag verifies content