Learn the ropes of Unpacking! This guide breaks down basic interaction and item placement, helping you unpack like a pro and navigate your first few levels with ease.
Hey there! Welcome to Unpacking. This part of the guide is all about getting comfortable with how you actually, well, unpack things. It sounds simple, but there are a few little tricks to make it go smoother, especially when you're just starting out. We'll cover how to open boxes, place items, and even how to use some neat features that make life easier.
General Hints & Tips:
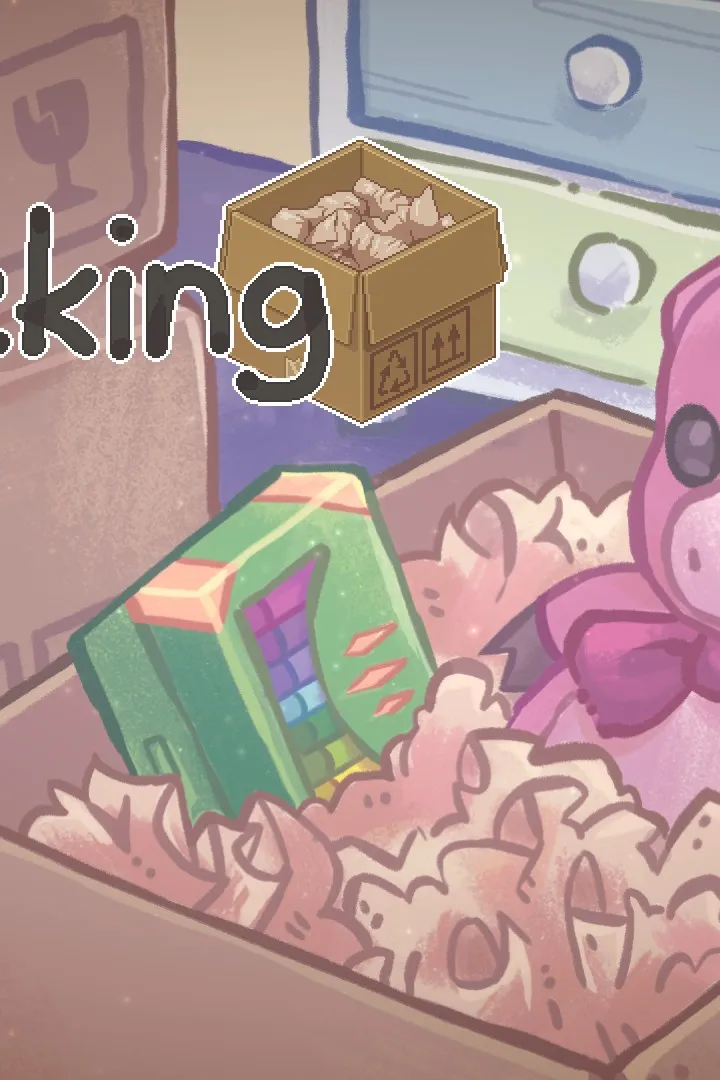
- The main goal in each level is to get everything out of the boxes. You'll use a simple point-and-click system. Click a box to open it, then click an item to grab it.
- Once you've grabbed an item, you'll need to place it somewhere. Don't worry too much about *where* you put things at first, especially if you turn on the accessibility option we'll talk about next. Aesthetics aren't key here!
- Items usually auto-rotate to fit where you're trying to place them. If you need to rotate an item yourself, you can press the [B] button.
- Some items can be stacked, others can hang on walls or clothes hangers. If you're running low on space, you can even carry an item to a different room using the [LB] or [RB] buttons.
- Remember that most rooms scroll up and down, so don't forget to check those areas for extra space!
- Clothes hangers can be a bit tricky later on. Try to hang them up in wardrobes to save space and keep things tidy.
Story Walkthrough - Getting Started:
First things first, let's make unpacking a breeze. From the main menu, head to Settings > Accessibility and turn on "Allow items anywhere". This is a game-changer and won't affect any achievements, so don't worry!
Now, back to the main menu, select Play. You'll see piles of books that represent your save slots. Pick the top one and enter your name to start your journey.
1997 - Your First Unpack!
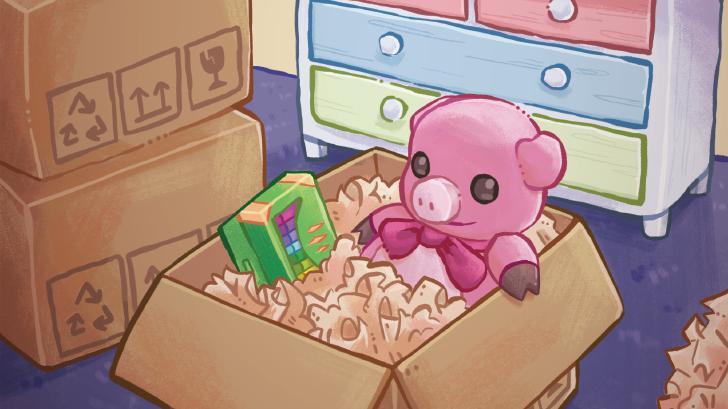
- You'll start in a room with a couple of boxes. Just click on each box to open it, then click on an item to pick it up.
- Place the item anywhere in the room by clicking again. It really is that simple!
- Keep an eye out for a Rubik's Cube. While you're holding it, mash the [B] button. You'll see the colors change. Keep going until each side is a solid color – that's when you've solved it! Stop pressing [B] right then, or you'll scramble it again. This unlocks the "Solved the cube" achievement.
- Continue unpacking. Once a box is empty, give it a final click and it'll disappear.
- You'll find an old Polaroid camera in one of the boxes. Place it down, and you'll unlock the "Found your camera" achievement.
- After all the boxes are unpacked, a star will pop up in the bottom-right corner. Click it to finish the 1997 level and unlock the "Unpacked 1997" achievement.
2004 - New Year, New Room!
- This level has three rooms. You can switch between them easily using [LB] and [RB].
- Head to the bathroom first. You'll need to flush the toilet for a cumulative achievement. Click the handle on the cistern to flush it. This counts as "Gotta flush 'em all 1/7".
- Now, back to the bedroom to unpack. Look for a wooden artist's mannequin. Before you place it, press the [B] button repeatedly until it does a dab! This is how you unlock the "Made the mannequin dab" achievement.
100% Human-Written. AI Fact-Checked. Community Verified. Learn how AntMag verifies content