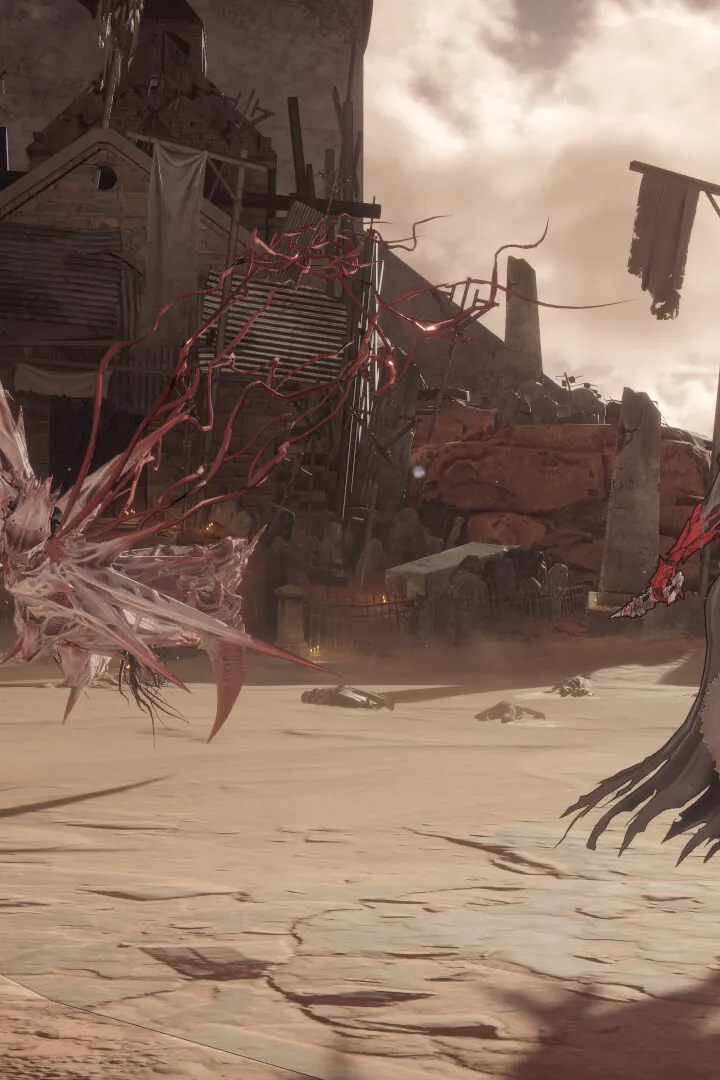
AI Limit throws you into a fragmented world as you awaken, tasking you with navigating its treacherous landscapes. This Souls-like dungeon crawler demands mastery of advanced combat and weapon techniques as you push through challenging areas like the Research Outpost and Data Hub. It's a tough but rewarding journey for those who relish a steep learning curve and deep combat systems.
This guide is here to help you conquer every obstacle AI Limit throws your way. We'll cover everything from mastering the initial Awakening and advanced combat maneuvers to detailed strategies for defeating formidable bosses and finding crucial items. Whether you're aiming to explore every corner or just need help overcoming a particularly tough encounter, we've got you covered.
Getting Started
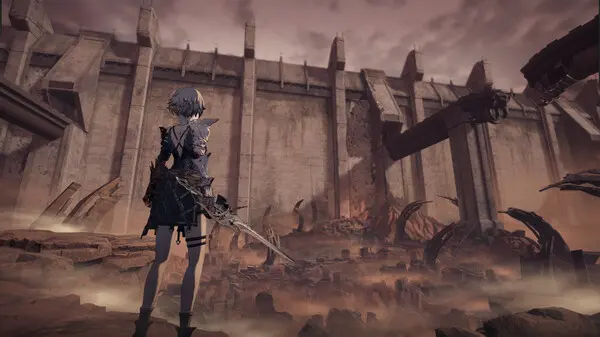
Your essential AI Limit walkthrough for beginners. Learn how to navigate Sewer Town - Southwest, defeat early bosses like Lore, the Lost Lancer, and acquire crucial items and abilities to start your journey.
Getting Started
Your essential AI Limit walkthrough for beginners. Learn how to navigate Sewer Town - Southwest, defeat early bosses like Lore, the Lost Lancer, and acquire crucial items and abilities to start your journey.


Basic Controls & Movement — AI Limit Guide
Master AI Limit's basic controls and movement with our comprehensive guide. Learn essential actions, button prompts, and tips to navigate the game effectively and overcome challenges.
This guide covers the basic controls and movement mechanics for AI Limit. Understanding these fundamentals is key to navigating the game world and overcoming its challenges.
| Action | Button |
|---|---|
| Movement | Left Analog Stick |
| Camera Control | Right Analog Stick |
| Jump | A Button (Xbox) / X Button (PlayStation) |
| Dodge/Evade | B Button (Xbox) / Circle Button (PlayStation) |
| Interact/Action | X Button (Xbox) / Square Button (PlayStation) |
| Use Item | Y Button (Xbox) / Triangle Button (PlayStation) |
| Weapon Skill | Left Trigger (LT/L2) |
| Special Ability | Right Trigger (RT/R2) |
| Lock-On Target | Left Bumper (LB/L1) |
| Crouch/Stealth | B Button (Xbox) / Circle Button (PlayStation) (Hold) |
| Sprint | Left Analog Stick (Hold) + B Button (Xbox) / Circle Button (PlayStation) |
Mastering these controls will allow you to effectively traverse the environment, engage in combat, and utilize your abilities to their fullest potential.
Controls & UI — AI Limit Guide
Master AI Limit's controls and UI with our comprehensive guide. Learn button mappings, understand the interface, and optimize your gameplay for every action.
This guide details the controls and user interface elements for AI Limit, helping players understand how to perform actions and navigate the game effectively.
| Action | Button |
|---|---|
| Movement | Left Stick |
| Camera Control | Right Stick |
| Jump | A Button (Xbox) / X Button (PlayStation) |
| Dodge | B Button (Xbox) / Circle Button (PlayStation) |
| Interact / Use Item | X Button (Xbox) / Square Button (PlayStation) |
| Attack (Light) | RT (Xbox) / R2 (PlayStation) |
| Attack (Heavy) | RB (Xbox) / R1 (PlayStation) |
| Weapon Skill | LB (Xbox) / L1 (PlayStation) |
| Use Spell | Y Button (Xbox) / Triangle Button (PlayStation) |
| Open Menu / Inventory | Start Button (Xbox) / Options Button (PlayStation) |
| Quick Select / Cycle Items | D-Pad Up/Down |
| Target Lock | Click Right Stick |
| Special Ability 1 | D-Pad Left |
| Special Ability 2 | D-Pad Right |
The UI in AI Limit provides crucial information at a glance. Key elements include:
- Health Bar: Displays your current health status.
- Stamina Bar: Indicates available stamina for actions like dodging and attacking.
- Ability/Spell Slots: Shows equipped spells and abilities, with cooldowns or charges.
- Item Hotbar: Quick access to consumable items.
- Objective Marker: Guides you towards current mission objectives.
- Minimap: Provides a small-scale map of your immediate surroundings.
Beginner Tips
New to AI Limit? Our beginner tips guide covers essential starting advice, item acquisition, combat strategies, and early game progression to help you master the game.
Welcome to AI Limit! This guide is designed to help new players get started with essential tips and information to navigate the early stages of the game.
Key Items to Acquire Early:
- Seals: Seal of Newborn
- Spells: Railgun, Partial Reconstruction
- Frame Abilities: Counter Field, Shield
- Nucleus: Void Nucleus
- Key Items: Old Notepad, Dew Essence, Reservoir Key, Arboretum Key
- Weapons: Blader Longsword, Blader Swords, Blader Greatsword, Forged Steel Blade, Bonecrackers, Opossums Sais (DLC), Serrated Halberd
- Armor: Blader Armor, Traveler's Outfit, White Sparrow's Coat (DLC)
- Headwear: Blader Visor, White Sparrow's Mask (DLC), Ponytail, Ragged Hood
Early Game Progression:
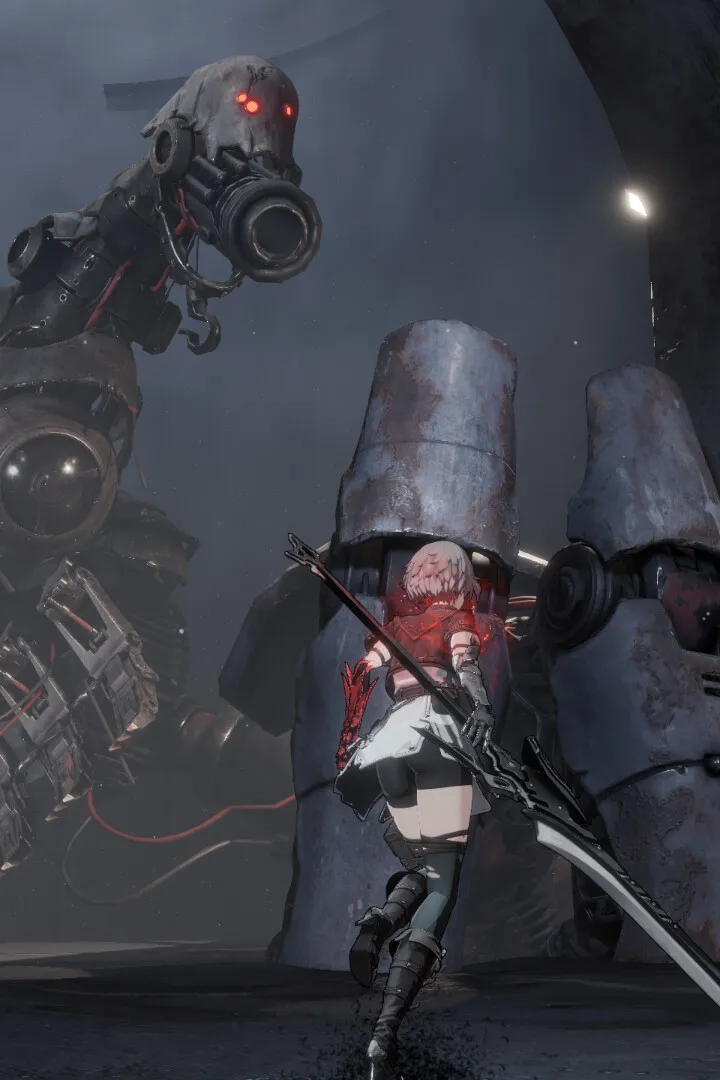
After the introductory cutscene, you'll begin in Sewer Town - Southwest. Follow the corridor, pick up the Rusty Longsword, and defeat your first enemies. Continue upwards to find Mud Ball x3. After defeating another enemy, jump down and turn left to find Pure Crystal x3. Be prepared to face a Void Beast; use well-timed dodges and attack from behind, then retreat. Master this combat loop for future encounters. You'll receive Luminous Carbon x1 for defeating it.
Continue through the area, defeating enemies and collecting items like Crystallized Remains x1, Mud Ball x2, and Mini Bomb x3. Learn about Weapon Skills and practice backstabbing. Dodge projectiles from rock-throwing enemies or use Mini Bombs. In the next room, grab Stone x5 and the Old Notepad.
The Sewer Cleaner is a fast enemy; dodge its attacks and be ready to move after defeating it due to its self-destruct protocol. It drops the Railgun, your first Spell. Talk to the old man for exposition, then proceed down the tunnel to find Pure Crystal x1.
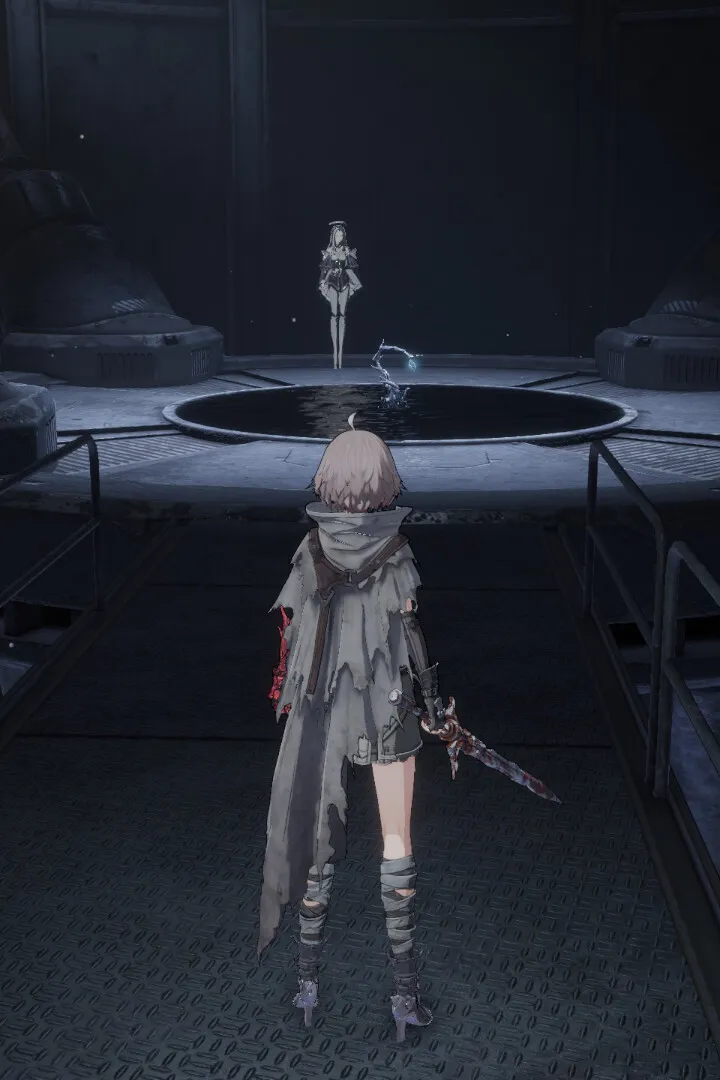
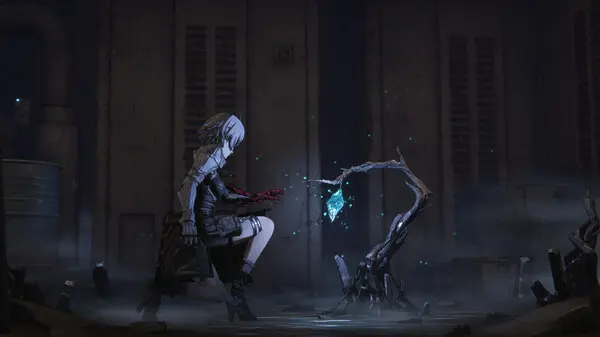
You'll meet Asteria, the Branchweaver, who needs help repairing a Branch. Branches serve as fast travel points and are used for upgrading stats and equipment. Return to Asteria for Life Dew x3 and choose one of three starting weapons: Blader Longsword (balanced), Blader Swords (faster, less damage), or Blader Greatsword (slower, more damage). Choose based on your preferred playstyle, as other weapons will be found later.
Similar guides you might like


100% Human-Written. AI Fact-Checked. Community Verified. Learn how AntMag verifies content