
Find all Safehouse locations in Grand Theft Auto III. Use these strategic hubs to save your game progress and plan your next moves in Liberty City.
Safehouses in Liberty City are more than just a place to save your game; they are strategic hubs for planning, resupplying, and maintaining a low profile. Understanding their features and locations is crucial for any aspiring criminal mastermind.
Each safehouse provides a unique set of advantages, primarily the ability to save your game progress. This is invaluable, especially after completing challenging missions or accumulating a significant amount of cash. Beyond saving, safehouses offer a crucial way to reset your Wanted Level to zero. Simply entering your safehouse will clear any police pursuit, allowing you to breathe easy and avoid costly busts.
Another key feature is the presence of a garage. These garages allow you to store up to two vehicles, protecting them from despawning or being destroyed. This is particularly useful for keeping rare vehicles, mission-critical cars, or your favorite ride safe for future use. Remember, once a vehicle is stored, it will remain there even after saving and reloading your game.
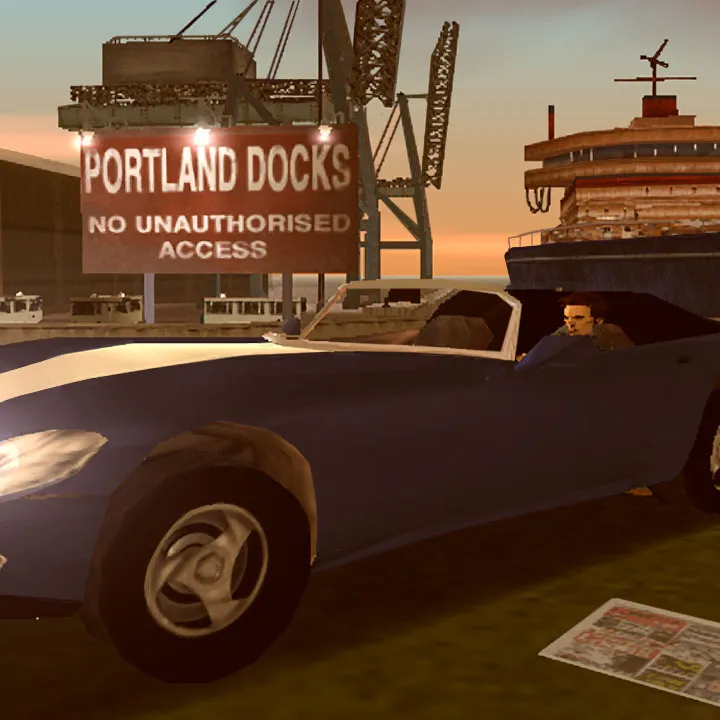
Portland Island Safehouse
Your journey in Liberty City begins with a single safehouse on Portland Island. This humble abode serves as your initial base of operations.
- Location: This safehouse is situated in the Red Light District, specifically on the northern side of the island. It's easily identifiable by its distinctive blue "Save" icon (a house with an arrow pointing down) on your mini-map.
- Access: You gain access to this safehouse automatically after completing the introductory missions.
- Features:
- Save Point: Interact with the blue icon inside the safehouse to save your game.
- Garage: A single-door garage is available directly outside the safehouse entrance. This can store up to two vehicles. Use this to secure any valuable cars you acquire early in the game, such as a well-armored Patriot or a speedy Banshee.
- Health Pickup: Often, a health pickup (a heart icon) will spawn near the safehouse, providing a quick health boost if you're low after a skirmish.
- Weapon Spawns: While not guaranteed, you might occasionally find a Pistol or a Baseball Bat spawning near the safehouse, offering a basic resupply option.
- Strategy: Due to its central location on Portland, this safehouse is excellent for quick saves between missions in the Red Light District, Saint Mark's, or Hepburn Heights. Always make a habit of saving here before attempting a risky mission or after successfully completing a difficult one.
Staunton Island Safehouse
As you progress through the storyline and unlock Staunton Island, a new, more spacious safehouse becomes available.
- Location: This safehouse is located in the Newport district of Staunton Island, near the waterfront. Look for the familiar blue "Save" icon on your map.
- Access: The Staunton Island safehouse becomes accessible after completing the mission "Last Requests" for Salvatore Leone, which marks your transition to the second island.
- Features:
- Save Point: Standard save functionality.
- Garage: A larger, two-door garage is provided here, capable of storing up to two vehicles simultaneously. This is a significant upgrade, allowing you to maintain a small fleet of specialized vehicles. Consider storing a fast sports car for races and a durable SUV for combat missions.
- Health Pickup: A reliable health pickup is usually present.
- Weapon Spawns: You'll often find more advanced weapons spawning here compared to the Portland safehouse, such as a Shotgun or an Uzi, making it a better resupply point.
- Strategy: The Staunton Island safehouse is strategically placed for missions across Staunton and even Shoreside Vale once it's unlocked. Its larger garage makes it ideal for storing your preferred vehicles for different mission types. Always utilize the garage to keep your best cars safe, especially if you've invested time in finding a specific model.
Shoreside Vale Safehouse
The final safehouse you acquire is located on Shoreside Vale, providing a convenient base for the latter stages of the game.
- Location: This safehouse is situated in the Wichita Gardens area of Shoreside Vale, offering easy access to the airport and other key locations on the island.
- Access: The Shoreside Vale safehouse becomes available after you complete the mission "A Drop in the Ocean" for Donald Love, which opens up the third and final island.
- Features:
- Save Point: Standard save functionality.
- Garage: Similar to the Staunton Island safehouse, this location boasts a two-door garage for storing up to two vehicles.
- Health Pickup: A consistent health pickup is available.
- Weapon Spawns: Expect to find a good variety of weapons here, potentially including an AK-47 or a Sniper Rifle, making it an excellent spot to re-arm before tackling challenging missions.
- Strategy: This safehouse is your primary hub for all activities on Shoreside Vale. Its proximity to Francis International Airport makes it perfect for storing aircraft (if you manage to get one in the garage) or fast cars for quick escapes. Given the increased difficulty of missions in Shoreside Vale, frequent use of this safehouse for saving and resupplying is highly recommended.
100% Human-Written. AI Fact-Checked. Community Verified. Learn how AntMag verifies content