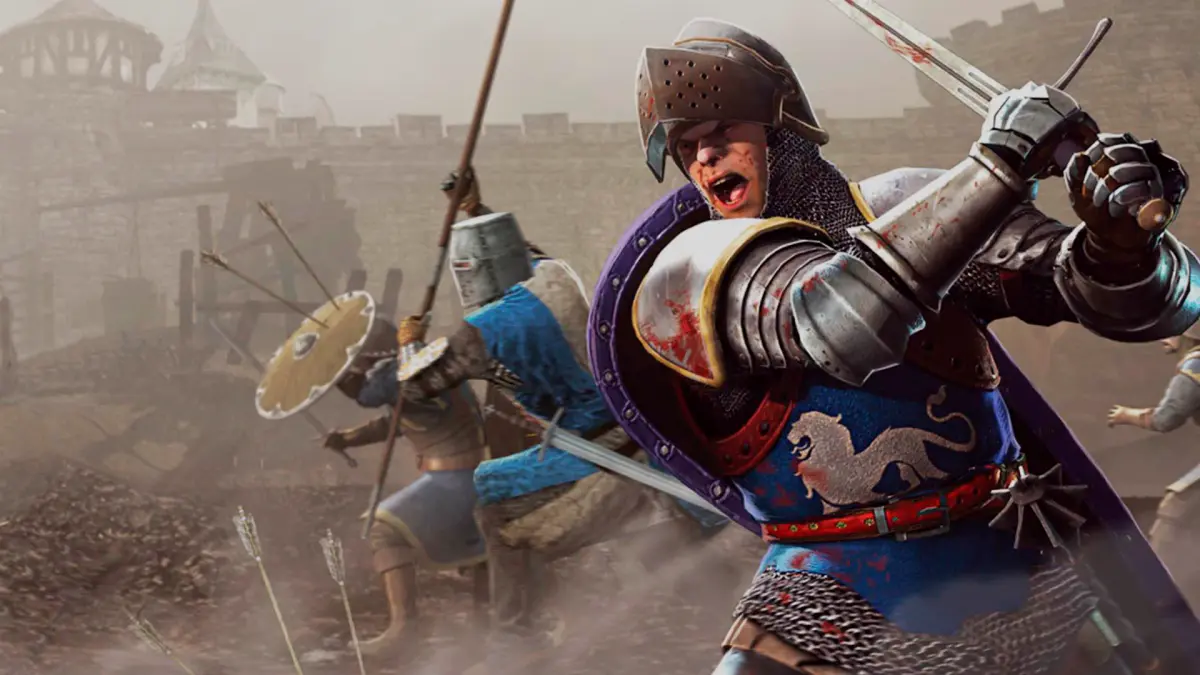
Master Chivalry: Medieval Warfare Bot Mode with this campaign walkthrough. Learn objective strategies, weapon choices, and tactical approaches for AI battles.
While Chivalry: Medieval Warfare is primarily a multiplayer experience, the game does offer a robust "Bot Mode" that functions as a pseudo-campaign, allowing players to hone their skills against AI opponents across various objective-based maps. This guide will walk you through strategies for mastering these scenarios, focusing on key objectives, weapon choices, and tactical approaches.
Understanding Bot Mode Objectives
Bot Mode mirrors the core multiplayer objective types. Success hinges on understanding and executing these goals efficiently. Unlike human players, bots often prioritize direct combat over nuanced objective play, which you can exploit.
- Team Deathmatch: Simple elimination. Focus on high kill counts and staying alive.
- King of the Hill: Capture and hold designated areas. Prioritize area control and defense.
- Last Team Standing: Similar to Team Deathmatch but with no respawns. Survival and strategic engagements are key.
- Objective Maps: These are the most complex and offer the closest experience to a single-player campaign. We will focus on these in detail.
General Strategies for Bot Mode
- Weapon Familiarity: Experiment with all weapon types (swords, axes, polearms, bows) across different classes (Vanguard, Knight, Man-at-Arms, Archer). Find what suits your playstyle against predictable AI. For example, a Longsword with the Knight class offers a good balance of speed and damage.
- Footwork and Blocking: Bots are susceptible to feints and well-timed blocks followed by counter-attacks. Master the parry and riposte.
- Exploit AI Pathing: Bots often follow predictable routes. Use environmental hazards or choke points to your advantage.
- Prioritize Objectives: While killing bots is fun, remember the primary objective. Don't get sidetracked by endless skirmishes if you need to push a cart or destroy a gate.
- Use Your Special Abilities: Each class has unique abilities. The Knight's Charge can break through bot formations, while the Archer's Javelin can be devastating against clustered enemies.
Detailed Objective Map Walkthroughs
Stonemason's Catafalque (Attack/Defend)
This map involves a multi-stage assault on a fortified position. Playing as the attacking Agatha Knights requires a coordinated push.
- Stage 1: Destroy the Gatehouse Doors
- Location: Main entrance to the castle.
- Strategy: Equip a heavy weapon like the Greatsword (Knight) or War Axe (Vanguard). Focus all attacks on the wooden doors. Bots will attempt to defend, but their focus is often split. Use overhead swings for maximum damage to the objective.
- Item Tip: Consider picking up a Ballista bolt if available near the spawn for quick damage to the gate, though melee is generally more reliable against bots.
- Stage 2: Capture the Courtyard
- Location: The open area immediately past the destroyed gatehouse.
- Strategy: This is a King of the Hill-style objective. Push aggressively into the courtyard. As a Knight, use your Shield to absorb incoming arrows from bot archers on the walls. Clear out any defending bots within the capture zone.
- Tactical Note: Watch for bots attempting to flank from side entrances.
- Stage 3: Destroy the Supply Carts
- Location: Two supply carts located deeper within the castle, often near the main keep.
- Strategy: Split your focus between the two carts. A Vanguard with a Two-Handed Axe can quickly dismantle these. Bots will converge on the carts, so be prepared for heavy resistance. Use wide horizontal swings to hit multiple bots while damaging the objective.
- Item Tip: If playing as an Archer, prioritize bots attacking your teammates at the carts.
- Stage 4: Assassinate the Duke
- Location: The Duke is typically found on the upper levels of the main keep or a designated throne room.
- Strategy: The Duke is a heavily armored bot with high health. Focus fire on him. Use powerful overhead attacks. Bots will swarm to protect him, so clear a path first.
- Final Push: This is often the most challenging stage. Don't be afraid to sacrifice yourself if it means getting a few crucial hits on the Duke.
Hillside (Attack/Defend)
Hillside is a linear assault focused on pushing through a village and destroying key structures.
- Stage 1: Push the Siege Tower
- Location: Starting area, pushing towards the first wall.
- Strategy: Stand near the siege tower to push it forward. Bots will attack you directly. Defend yourself while staying close to the objective. A Man-at-Arms with a Short Sword and Buckler can be effective here, allowing for quick blocks and counter-attacks while maintaining proximity to the tower.
- Stage 2: Destroy the Ballistas
- Location: On the walls, accessible via the siege tower.
- Strategy: Once inside, immediately target the two Ballistas. These can deal significant damage to your bot teammates. Prioritize destroying them with any melee weapon.
- Stage 3: Burn the Village Houses
- Location: Several designated houses within the village.
- Strategy: Interact with the houses to set them ablaze. You'll need to hold the interaction key for a short period. Bots will try to interrupt you. Clear the area around each house before attempting to burn it. The Vanguard's speed can be useful for quickly moving between houses.
- Stage 4: Destroy the Trebuchet
- Location: At the far end of the village, often in an open field.
- Strategy: The Trebuchet is a large, stationary objective. Similar to the gatehouse, use heavy overhead attacks. Bots will defend it fiercely. Consider using a Maul (Vanguard) for its high damage output against structures.
100% Human-Written. AI Fact-Checked. Community Verified. Learn how AntMag verifies content