Learn how to leverage environmental hazards like fire pits and spikes in Chivalry: Medieval Warfare to defeat opponents and control the battlefield.
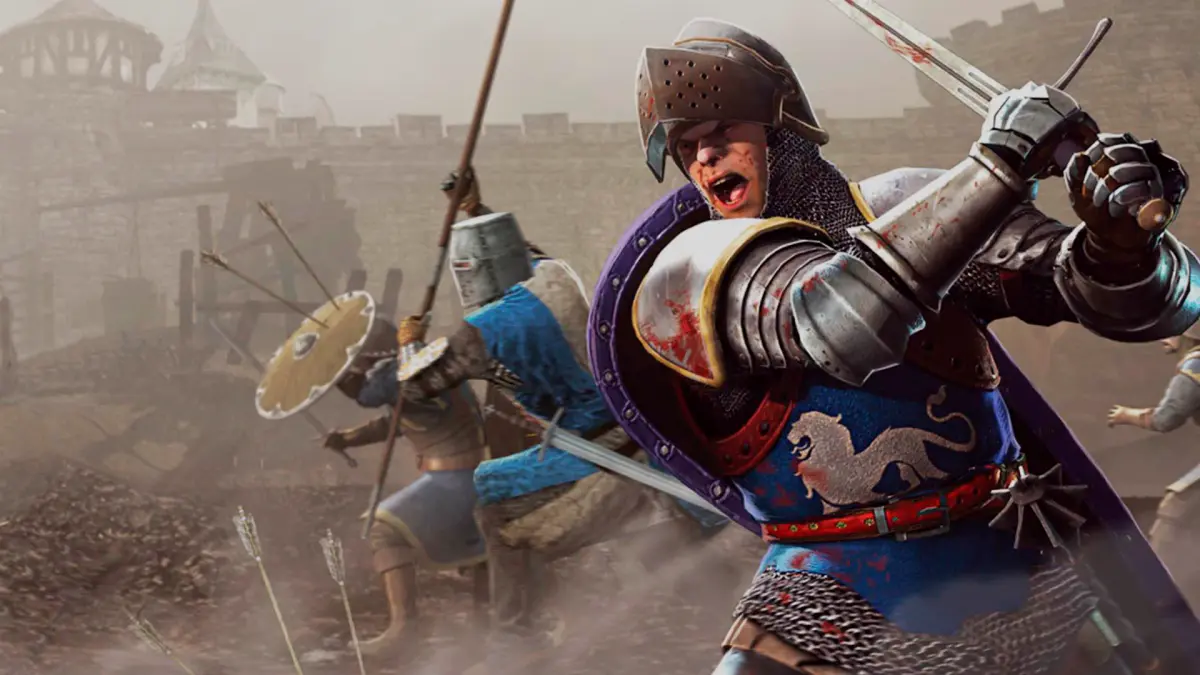
The battlefields of Chivalry: Medieval Warfare are not just arenas for steel-on-steel combat; they are dynamic environments laden with hazards and interactive elements that skilled warriors can exploit to gain a decisive advantage. Mastering these environmental interactions can turn the tide of battle, creating choke points, eliminating multiple foes, or providing crucial escape routes.
Falling Hazards & Ledges
Gravity is a powerful, impartial killer in Chivalry. Understanding map layouts and player positioning relative to drops is paramount for both offense and defense.
- Ledge Kills: A well-placed push, kick (default 'F'), or even a heavy overhead swing can send an unsuspecting enemy plummeting to their death. This is particularly effective on maps like Stoneshill (near the objective where the Masons push the cart) or Darkforest (along the narrow paths leading to the King's escape route).
- Exploiting High Ground: Archers and Vanguard with Javelins excel from elevated positions. On Stoneshill, the castle walls provide excellent vantage points. On Battlegrounds, the central tower offers a commanding view of the objective. Be wary of enemy Vanguards using their Charge ability to quickly close the distance and dislodge you.
- Avoiding Falls: Always be aware of your surroundings, especially during chaotic melees. Dodging backwards near a cliff edge can be fatal. If you find yourself pushed towards a drop, try to block the incoming attack and immediately counter-attack or sprint away from the edge.
Traps & Destructible Elements
Certain maps feature environmental traps and destructible objects that can be manipulated for strategic gain.
- Catapults & Ballistas: These siege weapons are devastating but require careful aiming and expose the operator.
- Catapults: Found on maps like Siege and Stoneshill. Aim for clustered enemies or critical objectives. A direct hit is almost always an instant kill. Be mindful of friendly fire!
- Ballistas: Present on maps such as Hillside and Outpost. Excellent for picking off high-value targets like archers or heavily armored knights from a distance. They have a slower reload but pinpoint accuracy.
- Spike Traps: On maps like Arena, retractable spike traps can be activated by levers. Learn their locations and lure enemies onto them. Activating them at the right moment can secure multiple kills.
- Collapsing Structures: Some objectives involve destroying structural supports, leading to collapses that can crush enemies.
- Bridge on Darkforest: As the Agatha Knights, destroying the supports of the bridge will collapse it, eliminating any Masons on top and forcing them to find an alternative route. Use heavy weapons like the Greatsword or Maul to quickly damage the supports.
- Walls on Siege: Breaching walls with siege engines or explosives can create new pathways and crush defenders.
- Explosive Barrels: Scattered throughout various maps (e.g., Stoneshill, Battlegrounds), these red barrels detonate when struck by weapons or fire, dealing significant area-of-effect damage. Use them to clear choke points or finish off wounded enemies. A single arrow or a quick jab can set them off.
Water & Environmental Obstacles
Water bodies and other terrain features can impede movement or offer tactical opportunities.
- Deep Water: Falling into deep water (e.g., the moat on Siege or the river on Darkforest) is often an instant death. Avoid these areas unless you are absolutely sure you can navigate them safely or use them to escape pursuers who might hesitate.
- Mud & Uneven Terrain: While not directly damaging, these can slow movement, making you an easier target for ranged attacks or allowing faster enemies to close the distance. Adapt your footwork and avoid getting bogged down in critical moments.
- Doors & Gates: Many maps feature interactive doors and gates that can be opened, closed, or barricaded.
- Closing Gates: On maps like Stoneshill, closing the main gate after a successful push can cut off enemy reinforcements, allowing your team to consolidate their position.
- Barricading Doors: Some objectives allow for barricades to be placed, temporarily blocking enemy access. This is crucial for defending objectives or creating diversions.
100% Human-Written. AI Fact-Checked. Community Verified. Learn how AntMag verifies content