Master the Dragon Age: Inquisition Reaver class! Learn the best abilities, passives, and strategies to unleash devastating damage and survive on lower difficulties.
Alright, let's talk about the Reaver in Dragon Age: Inquisition. This class is all about high-risk, high-reward gameplay, focusing on getting up close and personal to dish out some serious damage. Think of them as a glass cannon warrior with a nasty lifesteal ability. They really shine on lower difficulties, so if you're just starting out or prefer a more aggressive playstyle, the Reaver might be for you!
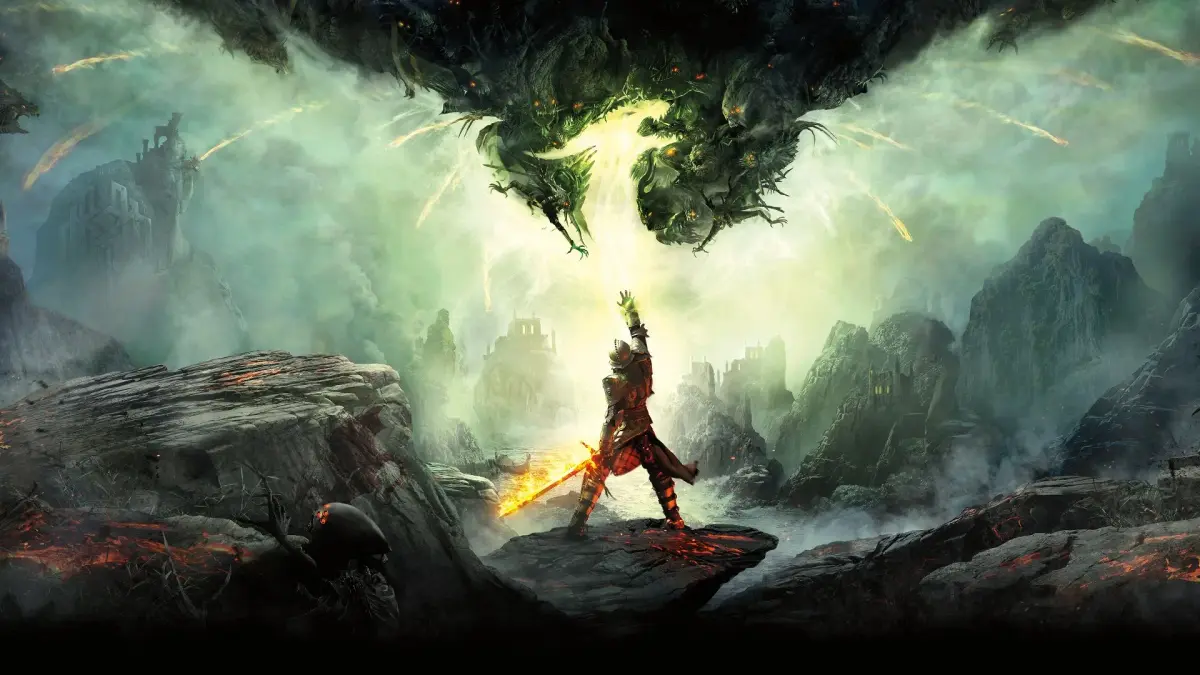
The Reaver's lore is pretty cool too. You play as Tamar, a warrior who got her powers from drinking dragon blood. She was part of a cult in Haven but escaped into the mountains. Eventually, the Inquisition found her and gave her a choice: join them or face execution. Tamar, being the fierce warrior she is, chose to serve, wanting to go out in a blaze of glory with her enemies' blood on her sword.
Here's a quick rundown of how the Reaver generally performs:
- Damage (AoE): 4/5
- Damage (Single Target): 5/5
- Durability: 2/5
- Buffs & Debuffs: 1.5/5
- Taunts / Aggro: 1/5
- Fun Factor: 5/5
To unlock the Reaver, you'll need to find or craft the Reaver’s Mail armor. The crafting requirements are:
| Crafting Requirements | Rq Total | Rq #1 | Rq #2 | Rq #3 | Rq #4 |
| Reaver’s Mail | 20 | 8 Metal | 4 Leather | 4 Cloth | 4 Metal |
When you're building your Reaver, here's a suggested unlock order to get the most out of the class:
- Start with Rampage.
- Upgrade Dragon Rage to level 7.
- Upgrade War Horn to level 9.
- Get Deathblow.
- Then unlock Flow of Battle.
- After that, feel free to unlock the rest in any order you prefer.
Now, let's get into the nitty-gritty of how to play this beast:
Strategy
If you've got a mage in your party who can cast barriers, try to get one up before you charge in. Once you're in the thick of it, activate War Horn to panic your enemies, then pop Rampage. After that, just spam Dragon Rage and Devour. Keep an eye on panicked enemies, as hitting them can actually reduce the cooldown on your abilities, which is super handy.
If you don't have a barrier caster, you'll need to be a bit more cautious. Wait in cover until another party member draws aggro. Once the enemies are focused elsewhere, you can move in and do your damage. Remember, you're not a tank unless Rampage is active, so positioning is key. You'll die fast if you're caught out of position without your buffs up.
Don't forget about potions! They can seriously boost your survivability. I'd recommend using Rock Armor tonic, healing mist, health potions, and pitch grenades. One important note: Rampage has been bugged in some cases, meaning it might not restore health per hit for the rest of the game. Because of this, I'd hold off on taking your Reaver into Perilous difficulty until that's fixed.
Recommended Abilities
| Recommended Abilities | Description |
| Rampage | 10% health restored on hit, 10% speed increase, 10% damage bonus, 10s duration, 30s cooldown, 65 stamina cost |
| Devour | 100% weapons damage, Damage Bonus: +2% per 1% missing health, Health Restored: 0.2% per 1% lost, Ring of Pain Bonus: +0.2% health restored per 1% lost |
| Dragon Rage | 150% weapon damage, 1% damage bonus per 1% missing health, 2% health cost. Upgrade grants 50% damage bonus and 2s cooldown reduction per hit |
| War Horn | Panics all enemies in range. 8m AoE, 6s duration, 24s cooldown, 35 stamina cost |
Mandatory Passives
| Mandatory Passives | Description |
| Blood Frenzy | 5% damage bonus for per missing 10% of your health |
| Scenting Blood | 50% speed boost near enemies under 35% health. 10% crit chance. 10m range. +3 constitution |
| Terrifying Fury | 25% fear chance, 10m AoE, 6s fear duration |
| Flow of Battle | 1% cooldown reduction per crit. +3 strength |
| Deathblow | Automatic crit when hitting panicked or asleep enemies |
| Fervor | 30% damage bonus when enemy dies near you, 5s duration, 10m range. +3 cunning |
| Bloodbath | Devour + Dragon rage has 20% chance to weaken on hit. +3 strength |
| Coup de Grace | 30% damage to stunned or knocked down enemies. +3 strength |
| Adamant | 20% armor. +3 constitution |
| Deep Reserves | 50% stamina recharge bonus when under 50% stamina. +3 strength |
| Crippling Blows | 15% damage reduction on crit. 10s duration. Stacks. |
| Clear a Path | Hitting multiple enemies gives 10% per additional enemy hit. +3 strength |
When it comes to weapons, you'll want to focus on those with high DPS. Here are some of the best options:
| # | Best Weapons | Type | Rarity | Item Level | DPS | Damage |
| 1 | Big Bone | Greatsword | Unique | 23 | 373 | 305 |
| 2 | Sulevin Blade | Greatsword | Unique | 23 | 307 | 272 AoE |
| 3 | Siege’s End | Greataxe | Unique | 21 | 288 | 255 AoE |
| 4 | Call of the Dark | Maul | Unique | 20 | 273 | 270 |
| 5 | Starfang | Greatsword | Unique | 20 | 272 | 241 AoE |
100% Human-Written. AI Fact-Checked. Community Verified. Learn how AntMag verifies content