Follow this step-by-step guide to print your ID, find the C.A.T. tool and batteries, and navigate through the initial areas of Routine's Chapter 1: Birth.
Walkthrough
- 1After the cutscene, approach your helmet on the wall and press E/M1.
- 2Look at the computer screen to the right. Click the FORM tab and complete the tutorial.
- 3Press the PRINT tab and PRINT ID. Grab the printed ID from the left side of the computer.
- 4Crouch (CTRL + Space + S) to pick up the fallen ID.
- 5Go to the computer beside the door and press OPEN DOOR.
- 6Walk left towards the light and watch the presentation.
- 7Approach the elevator door and use the computer. Instead, go into the room to the right (Meeting Room A01) by pressing OPEN DOOR.
- 8Enter the second door on your right in Meeting Room A01.
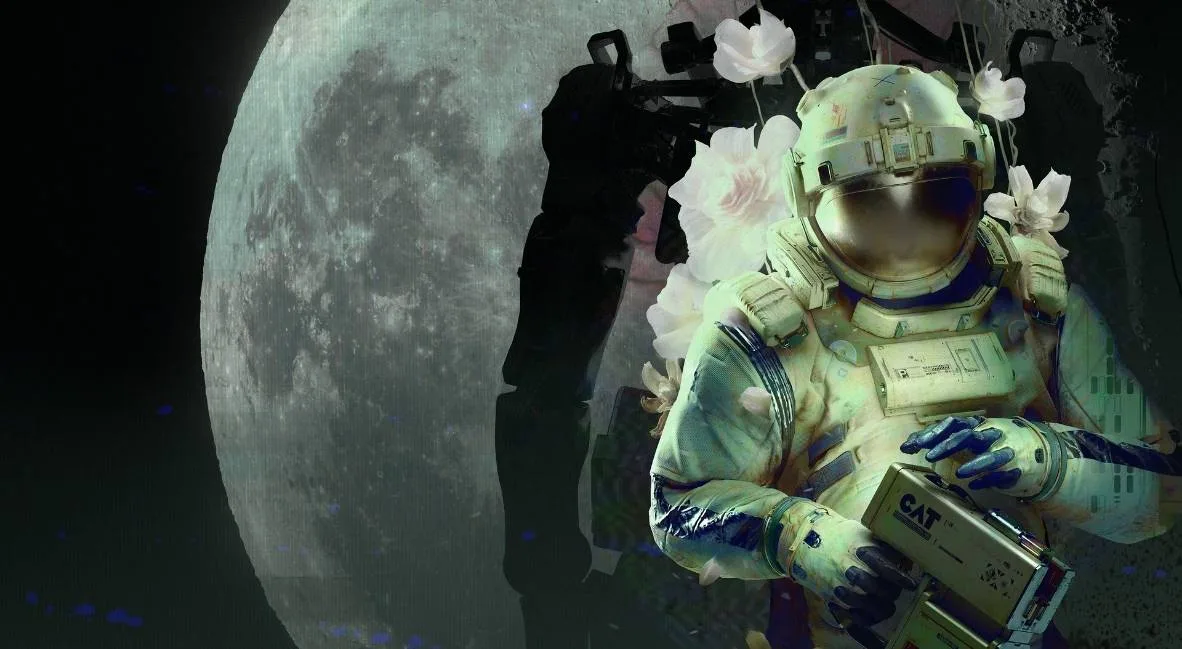
- 9Collect the C.A.T. tool from the second table on the left.
- 10Use the computer on the right side of the meeting room to open another door.
- 11Find batteries (blue-colored) inside, either from the recycling center under the shelves (by crouching) or elsewhere.
- 12View your tool's charge by pressing R. Each battery has three uses.
- 13Connect to the projection on the meeting room wall by pressing R, then the Wireless Access Point button (triangles and lines symbol).
- 14Go to the DATABASE page and note the elevator keycode (e.g., 4832 - this is random for each player).
- 15Go to the elevator door and enter the keycode into the KEYPAD. Press OPEN DOOR.
- 16Inside the elevator, press GATEWAY to access the next area.
- 17Exit the elevator and walk left to the ASN terminal. Listen to the voice recording.
- 18Go back towards the elevator and look right at the Tram Station.
- 19Follow the cables from the gate to the box on the wall above the note. Press M2 to aim your C.A.T. tool and M1 to fire a pulse, opening the gate.
- 20Walk through the opened gate to the Tram Station.
- 21Approach the Tram and the door will open. Get on and use the computer screen to select a location. Choose the Mall.
- 22Arrive at the Mall and press the IC assistance button at the front desk. Follow the droid to the computer.
- 23Log in using your ID number (found on the front of your suit, e.g., 9601 - this is unique to each player).
- 24Select Business or Pleasure as your purpose. An error will occur.
- 25Press the IC assistance button again and follow the IC bot to a different entrance.
- 26Climb down the ladder.
- 27Walk straight and find a Wireless Access Point. To the right, follow cables to an electrical box on the far wall.
- 28Aim your C.A.T. tool (M2) and fire a pulse (M1) at the terminal to open a hatch. Press CTRL to climb through.
- 29Inside, a gate closes. Crouch and look under the Checkout desk for a red button. Press it.
- 30Hide behind the desk as a bot breaks open the gate.
- 31Once the gate is open and the bot is away, run left, then right towards Galaxy Video.
- 32Walk down the hall to the right of the Access Point (left of Galaxy Video) to the security room. Read the note indicating the meeting is moved to MEGAZONE.
- 33Go back to the plant area before the video store, through Union Plaza, straight towards the panel of screens, and take a left.
- 34Go down the hall, take a right, and crouch (CTRL) under the shutters into MEGAZONE.
- 35In MEGAZONE, find a powered-on arcade machine (back row with Gunshow image) and press E/M1 to interact. Play the game by following on-screen prompts to earn the achievement.
Tips
- Press F to look closer at computer screens if you have trouble reading.
- Hold CTRL + Space + S to crouch low to find the fallen ID.
- Your C.A.T. tool requires batteries, which have three uses per battery. Check the charge by pressing R.
- The elevator keycode and your ID number are randomized for each player. Always check the Database and your suit for the correct codes.
- When encountering hostile bots, run (SHIFT) or hide behind obstacles. You cannot fight them.
- There is a Wireless Access Point on the Tram Station platform and to the left of Galaxy Video. Be cautious using the latter as hostile bots can reach it.
100% Human-Written. AI Fact-Checked. Community Verified. Learn how AntMag verifies content