Navigate Routine's 'Post-Shutdown Awakening' with our comprehensive guide. Learn how to print your ID, use the C.A.T. tool, and bypass security systems to progress.
Walkthrough
- 1After the cutscene, approach your helmet on the wall and press E/M1.
- 2Look at the computer screen to the right. Click the FORM tab and complete the tutorial.
- 3Press the PRINT tab and PRINT ID. Grab the ID that falls to the left of the computer.
- 4Crouch using CTRL + Space + S to pick up the fallen ID.
- 5Go to the computer beside the door and press OPEN DOOR. Leave your room and walk left.
- 6Watch the presentation on the panoramic screen.
- 7Go to the elevator door and use the computer. Instead, go into the room to the right (meeting room A01) and then the second door on your right.
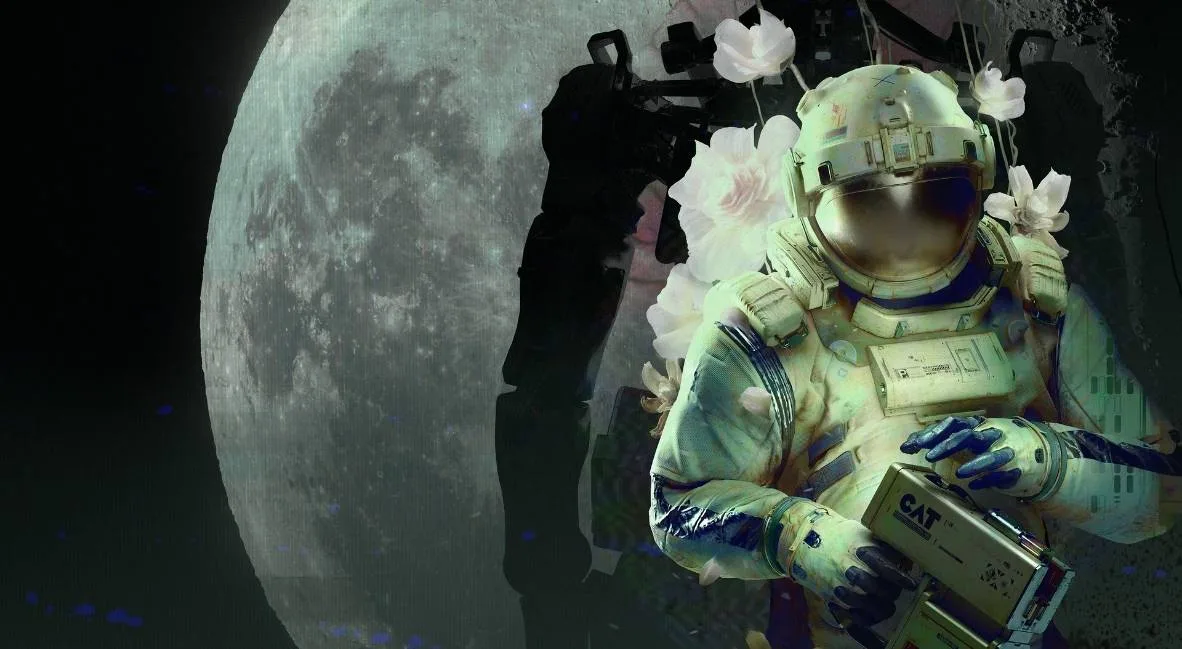
- 8In the meeting room, go to the second table on the left and collect your C.A.T. tool.
- 9Go to the right side of the meeting room and use the computer to open another door. Find batteries (blue) inside, potentially by crouching under shelves in the recycling center.
- 10With a battery, go to the projection on the wall in the meeting room. Press R to view your tool, then press the Wireless Access Point button.
- 11Connect to the screen, go to the DATABASE page, and note the elevator keycode (e.g., 4832 - this is randomized per player).
- 12Leave the meeting room, go to the elevator door, and enter the keycode on the keypad. Press OPEN DOOR.
- 13Inside the elevator, press GATEWAY on the computer to access the next area.
- 14Exit the elevator and walk left to the ASN terminal. Listen to the voice recording.
- 15Go back toward the elevator and look right at the Tram Station. Follow the cables from the gate to the box on the wall above the note.
- 16Aim your C.A.T. tool (M2) and fire a pulse (M1) at the box to open the gate.
- 17Walk through the opened gate to the Tram Station.
- 18Approach the Tram and use the computer screen inside to choose a location. Select the Mall.
- 19At the Mall, go to the front desk and press the IC assistance button. Follow the droid over the computer.
- 20Log in using your ID number (e.g., 9601 - found on the front of your suit, randomized per player).
- 21Select Business or Pleasure as your purpose. An error will pop up.
- 22Go back to the front desk, press the IC assistance button again, and follow the IC bot to a different entrance. Climb down the ladder.
- 23At the bottom of the ladder, walk straight to the Wireless Access Point. Walk right of it to the far end wall and find a hatch with cables.
- 24Follow the cables to an electrical box. Aim your C.A.T. tool (M2) and fire (M1) at the terminal to open the hatch. Press CTRL to climb through.
- 25Inside, a gate closes. Crouch and look under the Checkout desk for a red button. Press it. Hide behind the desk as a bot breaks open the gate.
- 26Once the gate is opened and the bot is clear, run left, then right toward Galaxy Video.
- 27Walk down the hall to the right of the Access Point (left side of Galaxy Video) to the security room. Read the note on the door; the meeting is moved to MEGAZONE.
- 28Go back to the plant area before the video store, through Union Plaza, toward the panel of screens. Take a left.
- 29Go all the way down the hall, then take a right into the area with purple lighting. Go around the center planter.
- 30Crouch (CTRL) to get under the shutters into MEGAZONE.
Tips
- When printing your ID, hold CTRL + Space + S to crouch and find the fallen ID easily.
- Batteries for the C.A.T. tool are blue and have limited uses per battery (three). Check charge by pressing R.
- The elevator keycode and your ID number are randomized for each player. Always check the Database or your suit for the correct codes.
- Bots in the mall area are hostile and cannot be fought. Avoid them by running (SHIFT) or hiding.
- In MEGAZONE, find a powered-on arcade machine (back row with Gunshow image) and press E/M1 to interact. Follow on-screen prompts to play and earn an achievement.
- Chapter 01 Achievement: Reach Chapter 01
100% Human-Written. AI Fact-Checked. Community Verified. Learn how AntMag verifies content